About this Lab
We will show you where to download Unity and how to set up a project.
Objectives
- Create a repository in GitLab.
- Install Unity.
- Add a new project to Unity and then run it.
Instructions
Step 1: Creating the Repository
First, we will create a repository where you will upload your game.
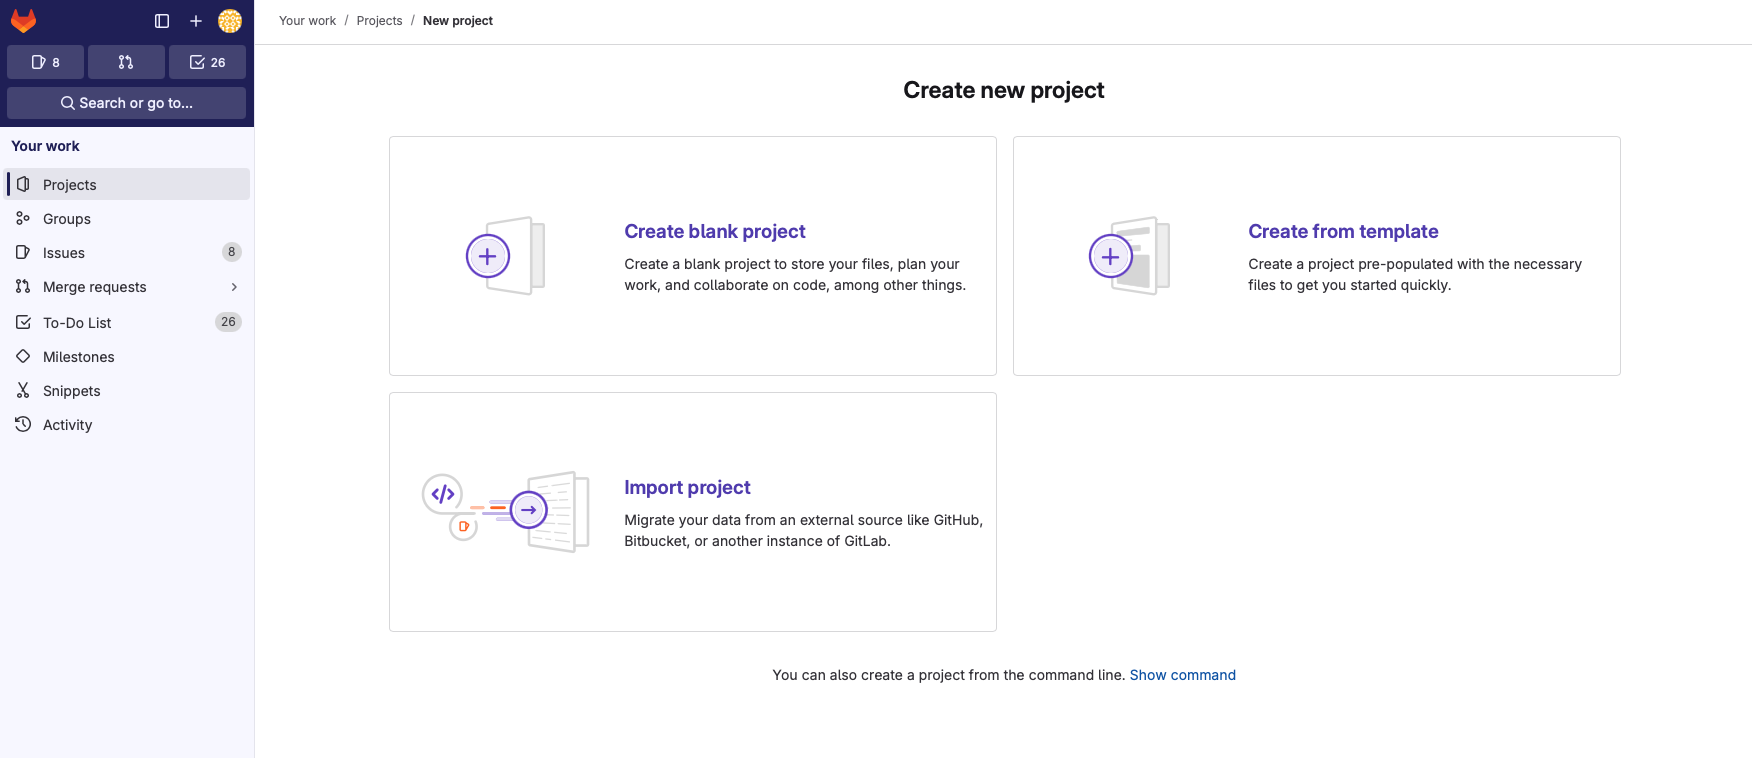
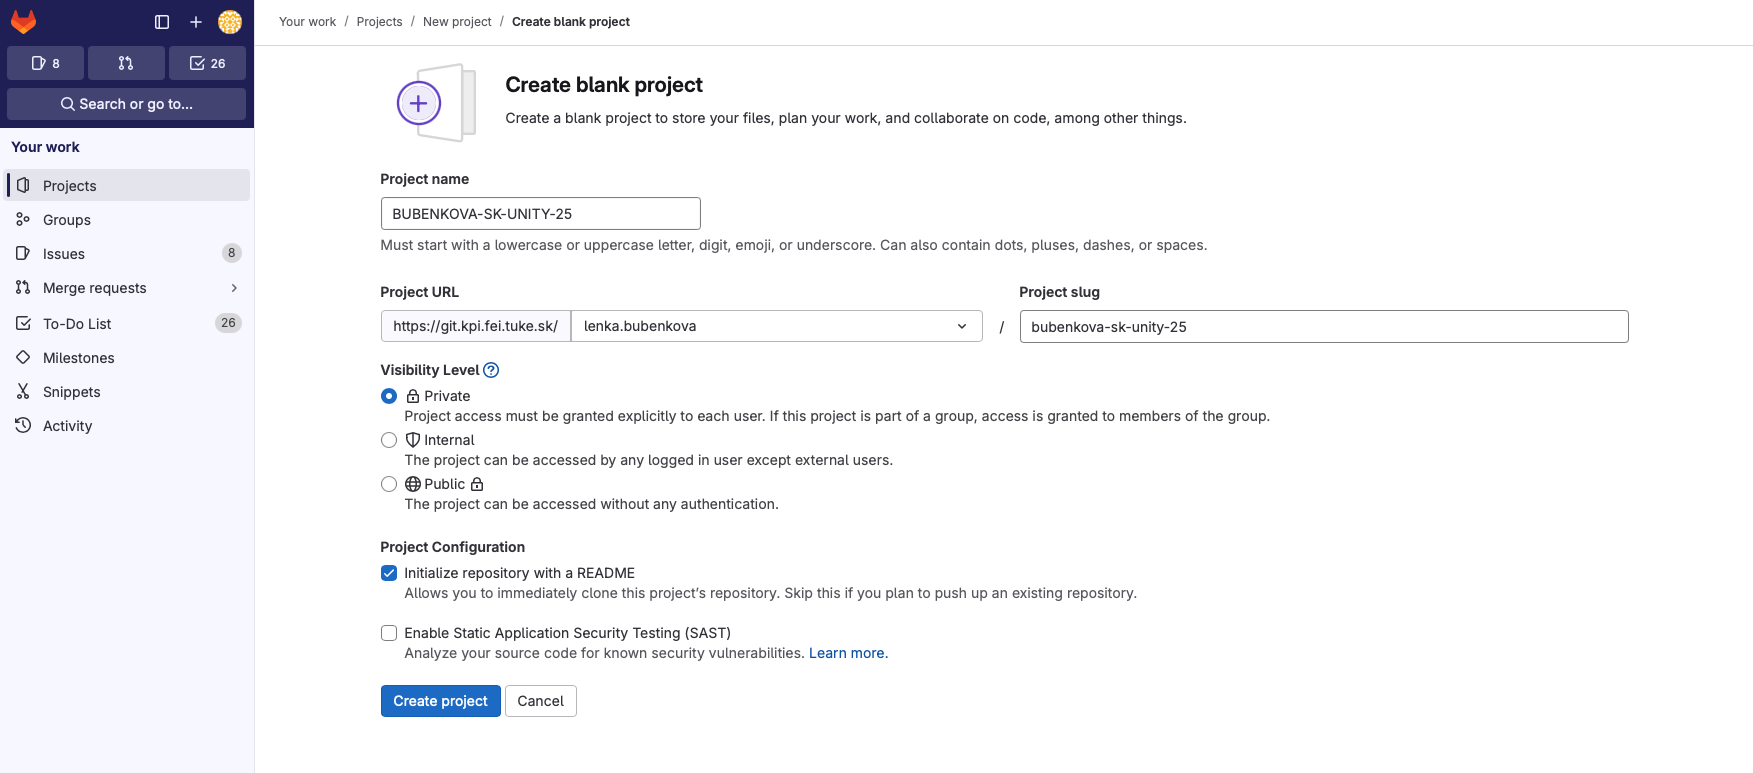
Task 1.1
In your school GitLab, create an empty project. Name it LASTNAME-EN-UNITY-26. For assignment submission purposes, follow this naming convention exactly, otherwise you may encounter problems later.
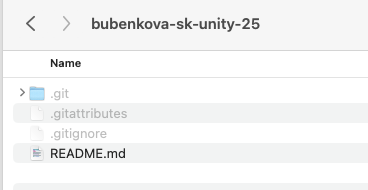
Clone the project locally using the terminal and run the command git init.
Move this file into the folder link. This is the .gitignore file, which is used to manage Unity projects on GitLab. More info here.
Warning
After adding this file, your computer might recognize it as text file. You need to overwrite it in the correct format: .gitignore.
We will come back to this folder later, after creating the project.
Step 2: Installing Unity
Before downloading Unity, make sure your computer meets the system requirements:
- OS: Windows 7 SP1+, 8, 10, 64-bit versions; Mac OS X 10.12+; Ubuntu 16.04, 18.04, and CentOS 7.
- GPU: Graphics cards with DX10 (shader model 4.0) capabilities.
Unity includes its own installation and version management tool, UnityHub.
You can download UnityHub from this link.
Unity will first ask you to sign in; you will need to create an account.
You will probably need to create a personal license; Unity will guide you through it.
Step 3: Creating a Project
Task 3.1
Open UnityHub.
Task 3.2
Click the New Project button in the top-right corner.
Task 3.3
Create a new 3D project.
The project name is not important, but in the save location option, choose your folder that we set up earlier.
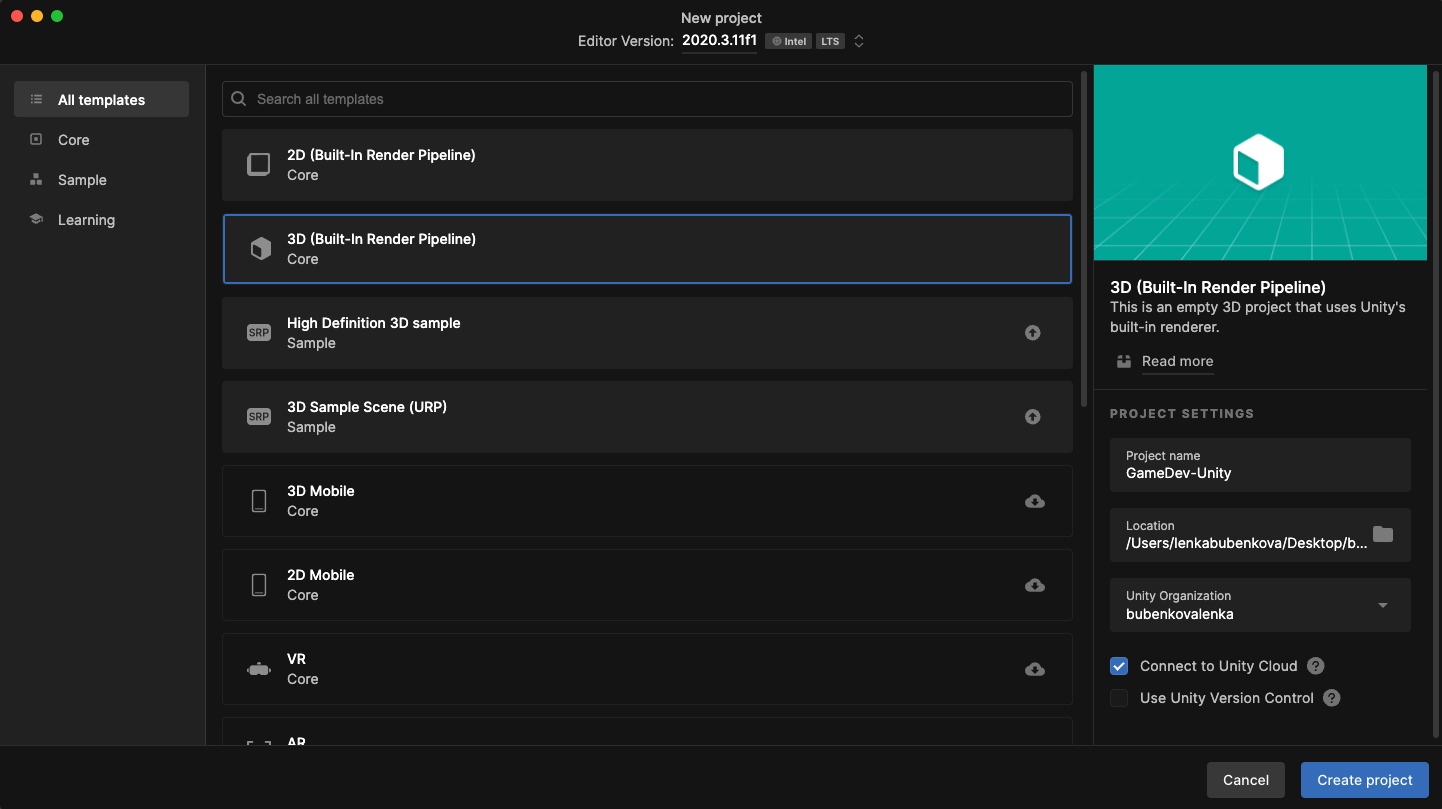
Comment
Choose the Unity version you want (top menu). For this assignment, it does not matter, but it is recommended to pick a stable version. More on versions here.
Comment
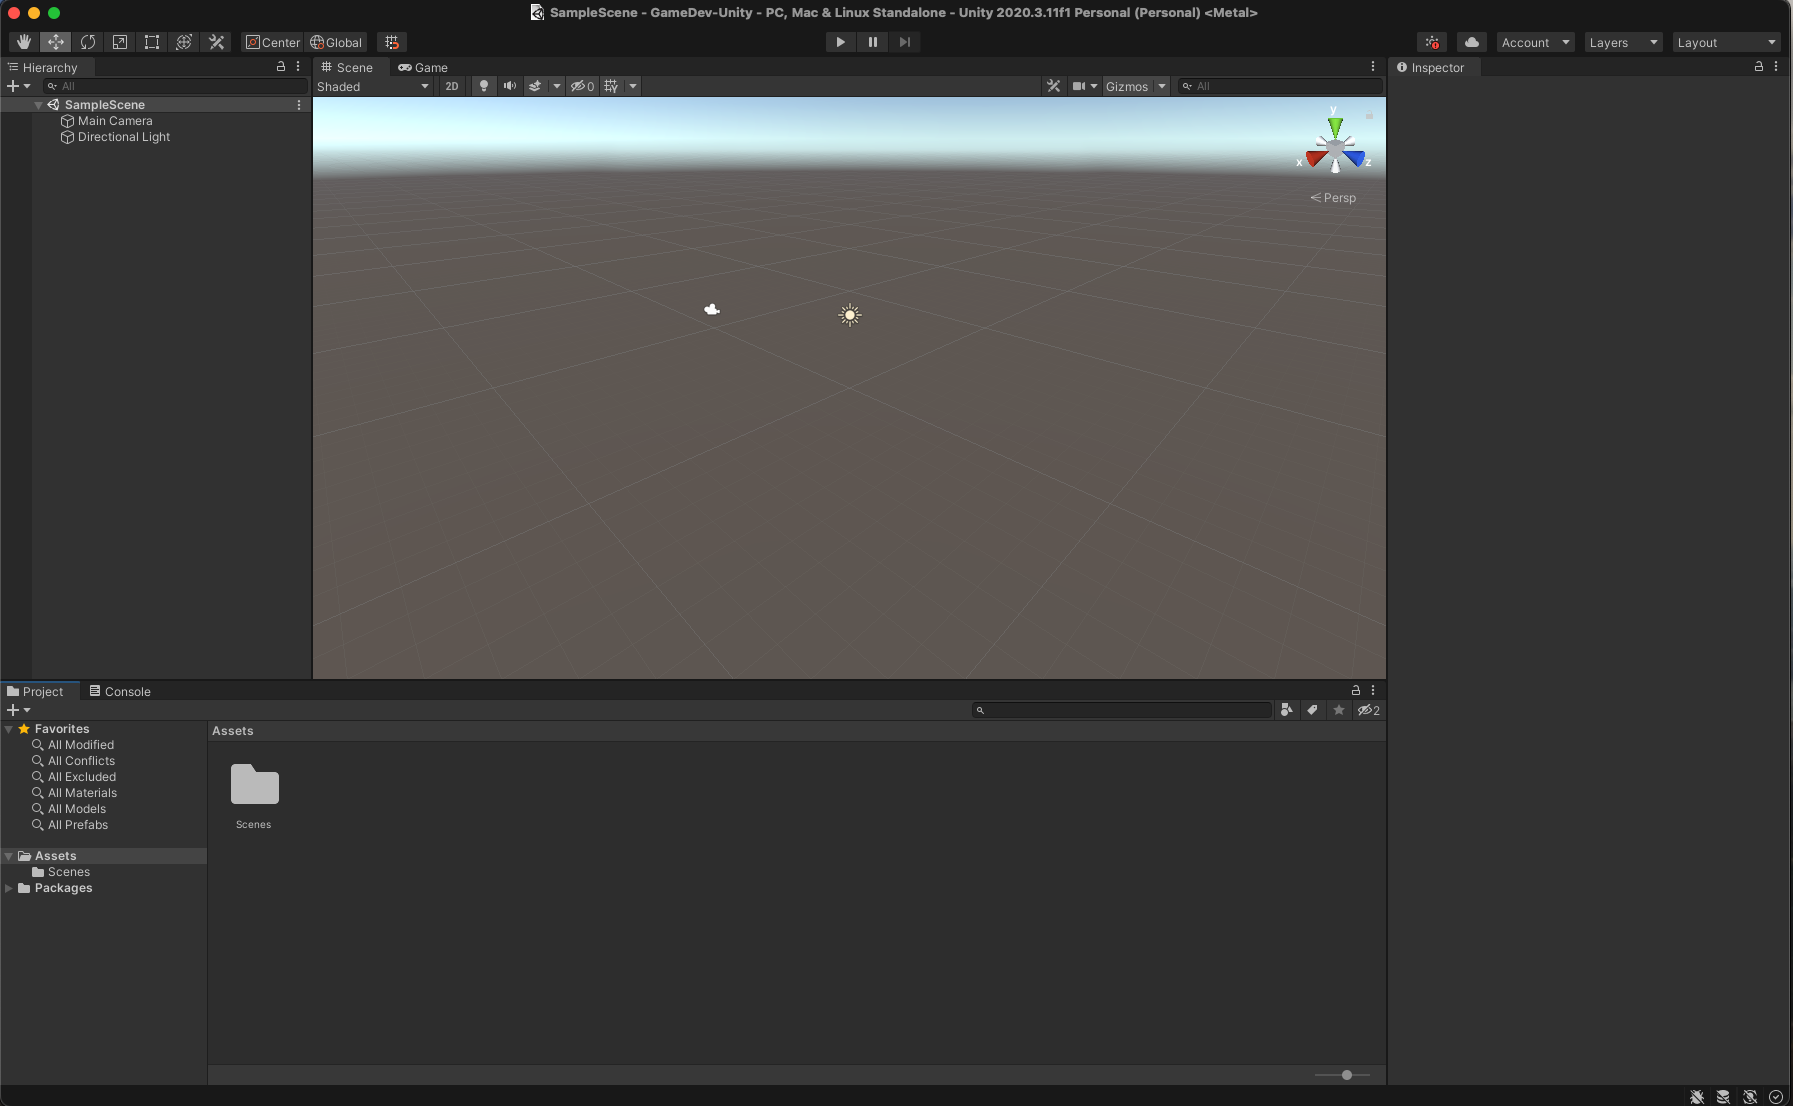
The program will start after clicking. The first launch usually takes longer.
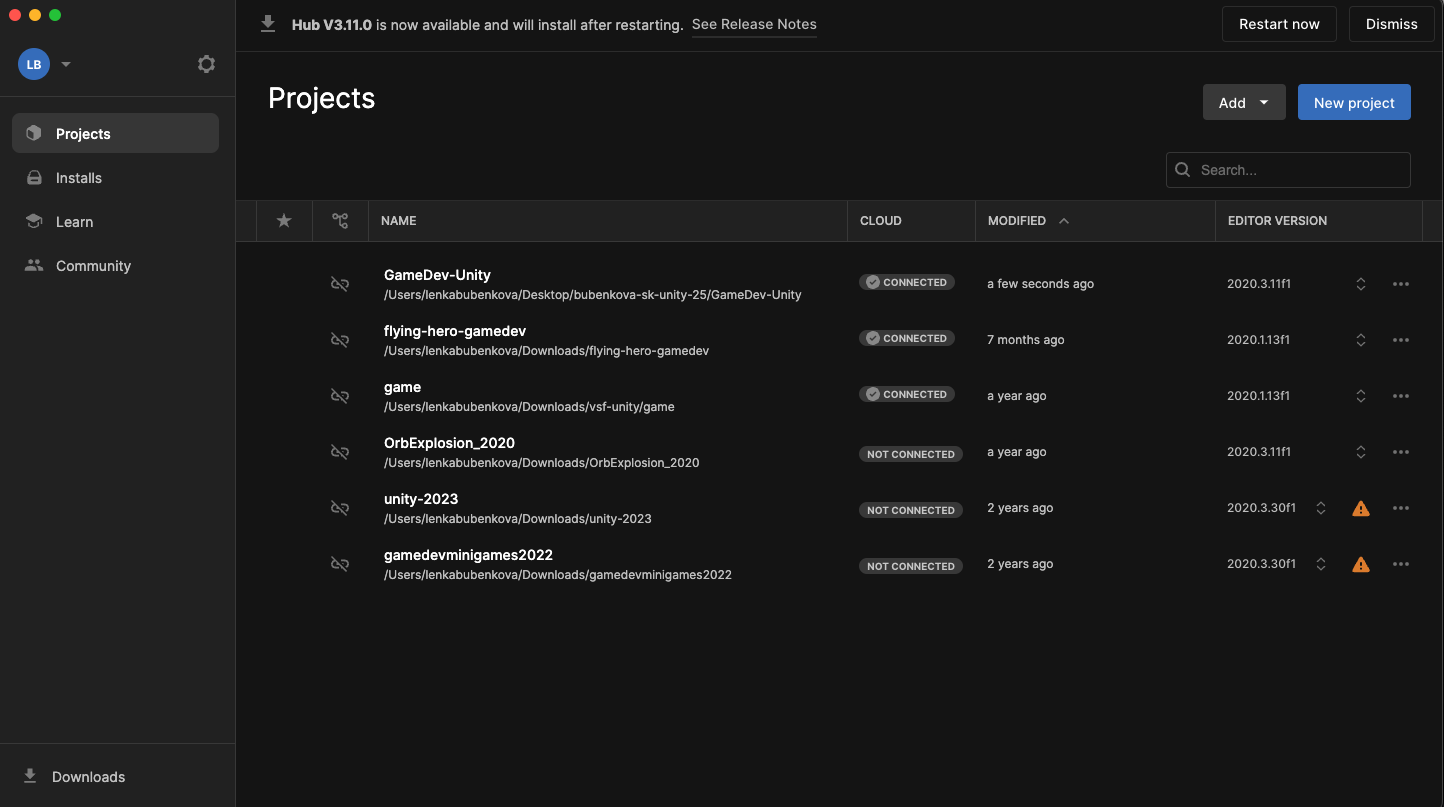
After successful installation and launch, the project should appear like this:
Step 4: Uploading the Project to GitLab
Now that we have created the Unity project, it’s the best time to upload it to GitLab. Skipping this step now might be “costly” later 😉
In the terminal, inside the folder we initialized earlier, run the following commands:
$ git lfs install
$ git add .
$ git commit -m "Initial commit"
$ git push --set-upstream origin main
Running git lfs install initializes LFS, which usually takes a bit of time and outputs many lines in the terminal. That’s normal.
After the commit, the process repeats.
Comment
The first push takes quite a while, but this is why we do it at the beginning, before the project grows in size.
Important information will be displayed in the terminal after successfully pushing the project to GitLab:
$ git config lfs.https://git.kpi.fei.tuke.sk/lenka.bubenkova/bubenkova-sk-unity-26.git/info/lfs.locksverify true
Copy this line exactly in your terminal and run it. USE YOUR OWN COMMAND, DO NOT COPY THE ONE FROM THE GUIDE!
Check your project in GitLab. You should now have an initialized repository, and further work should proceed smoothly.