What is this lab about
In this lab, you will get familiar with the Unity environment and learn how to work with its basic tools. You will explore the object hierarchy, the inspector, and the project window. You’ll find out how to manipulate objects in 3D space, adjust their properties, and add new elements. In addition, you’ll create a basic terrain and add your first game objects. Finally, we’ll show how to add a player to the scene and implement simple functionality through scripting in C#.
Goals
- Get familiar with the basic Unity editor functions such as the hierarchy, inspector, and project window.
- Learn how to manipulate objects in 3D space — move, rotate, scale, and adjust axes.
- Create your own terrain, add textures and models.
- Add a player to the scene and configure their properties.
- Try basic scripting in C#.
Instructions
Step 1: Getting familiar with the Unity Engine environment
Icons for working with the Unity workspace are commonly used to manipulate objects and represent various tools and operations in 3D space. Below is a description of some basic icons:
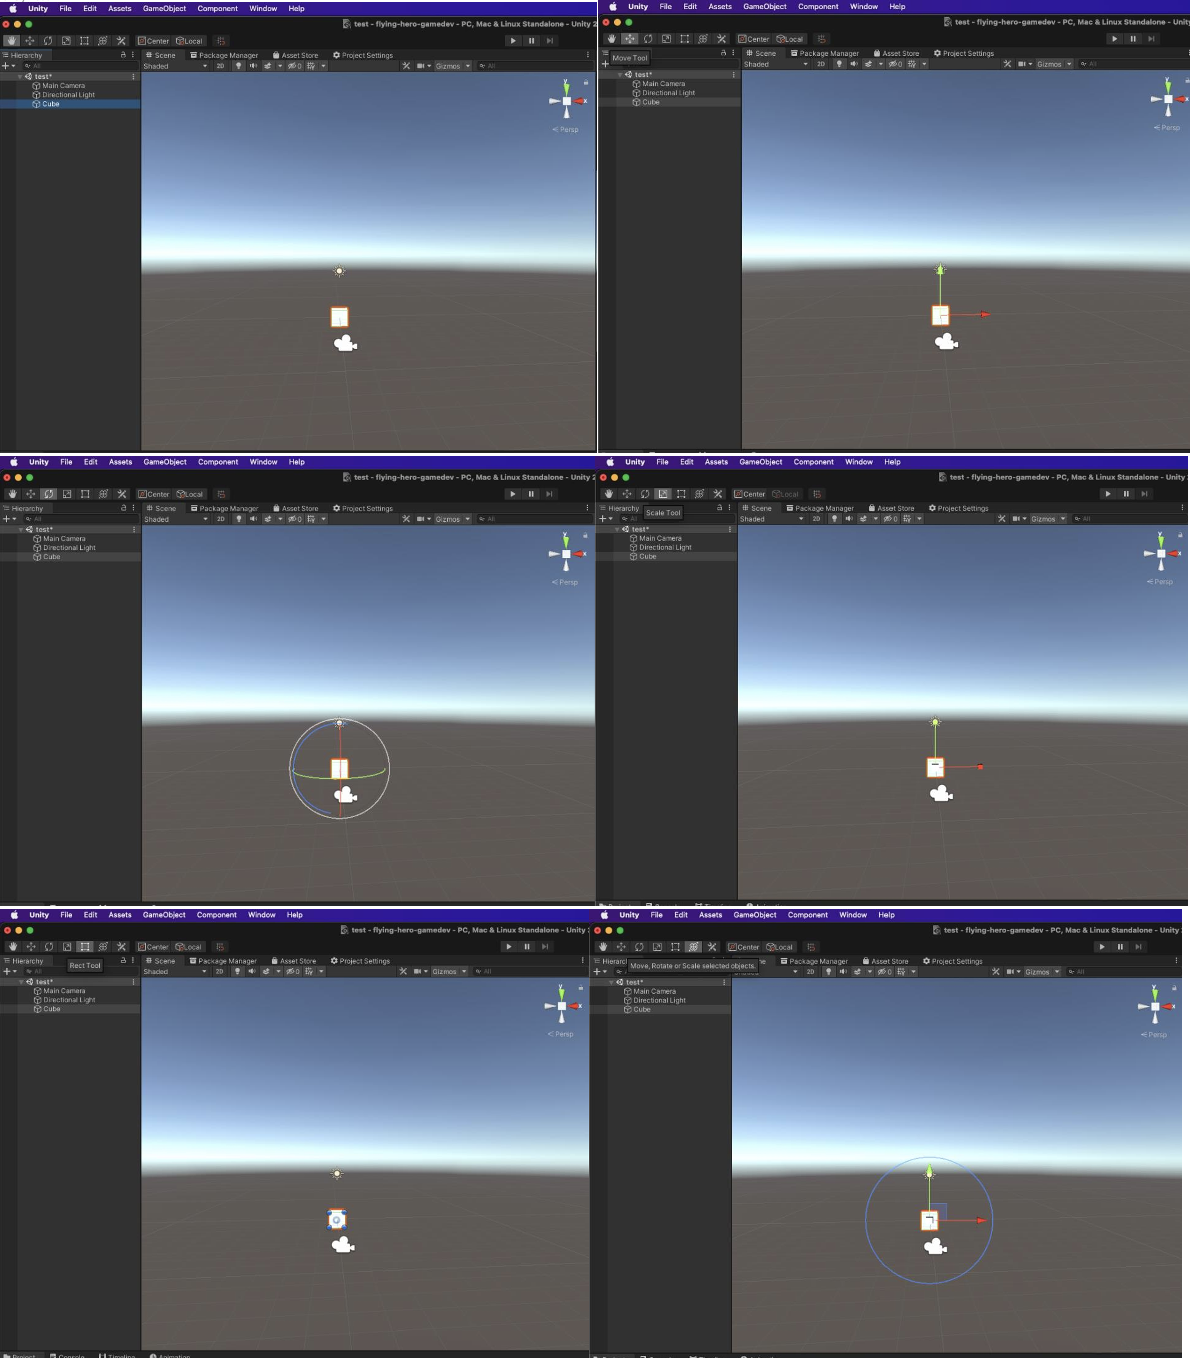
- Translate: This icon displays arrows, representing movement of an object in space. By clicking and dragging the arrows, you can move an object along those directions.
- Rotate: The icon with a rotating ring and arrows allows you to rotate an object around its axes. It’s used to adjust an object’s orientation within your 3D world.
- Scale: The icon with arrows pointing away from each other allows you to change the size of an object in space. You can scale an object along specific axes.
- Select: This icon displays a cursor or arrow for selecting objects. Click it to highlight objects in your scene.
- Zoom In / Zoom Out: Icons with magnifying glass symbols allow you to zoom in and out on the scene.
- Axes: These icons show the X, Y, and Z axes and allow you to switch between them. They’re used for precise object alignment along a chosen axis.
- VR Assignment: This icon shows goggles or a headset, indicating that your scene or game is configured for Virtual Reality (VR).
These icons help you manipulate objects in 3D space and perform various adjustments in your Unity projects.
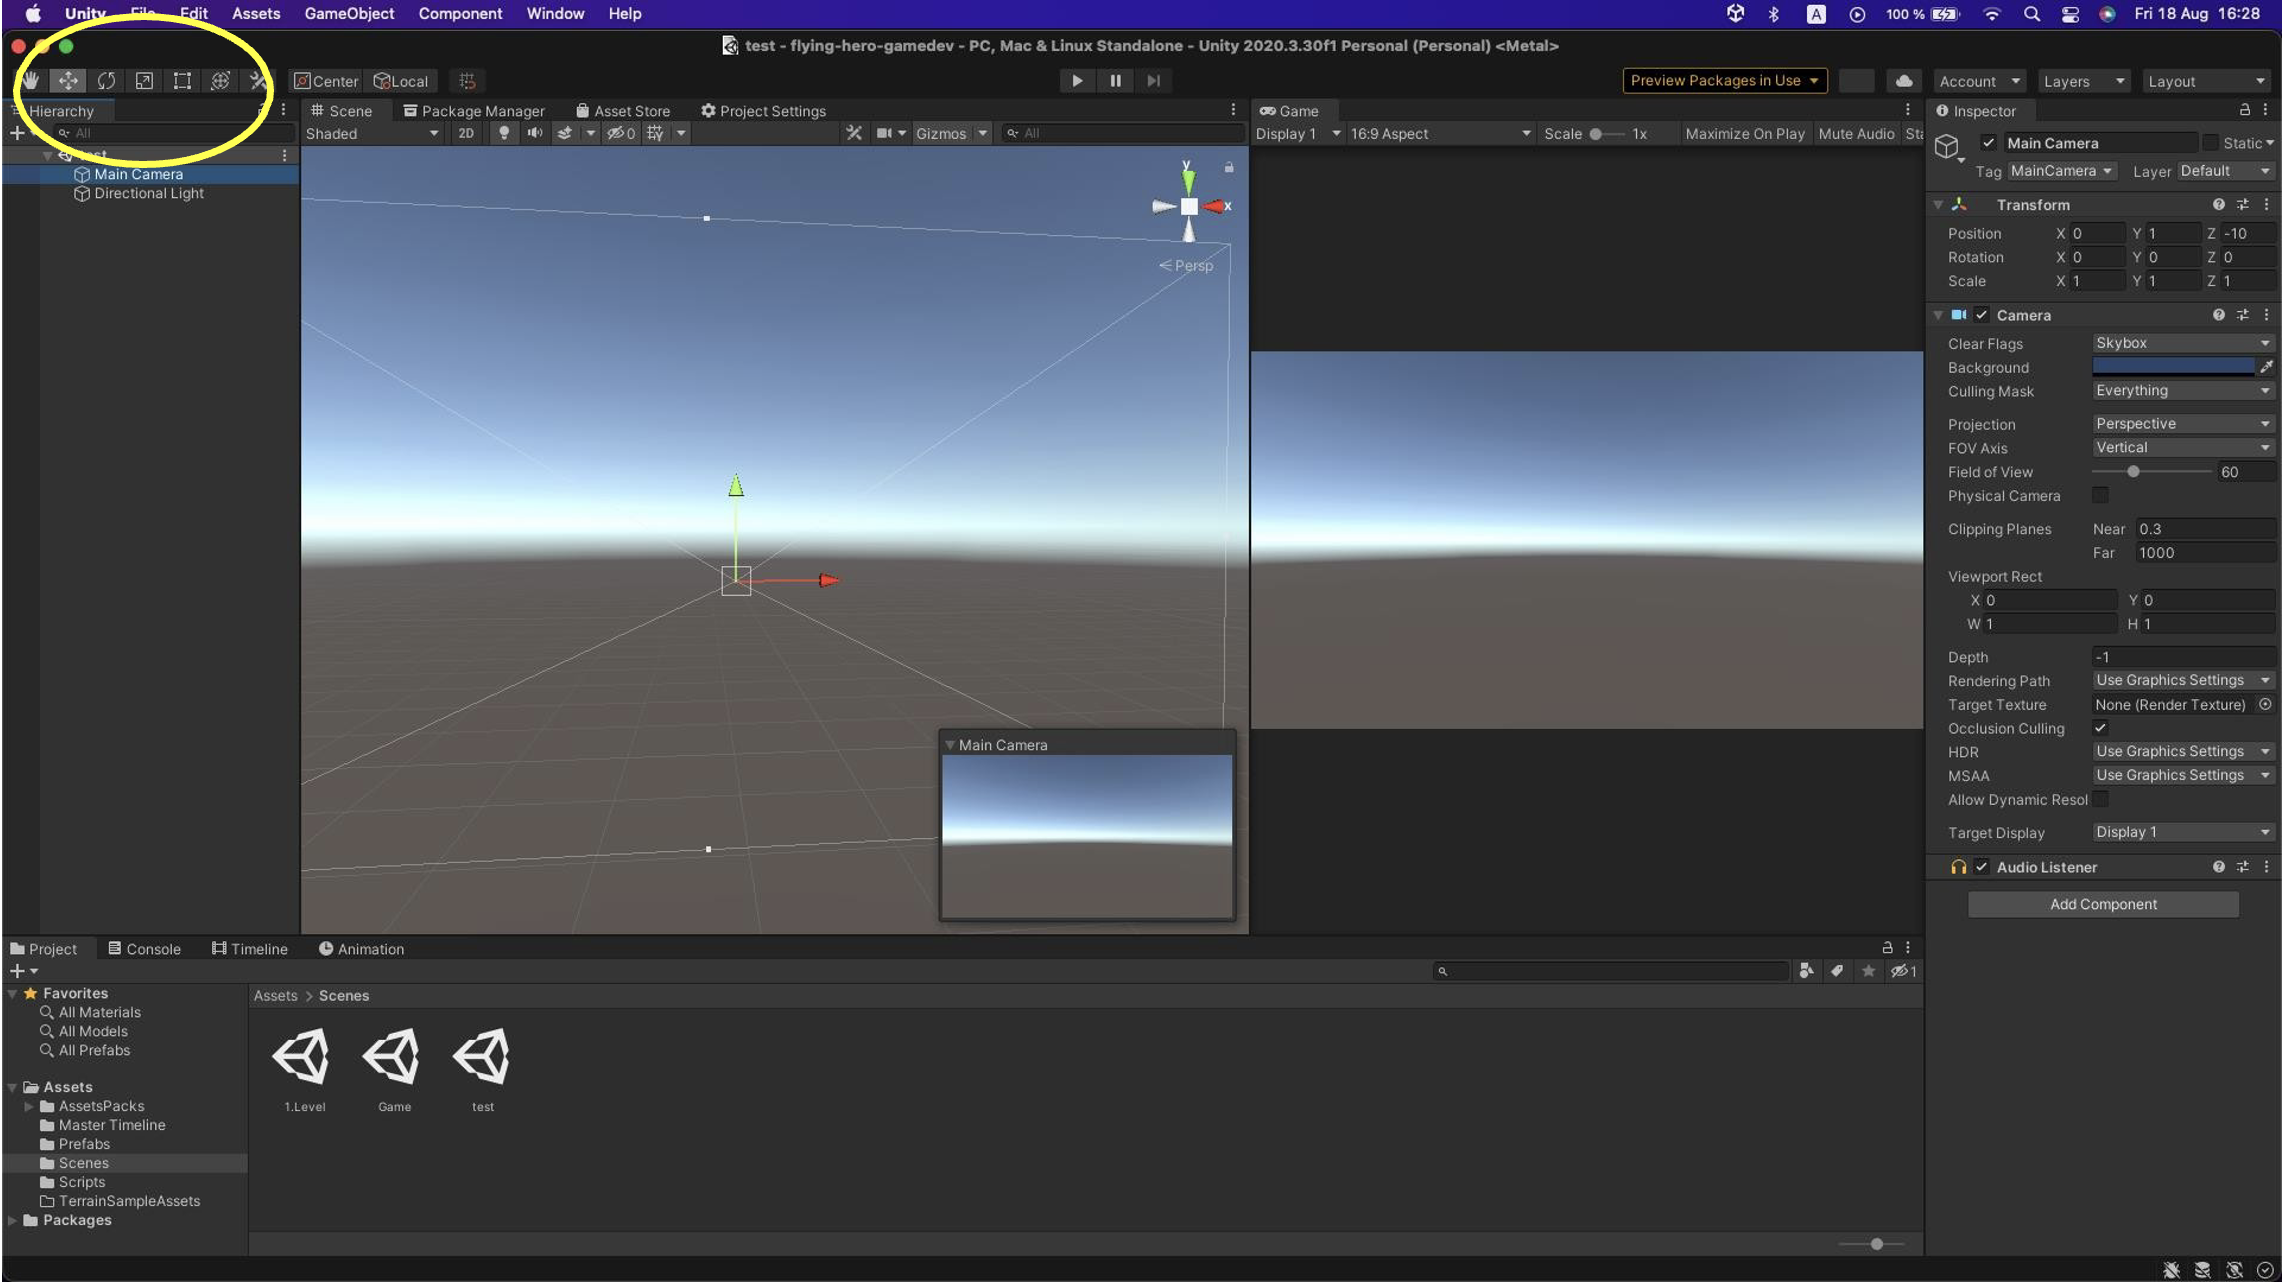
Clicking on different tools reveals different object editing options. A shortcut to using icons is the Q W E R T Y keys. If it feels awkward at first, don’t worry — you’ll get used to it.
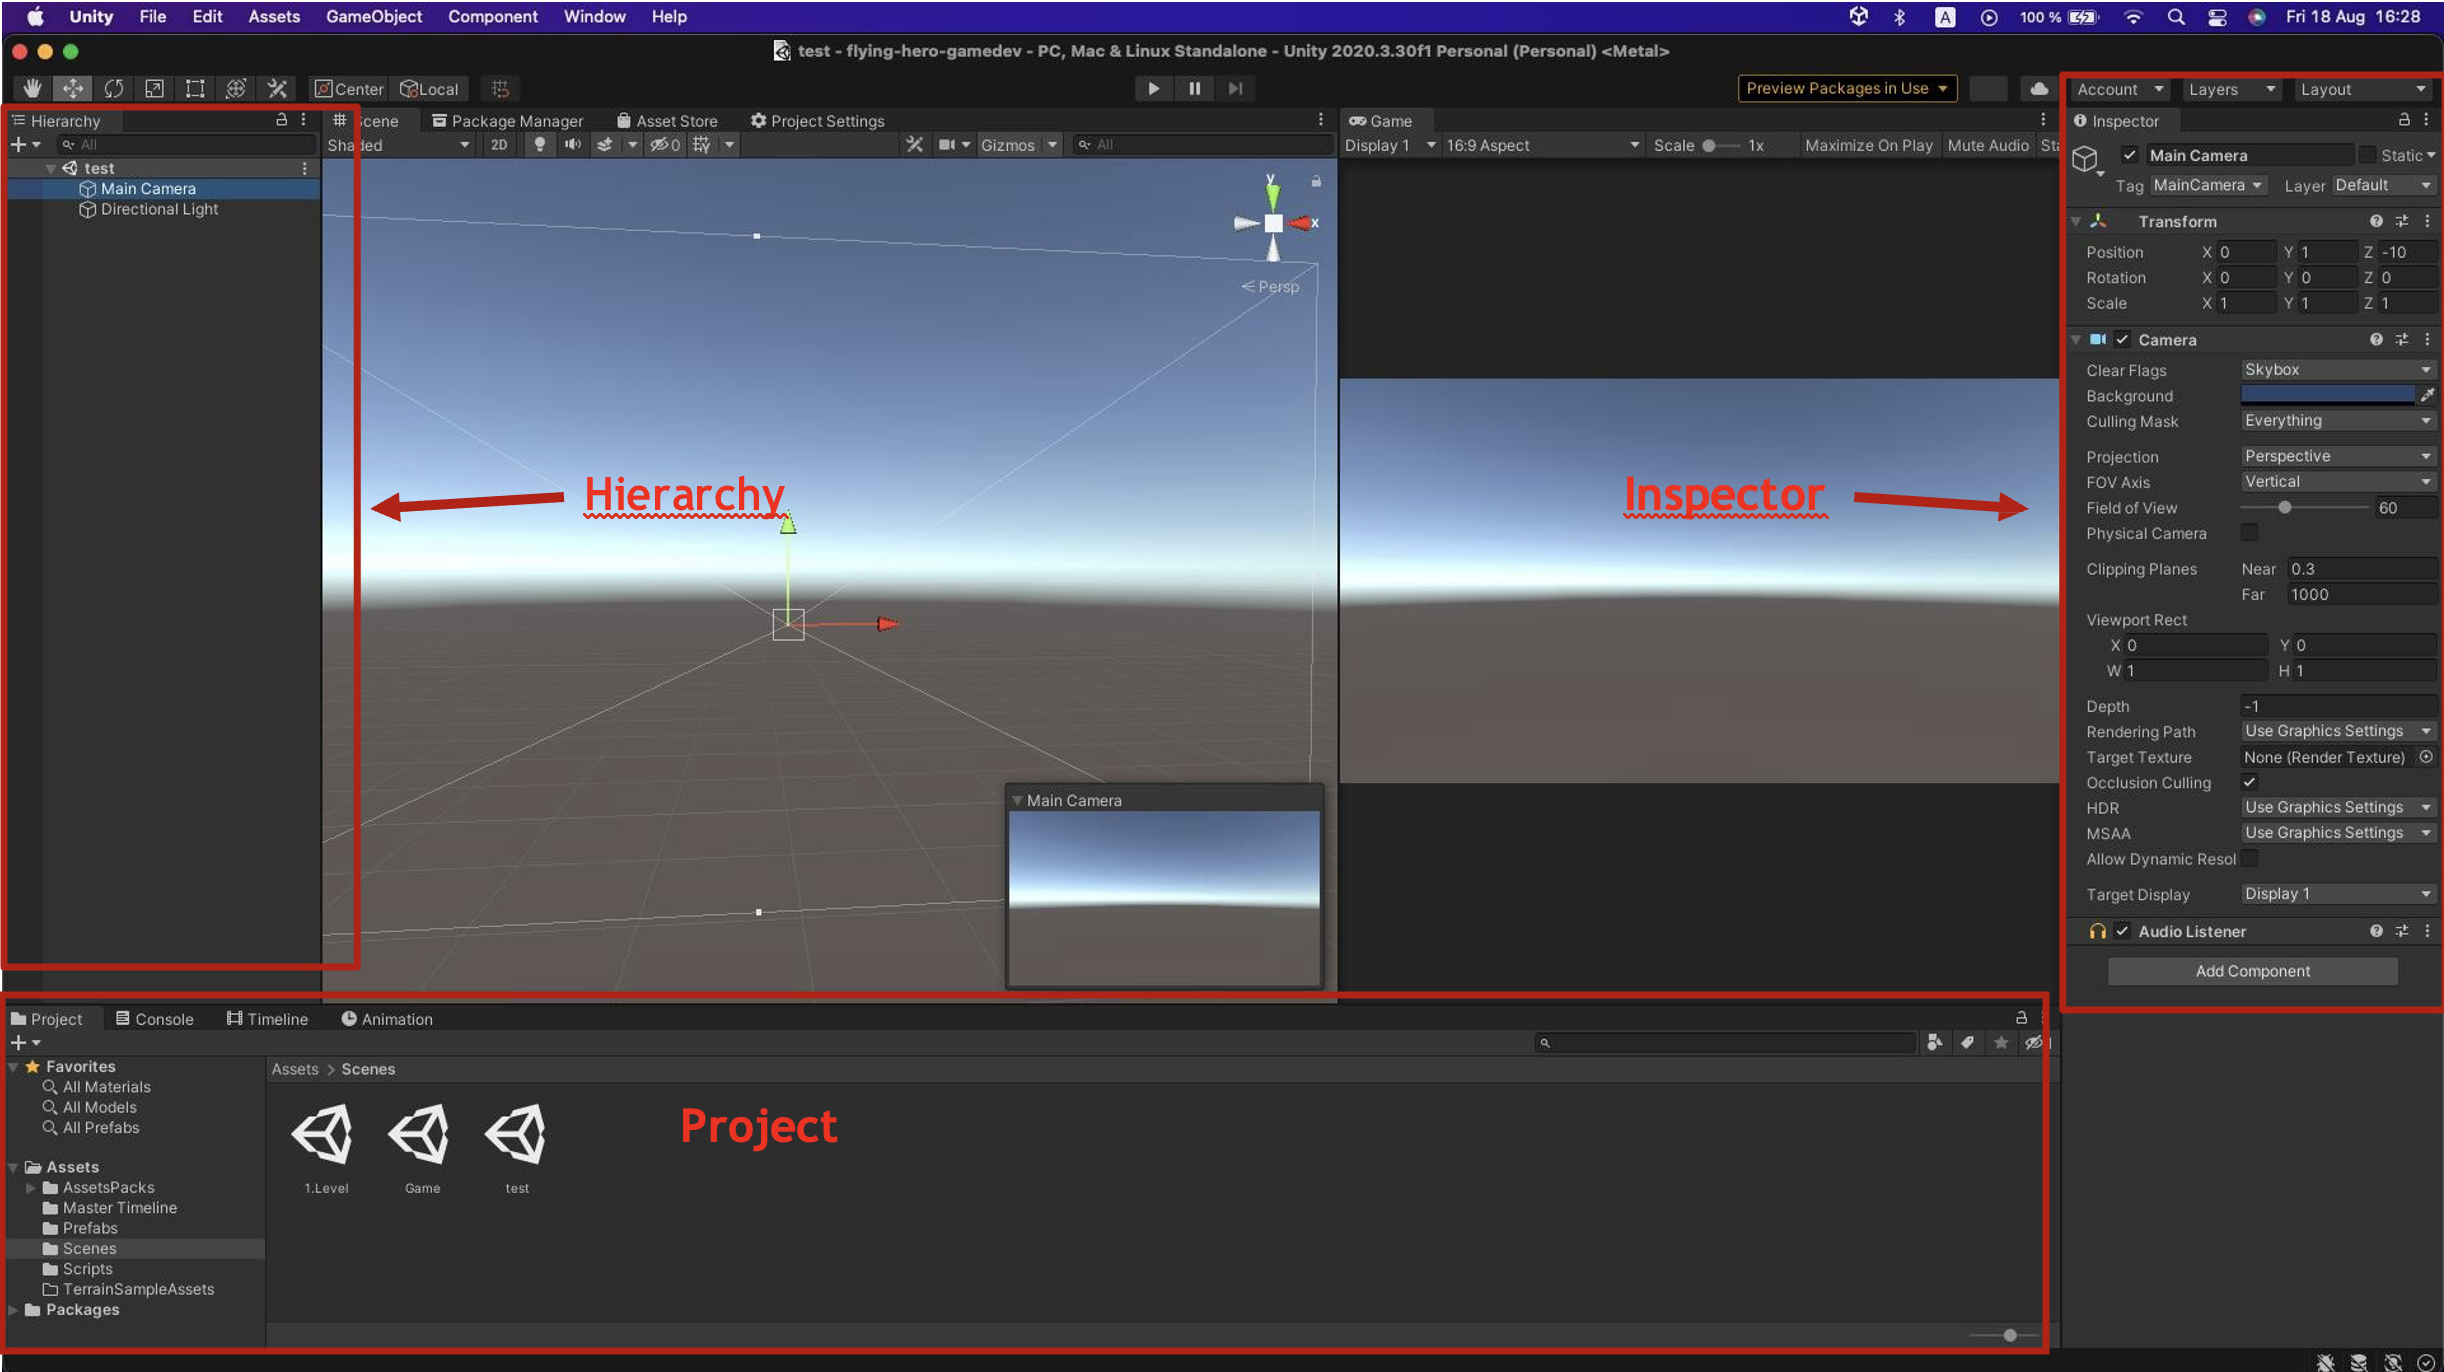
What is the hierarchy?
In Unity, the hierarchy is a structure that organizes game objects based on their relationships.
It shows which objects are parents and which are children. This relationship makes it easier to manage, organize, and edit objects in your game.
Through the hierarchy, you can easily control an object’s visibility and activity, which is essential when building games in Unity.
What is the Inspector?
The Inspector in Unity is a panel that provides detailed information and settings for the selected game object or component.
It’s where you can adjust object properties, add components, change their parameters, and visually configure various aspects of your game.
What is the Project window?
The “Project” window in Unity is where you view and work with all files in your project.
You can see the list of files and folders, search, organize them, and perform operations like opening, renaming, or deleting.
It’s an essential tool for managing your project files.
The content of the entire project — scenes, prefabs, assets, etc. — is displayed at the bottom in the Project window.
Terrain
After opening the Unity project, navigate to the Scenes folder.
What is a scene?
In Unity, a scene is the fundamental building block where your game or application takes place.
A scene contains all game objects, cameras, lights, and other elements that make up your game. This includes characters, environment, sounds, and other components.
Scenes can serve different purposes, from game levels to UI sections. In Unity, you can create, edit, and switch between scenes, which allows you to control how your game progresses and how objects are organized.
Scenes are thus an essential tool for creating and organizing games and applications in Unity.

In the Scenes folder, right-click to open the context menu, select Create, and from the menu choose Scene.
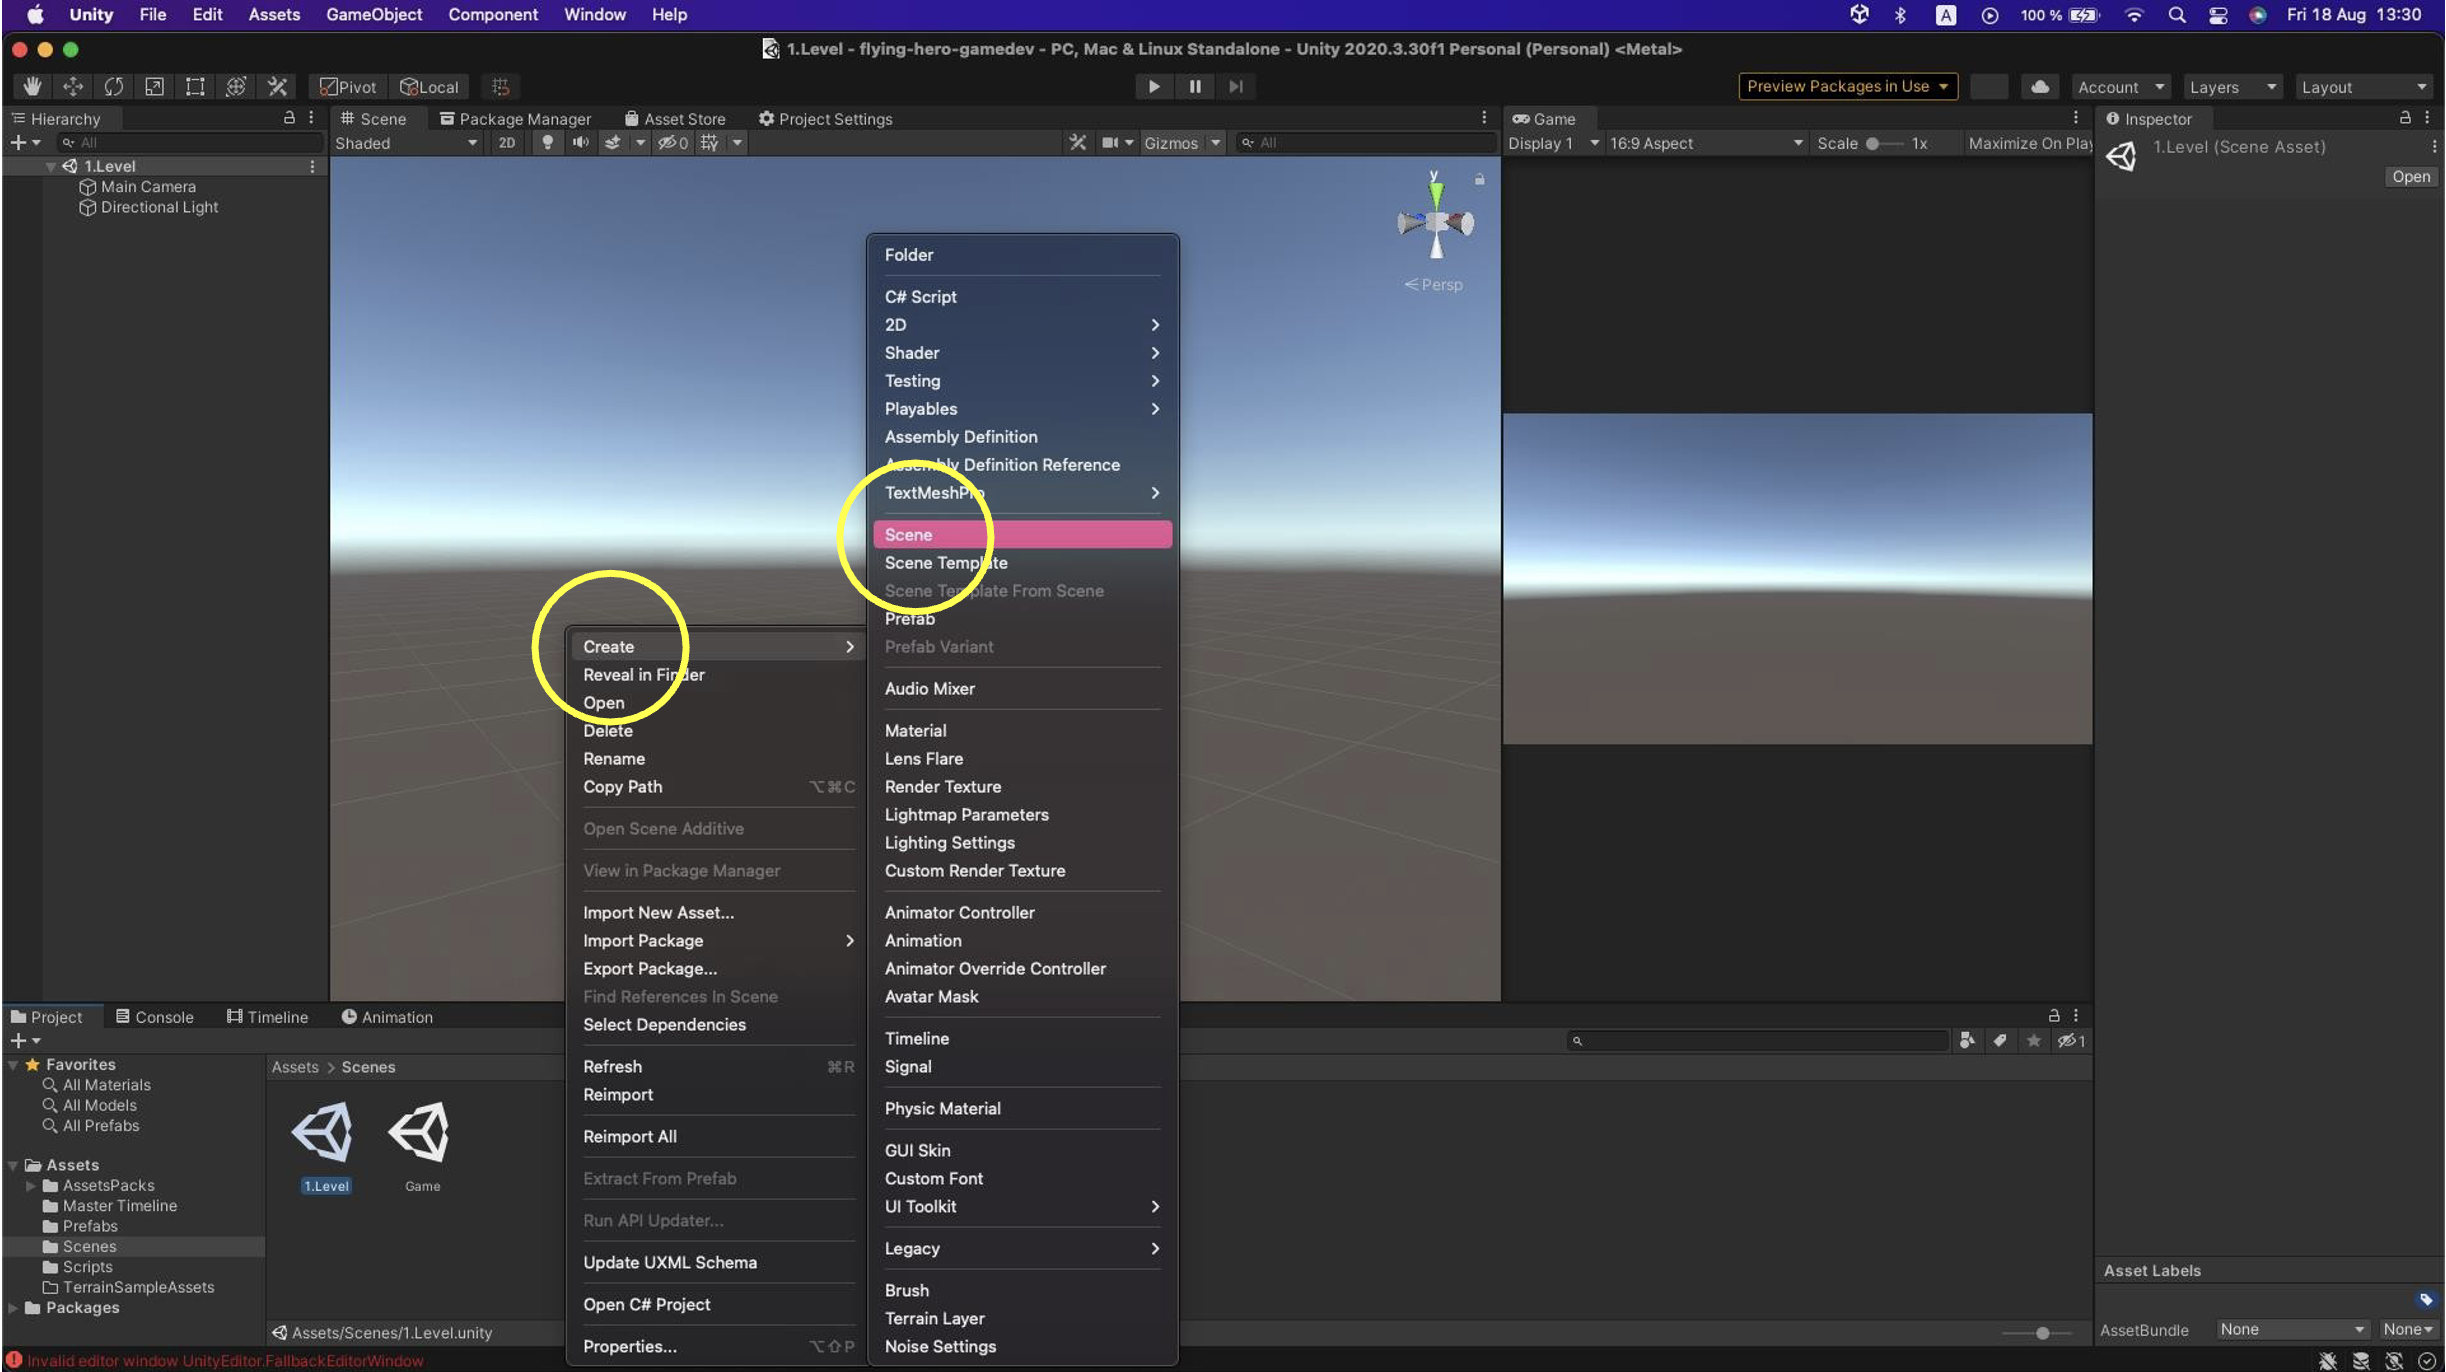
This will create a new scene where we will work in this tutorial. Ignore other scenes in the folder for now; we will use them later.
In the hierarchy, right-click again, select 3D Object, and then choose Terrain from its menu.
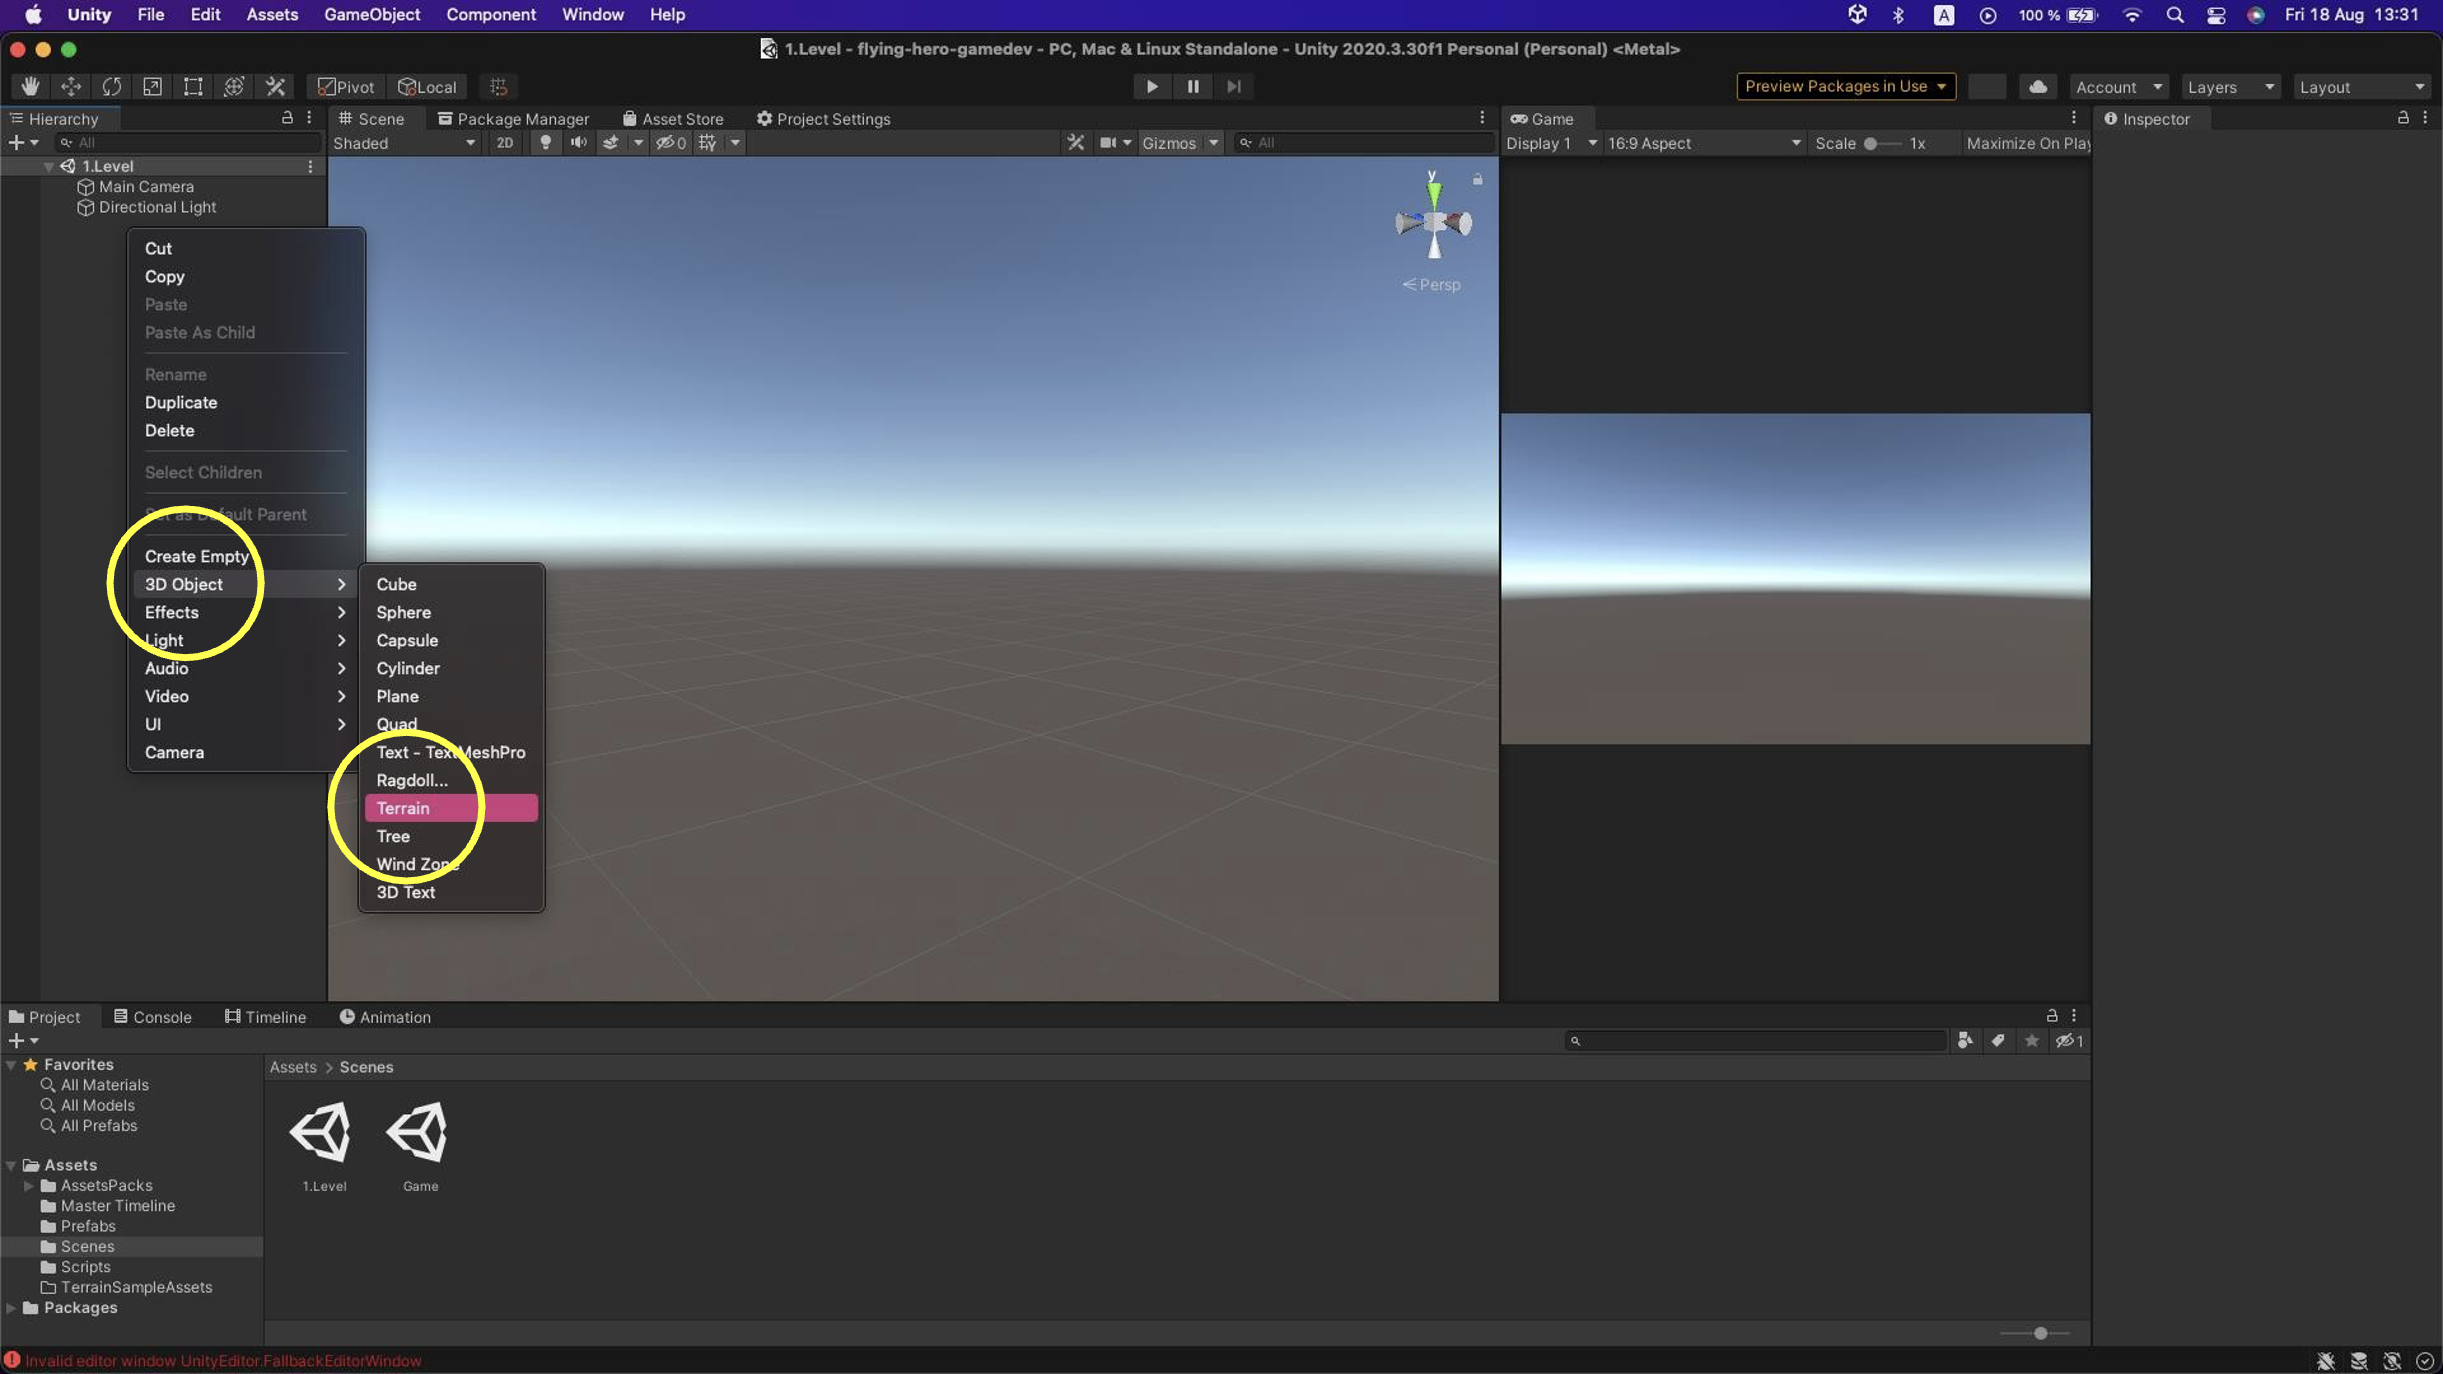
This will create a terrain area. For us, it will represent the game ground for our project. In its settings (Inspector), set Position to (0, -100, 0). We chose y = -100 because we will create hills and valleys. Set Scale to (1, 1, 1) as we don’t need large areas at this point.
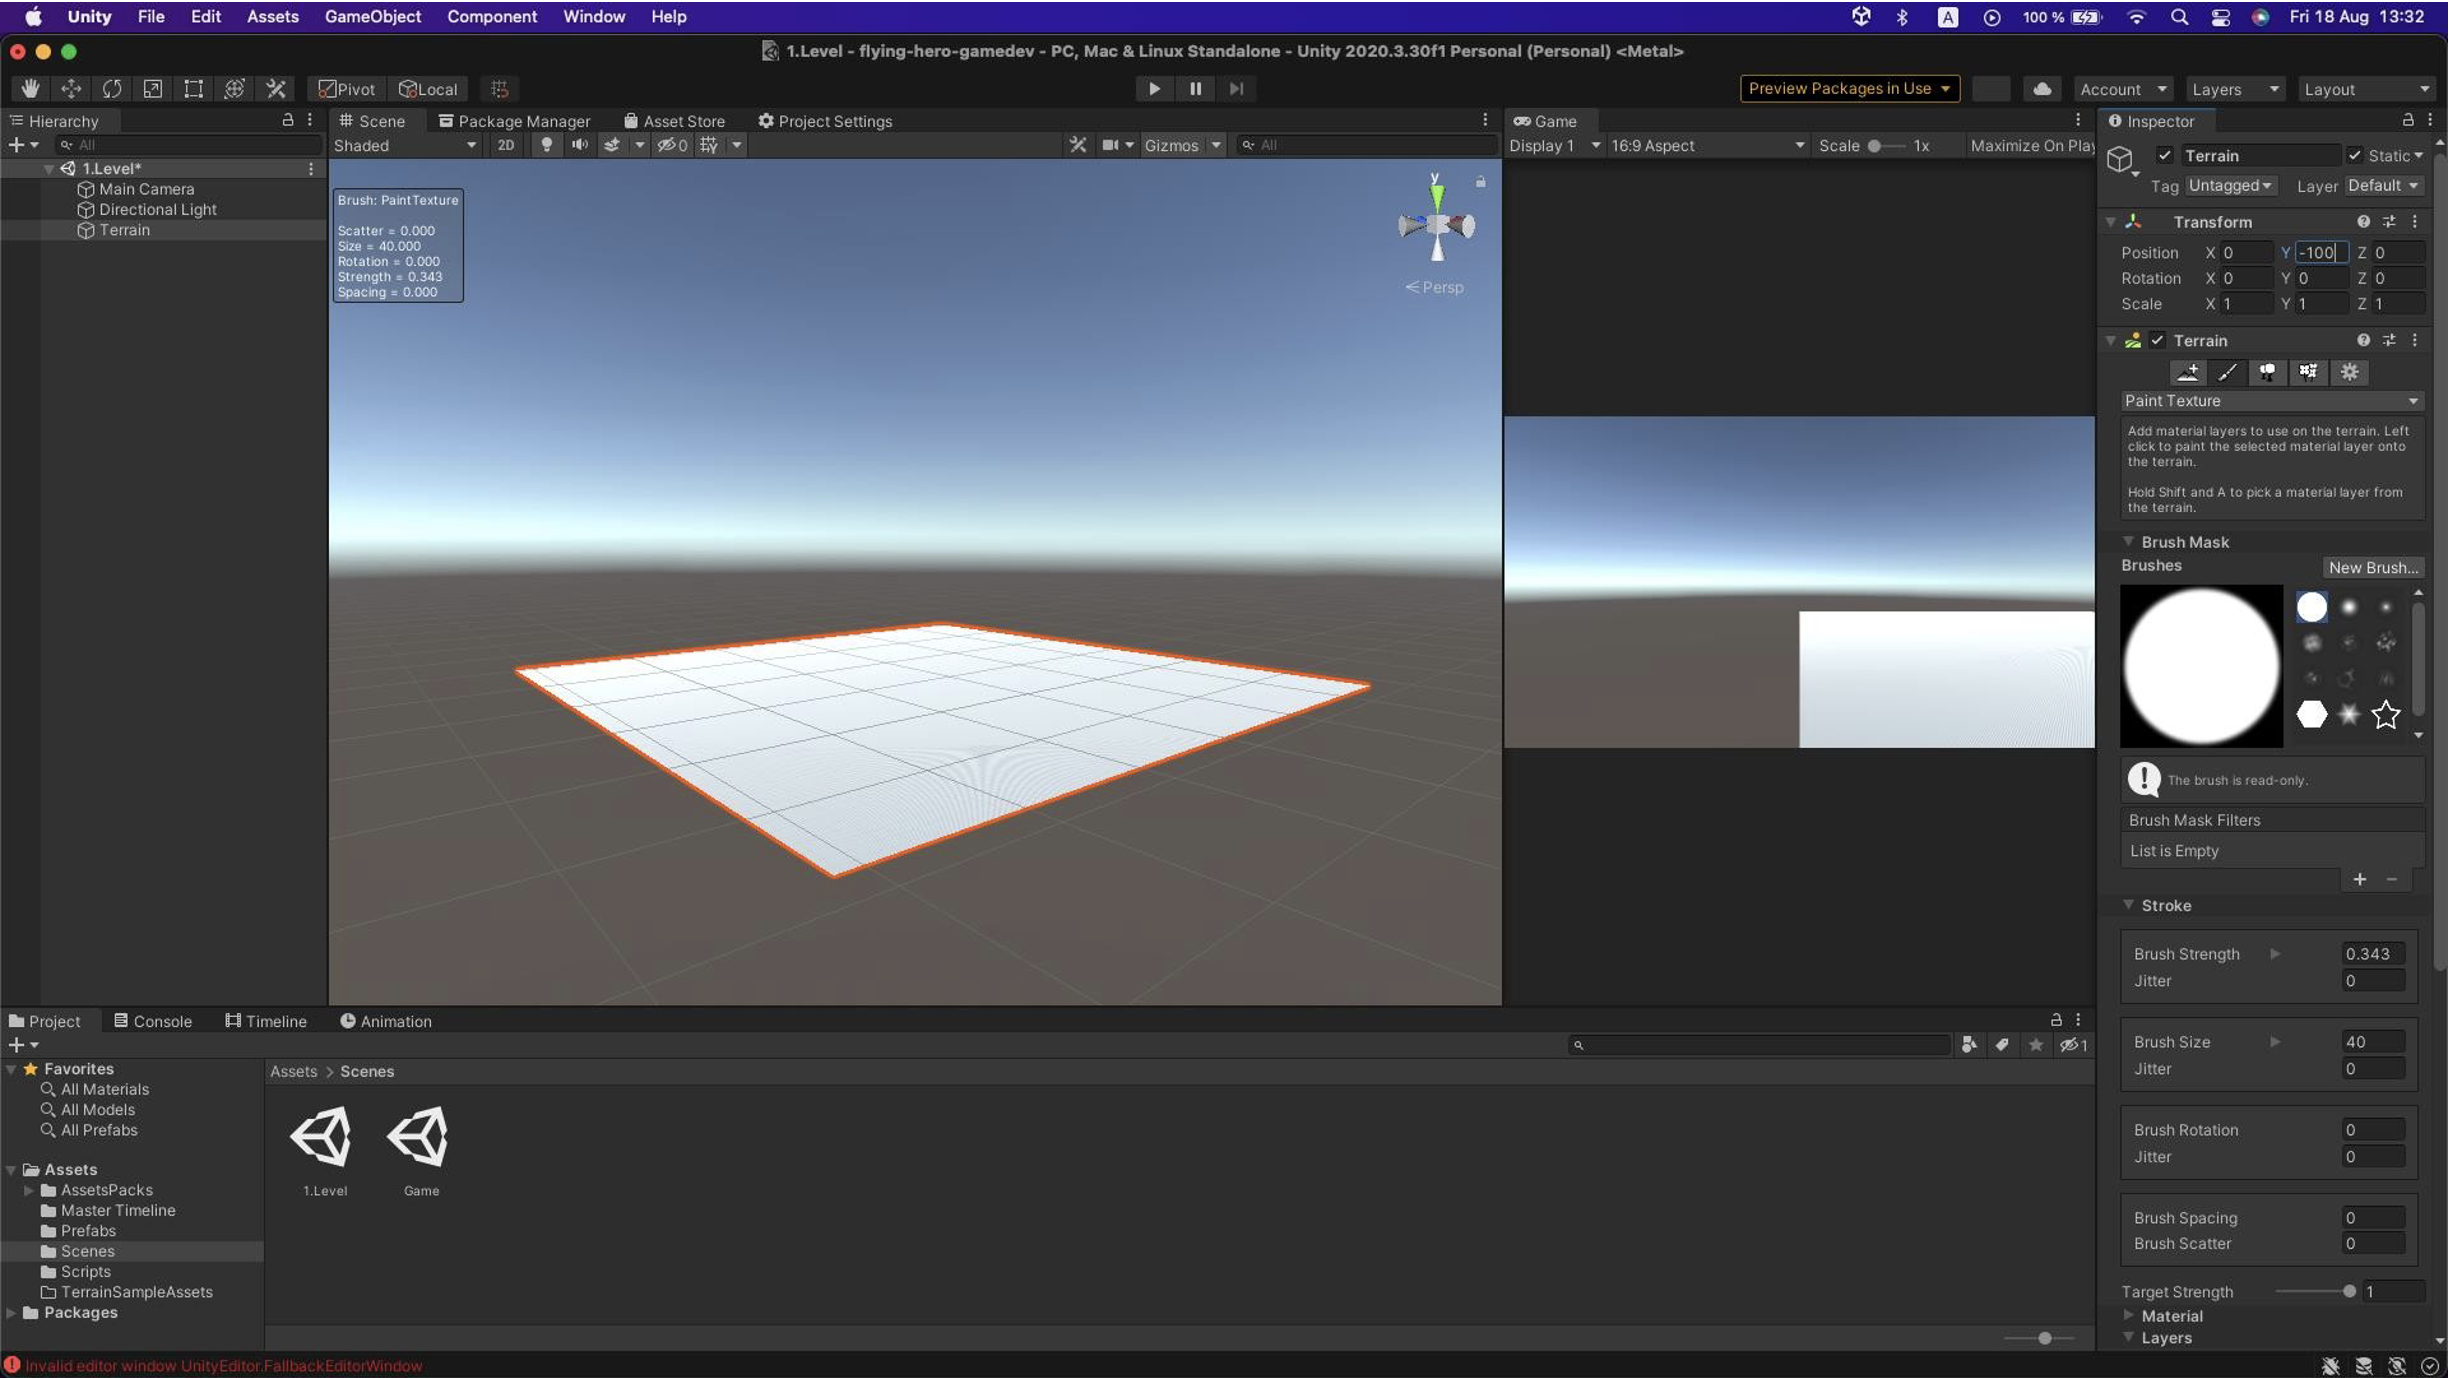
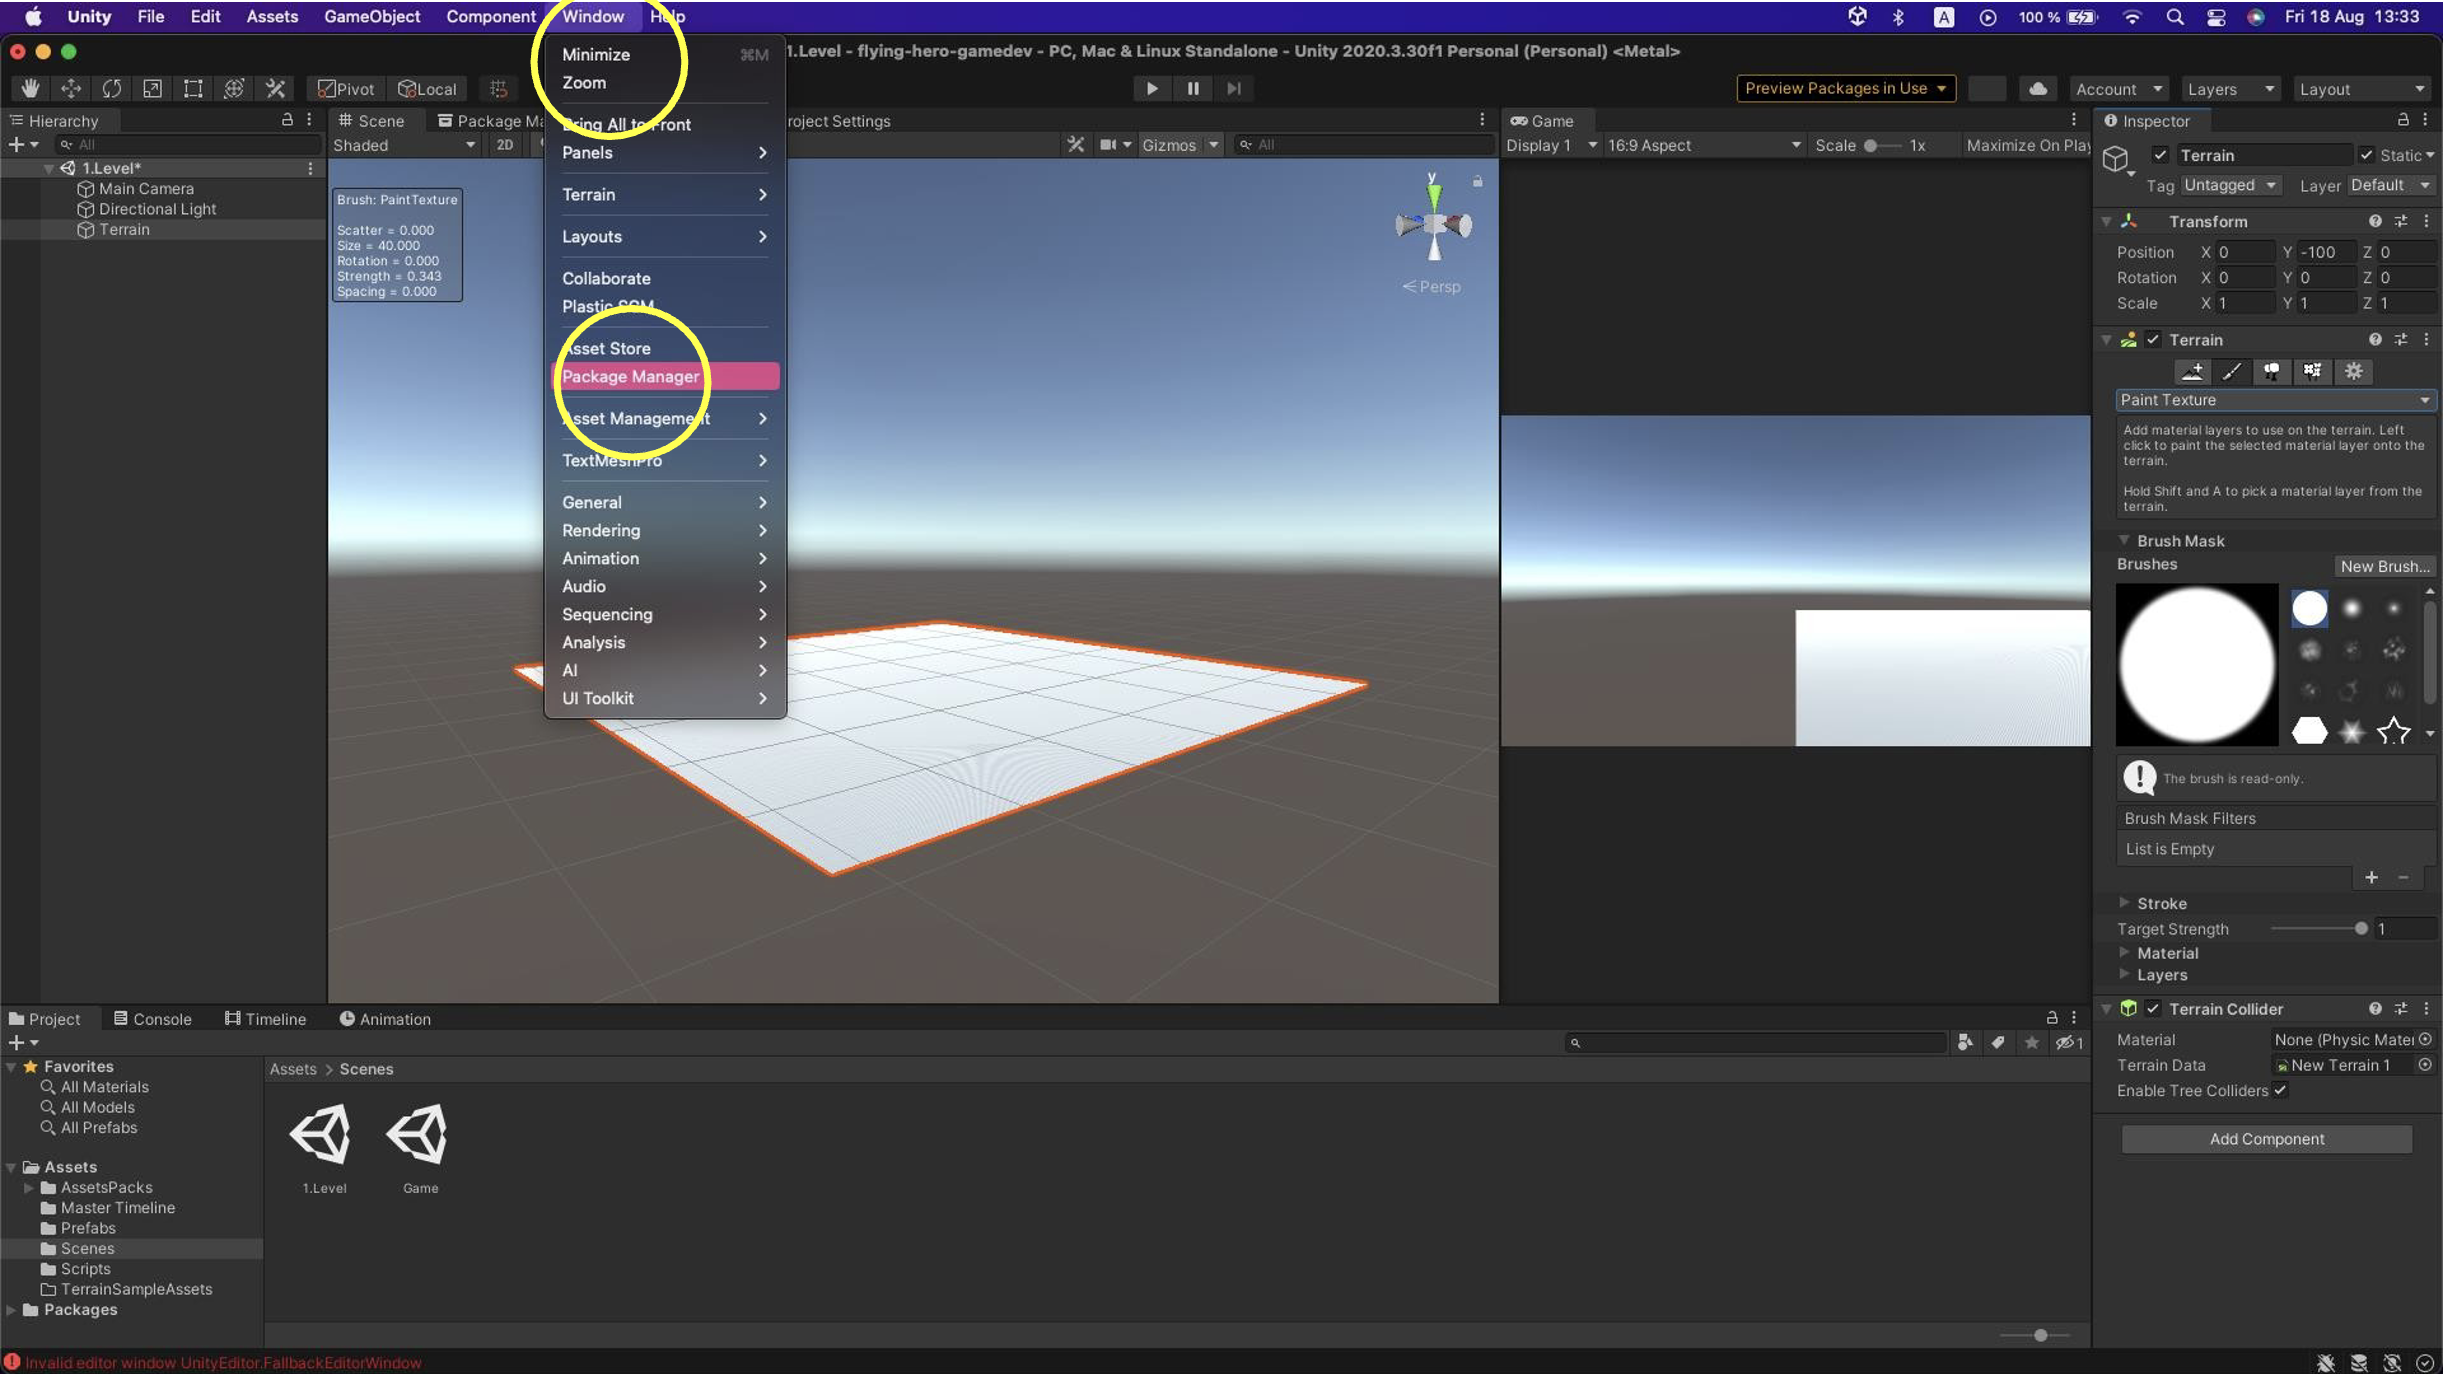
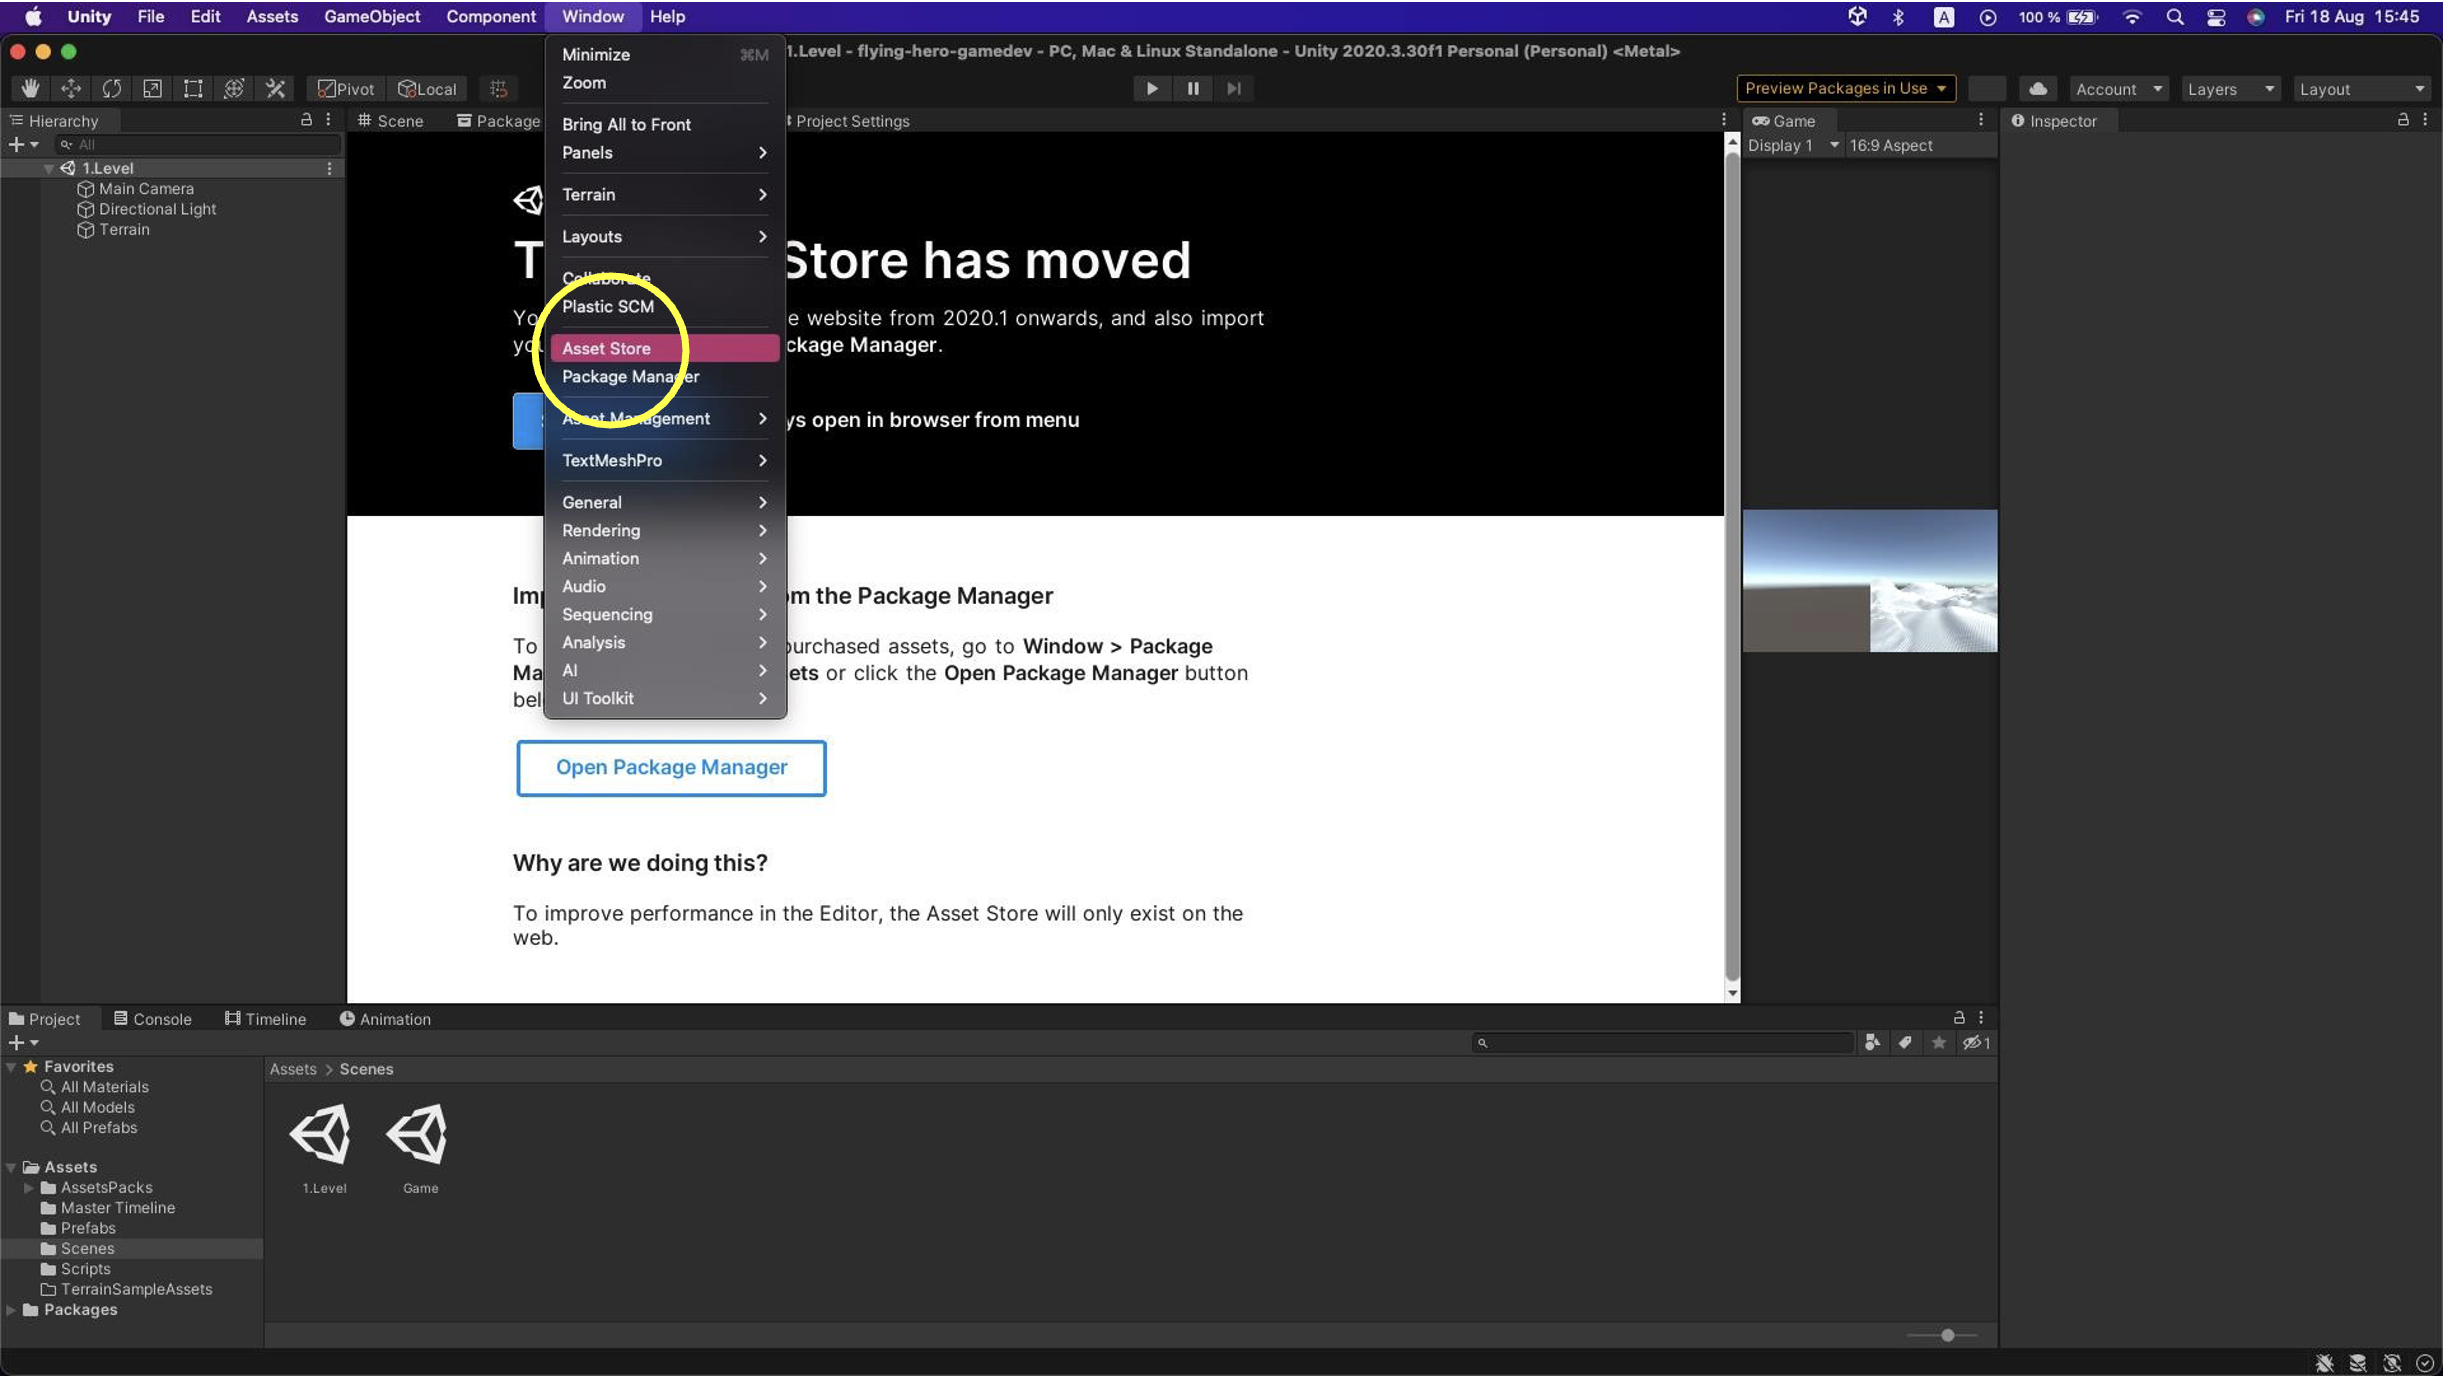
As you can see, the Inspector offers various brushes, sizes, and options. If this isn’t available in your current layout, go to Windows → Package Manager. It may open as a separate window; if so, dock it near the scene since we’ll need it visible.
What is a package?
In Unity, a package is a collection of elements such as scripts, models, textures, and sounds.
Packages are used to import and share content between projects and developers. They can extend Unity functionality and facilitate collaboration and project development.
Next, in Packages, select Unity Registry to see all packages.

Then, in the search field, type "Terrain Tools" to display this package in the Package Manager window. Download it into your project.
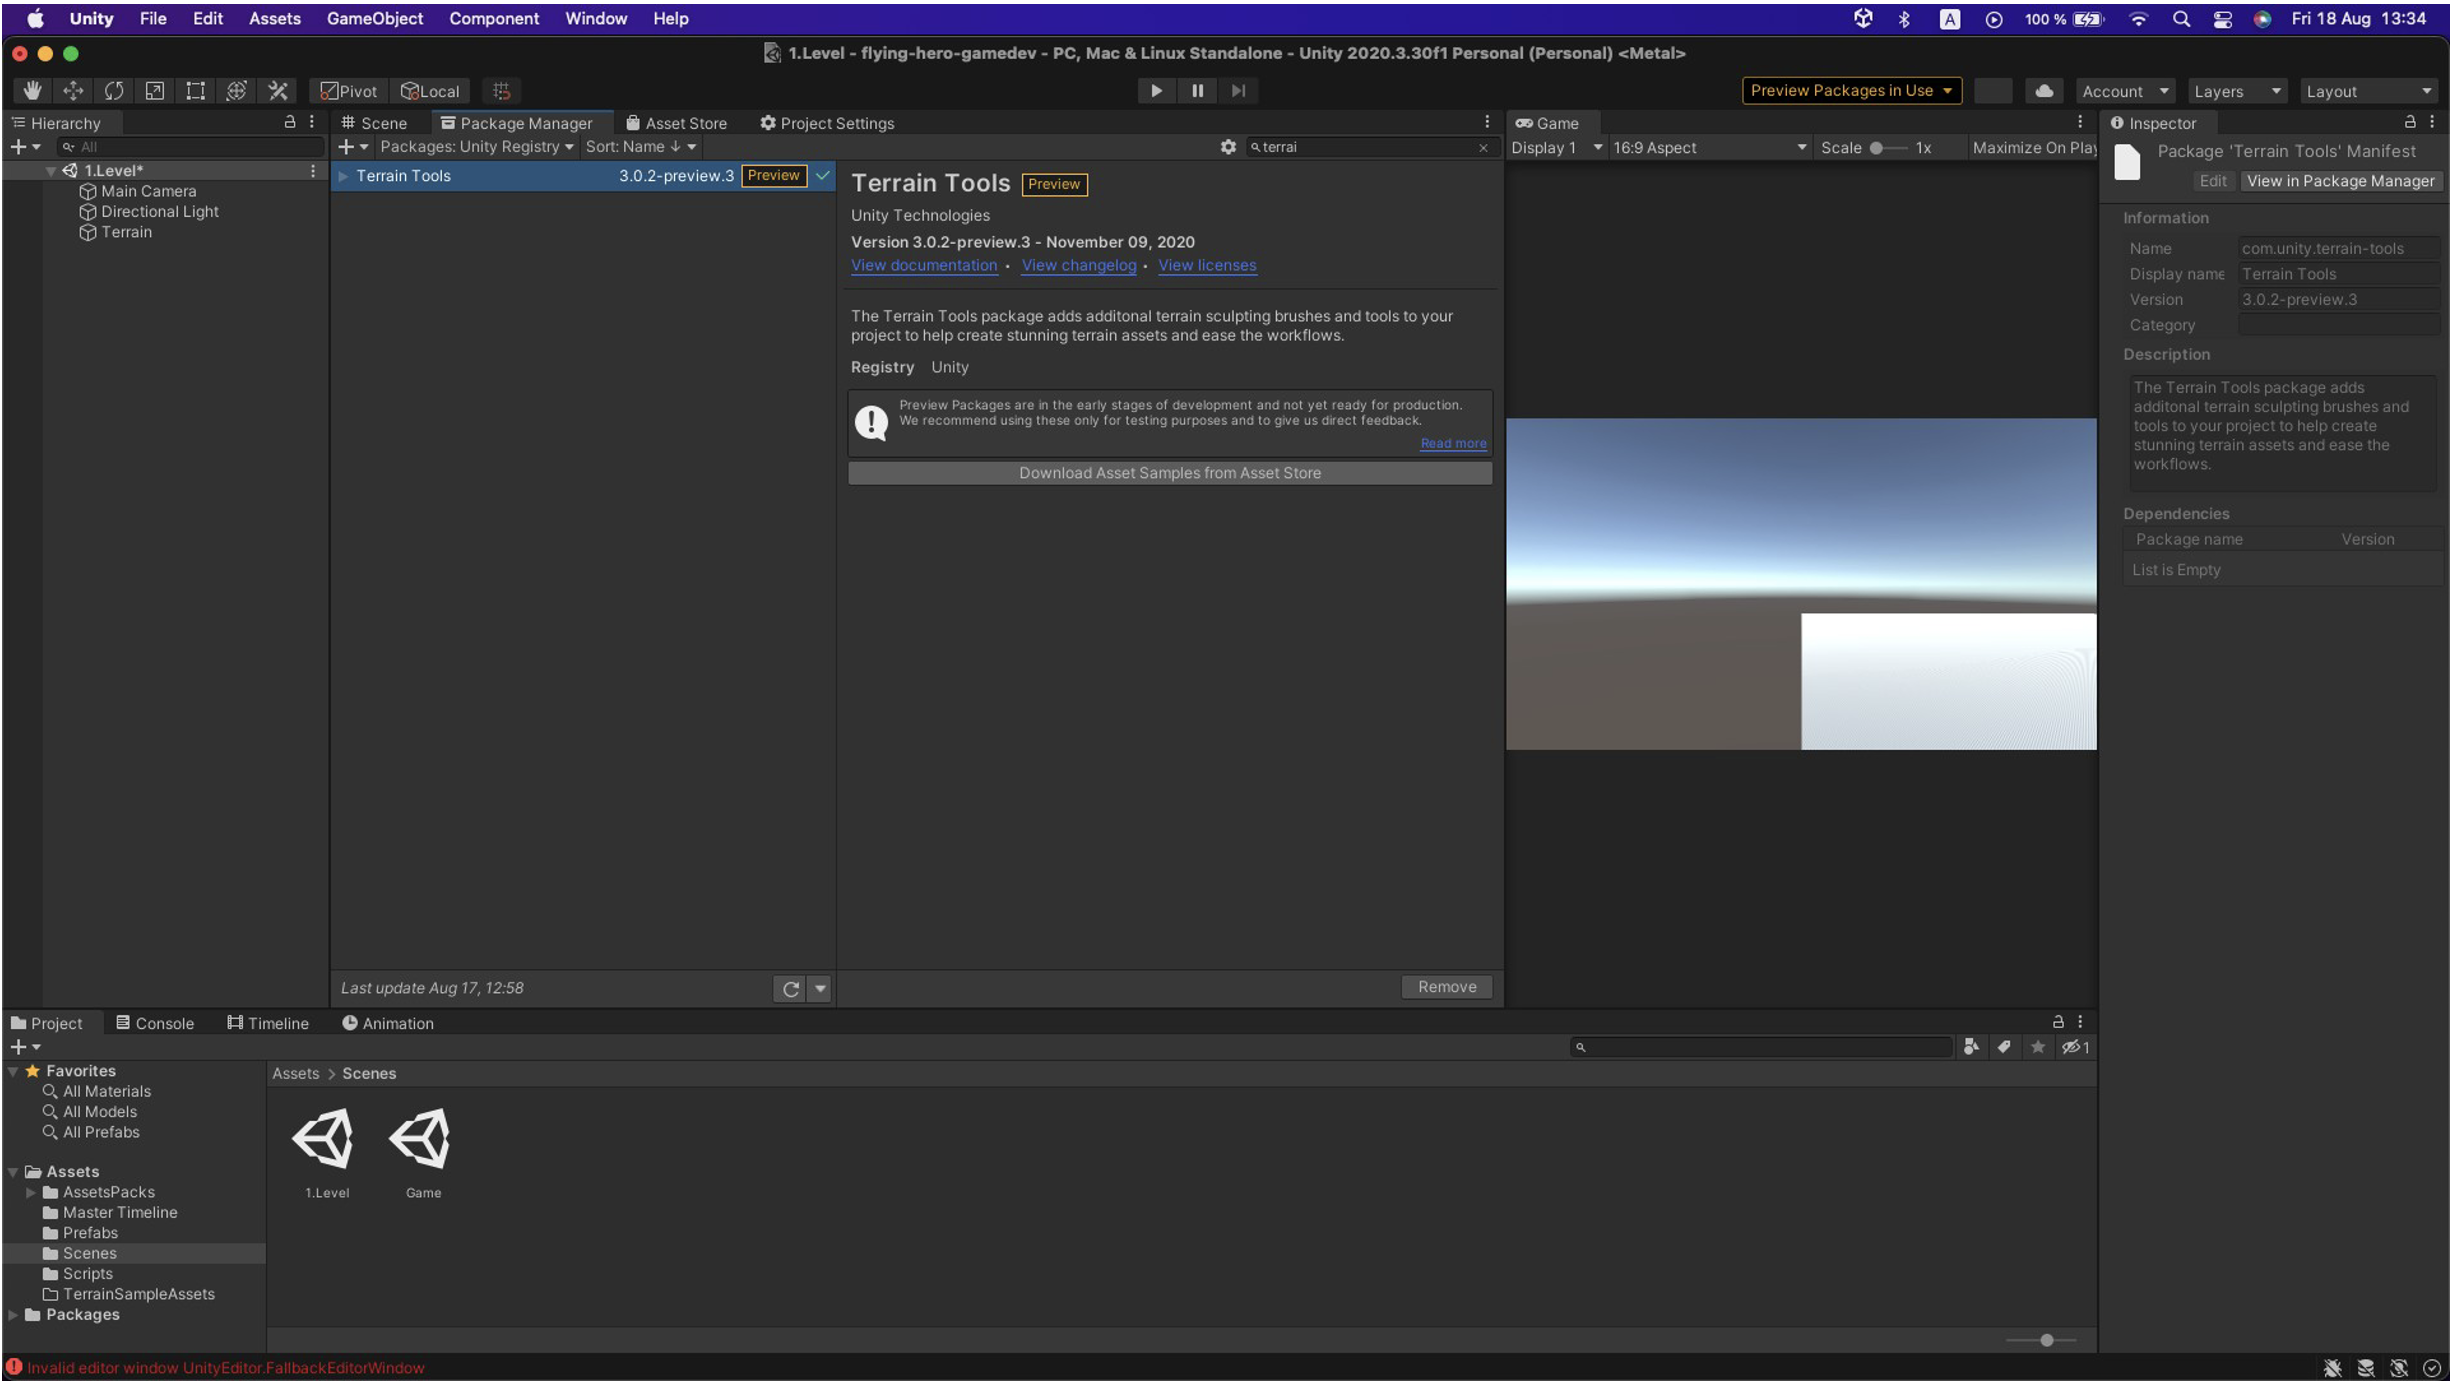
If you don’t see this package, go to Edit → Project Settings, and dock the window to your scene.
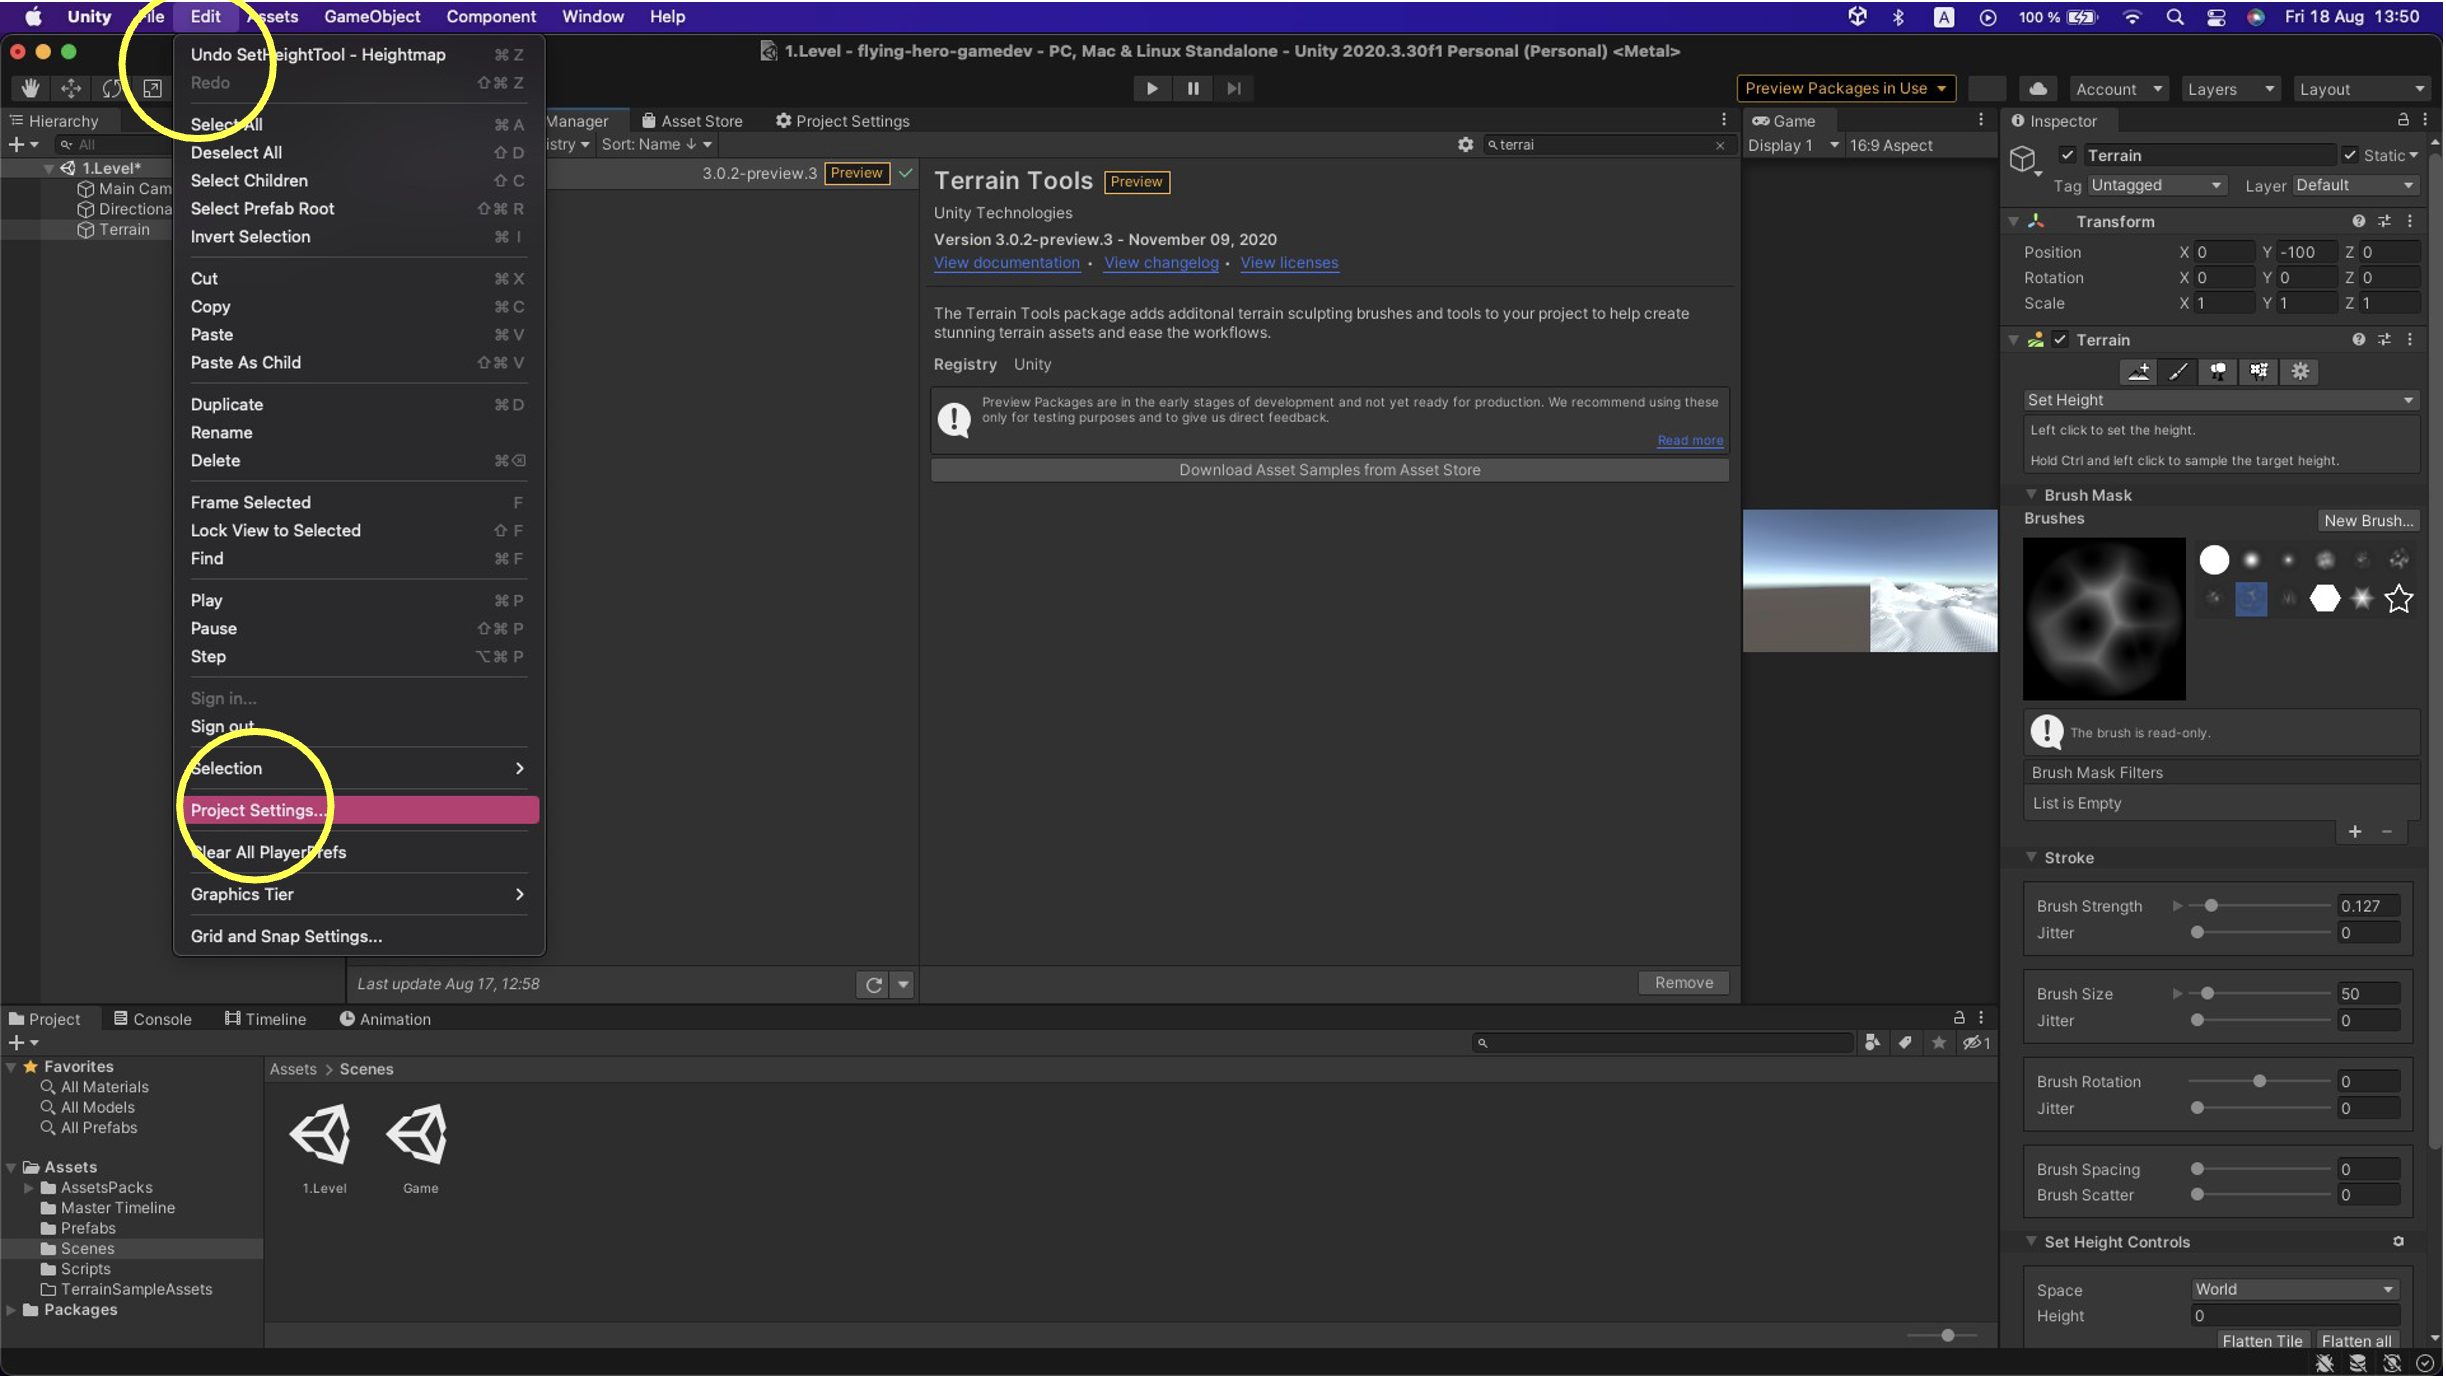
In Project Settings, choose Package Manager and enable Enable Preview Package.
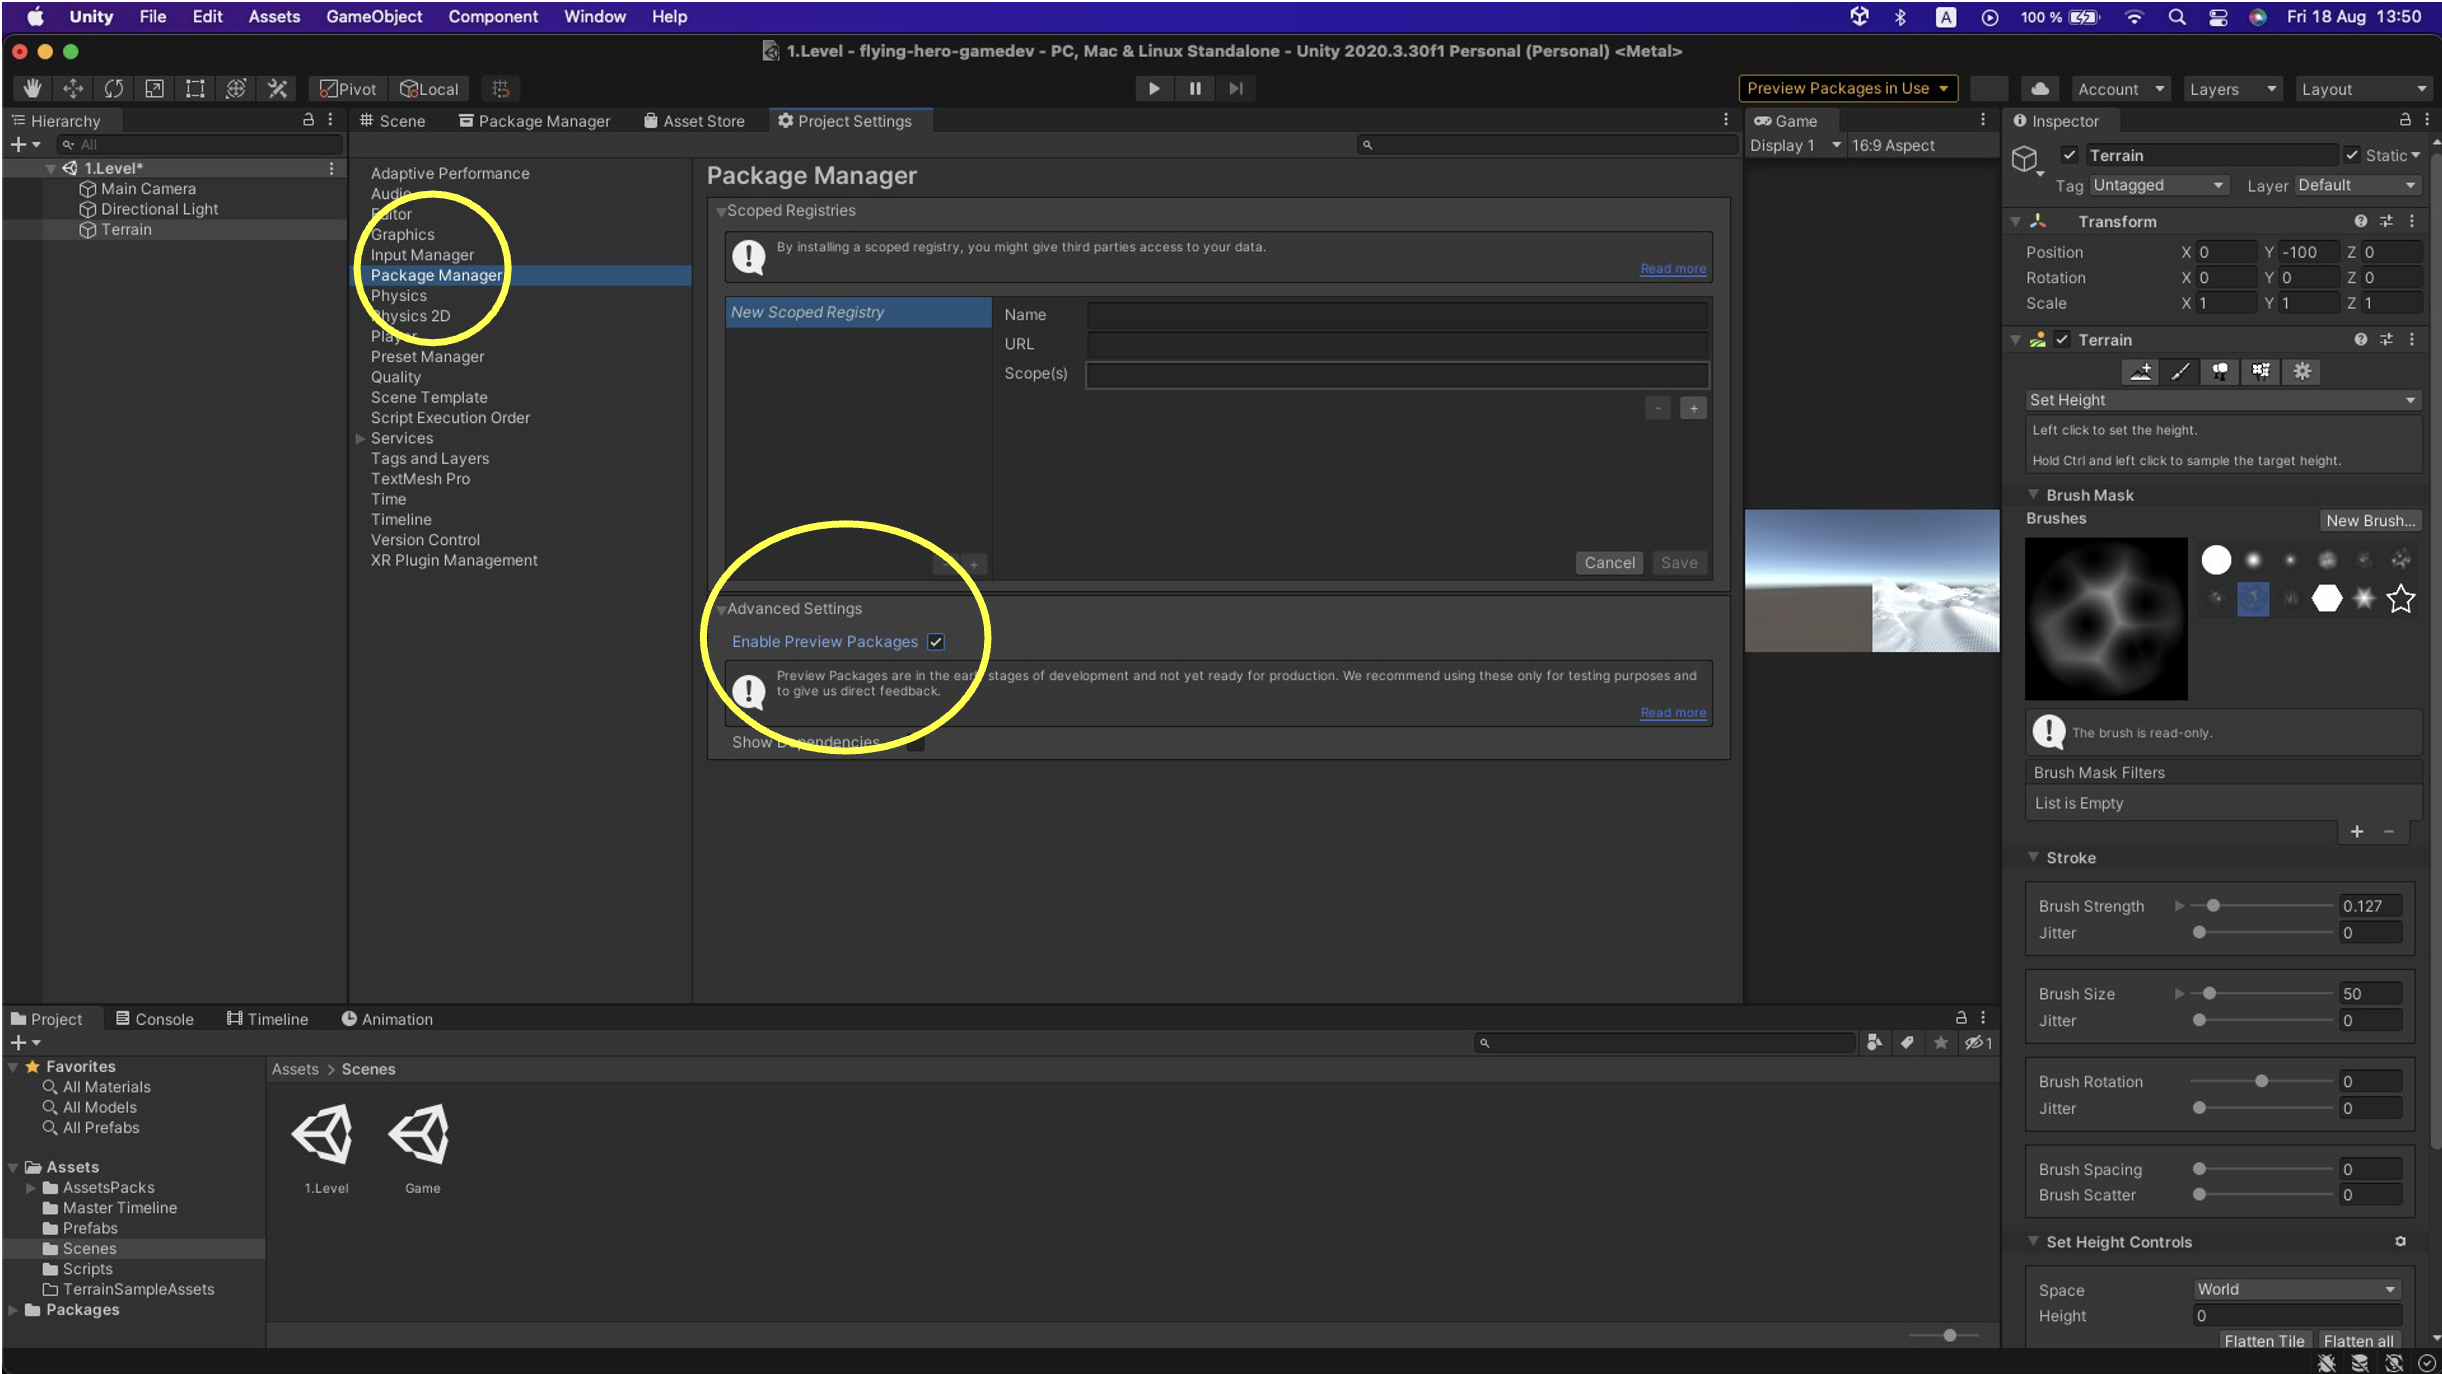
Now you should successfully have new brushes and terrain shapes available in the Inspector.
Task 1.1
Your first task is to design this terrain as you see fit for your game. Remember, the edges of the terrain should be higher so that when the player moves across the terrain, your background is visible behind the game area rather than Unity’s default brown background.
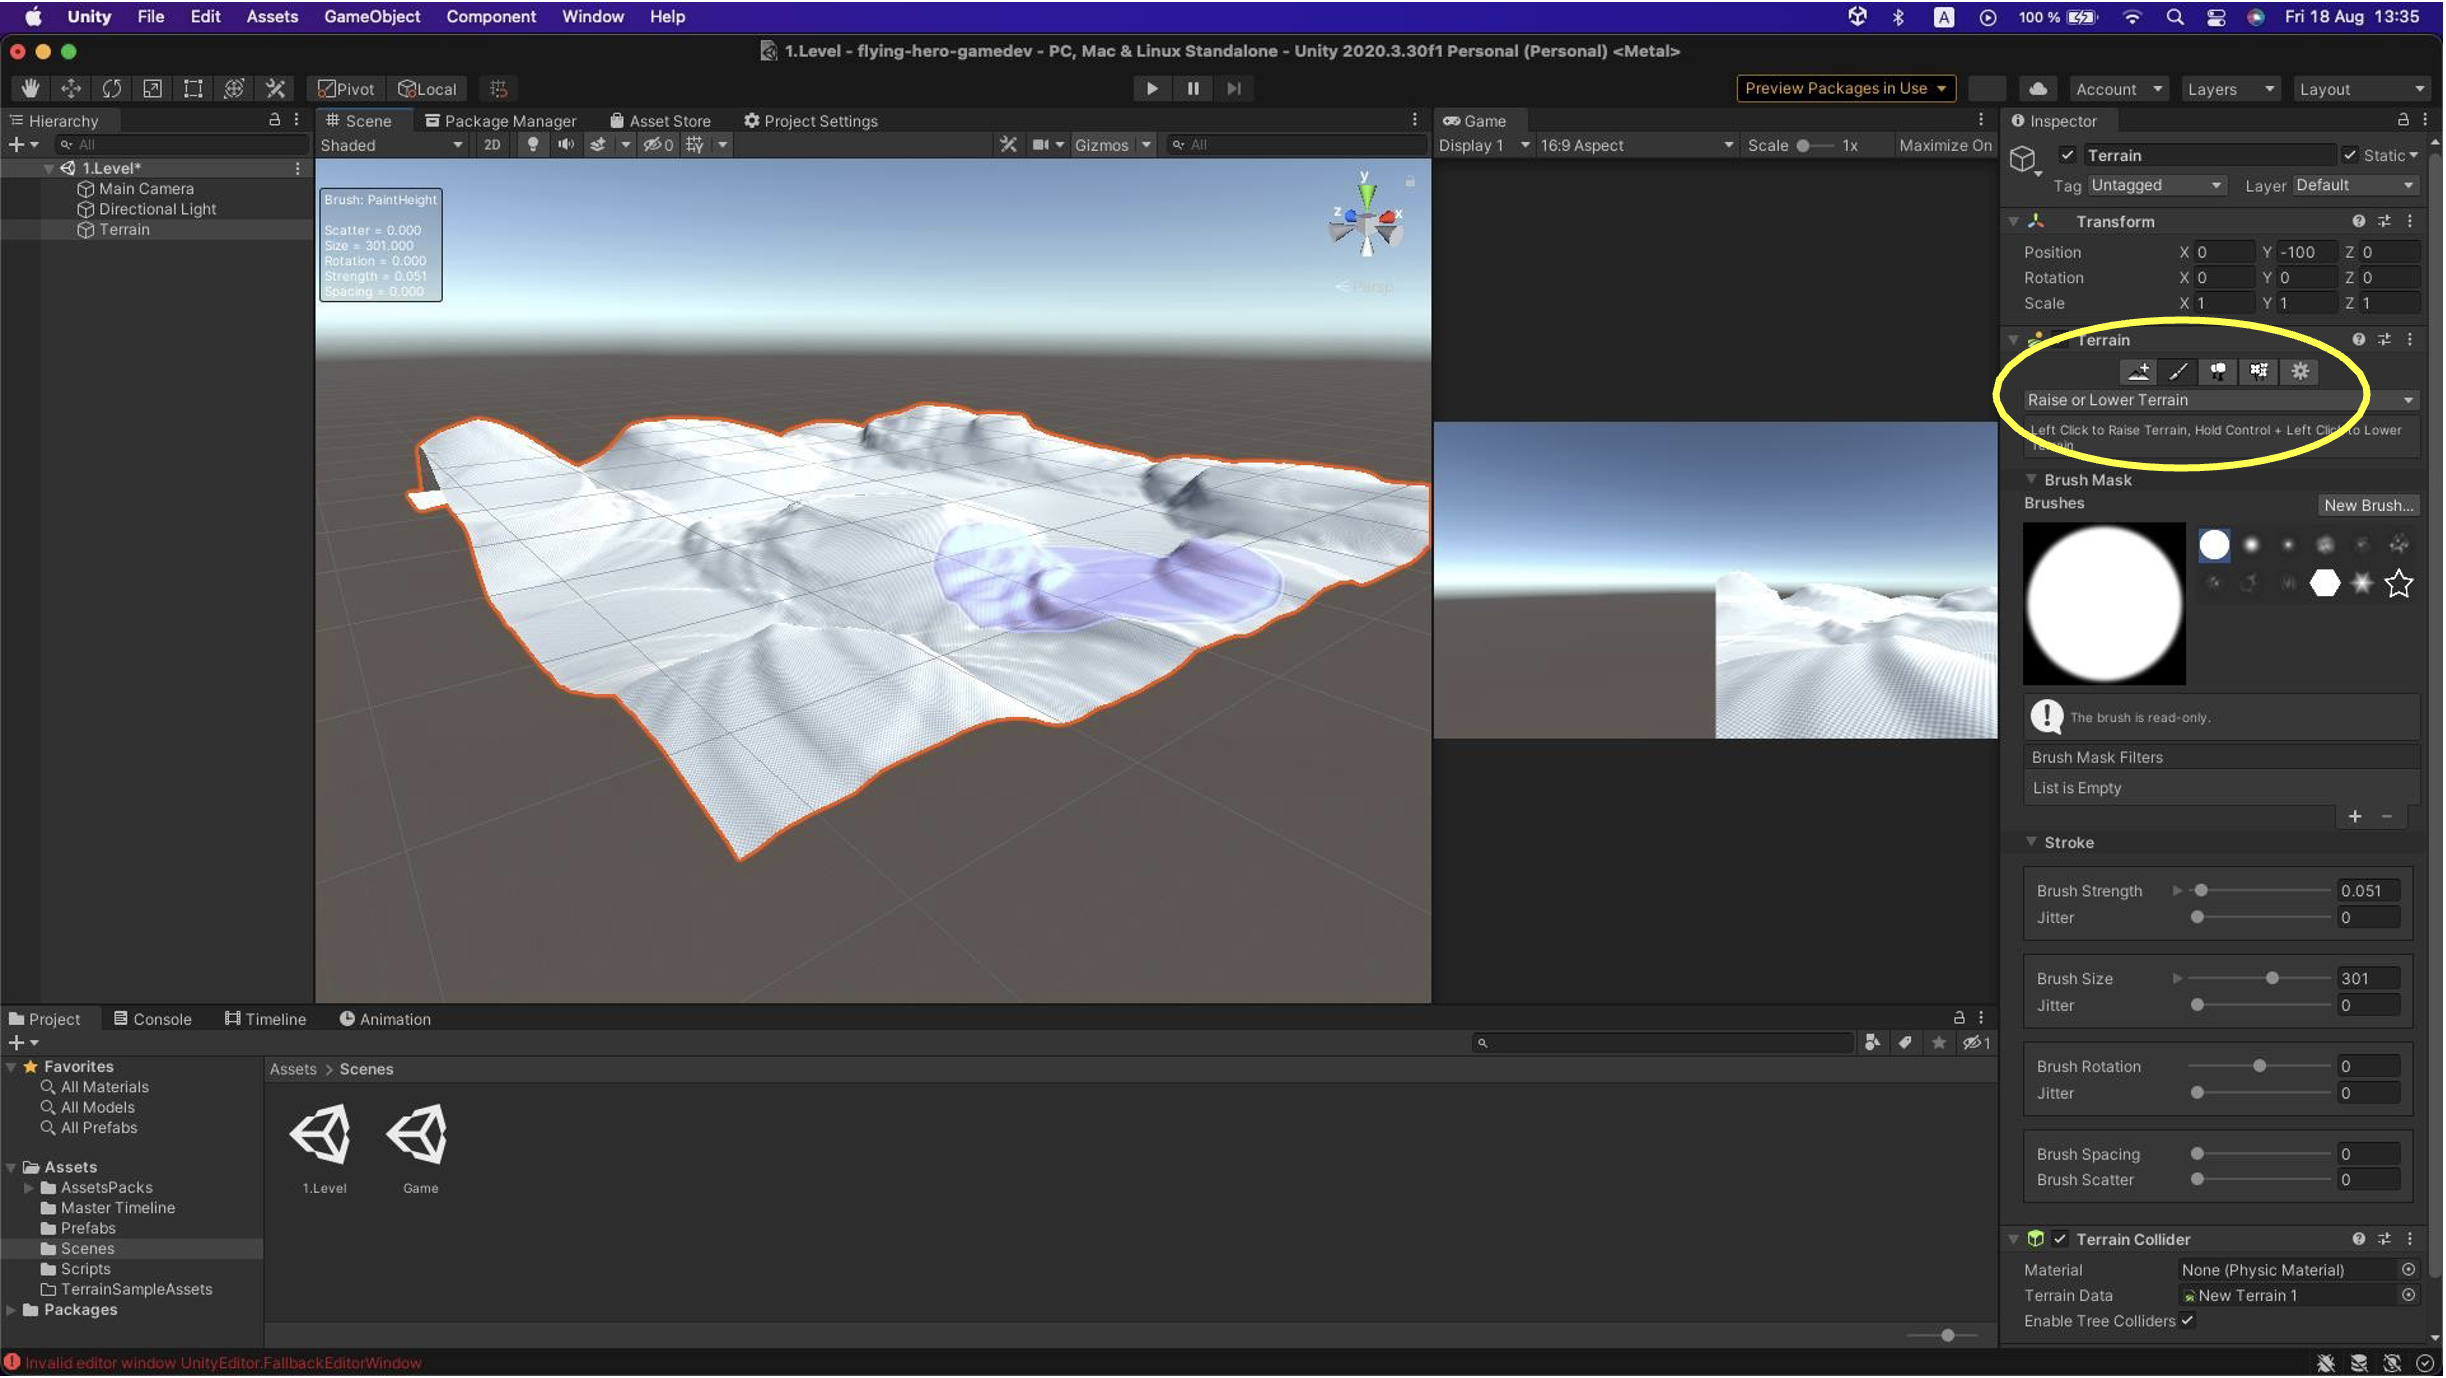
In this menu, you can select specific operations for the Terrain, such as leveling or creating various effects.
As you can see, you can adjust brush size, intensity, and many other settings in the Stroke panel.

The last step is colors. You will need to visit a Unity assets page, for example:
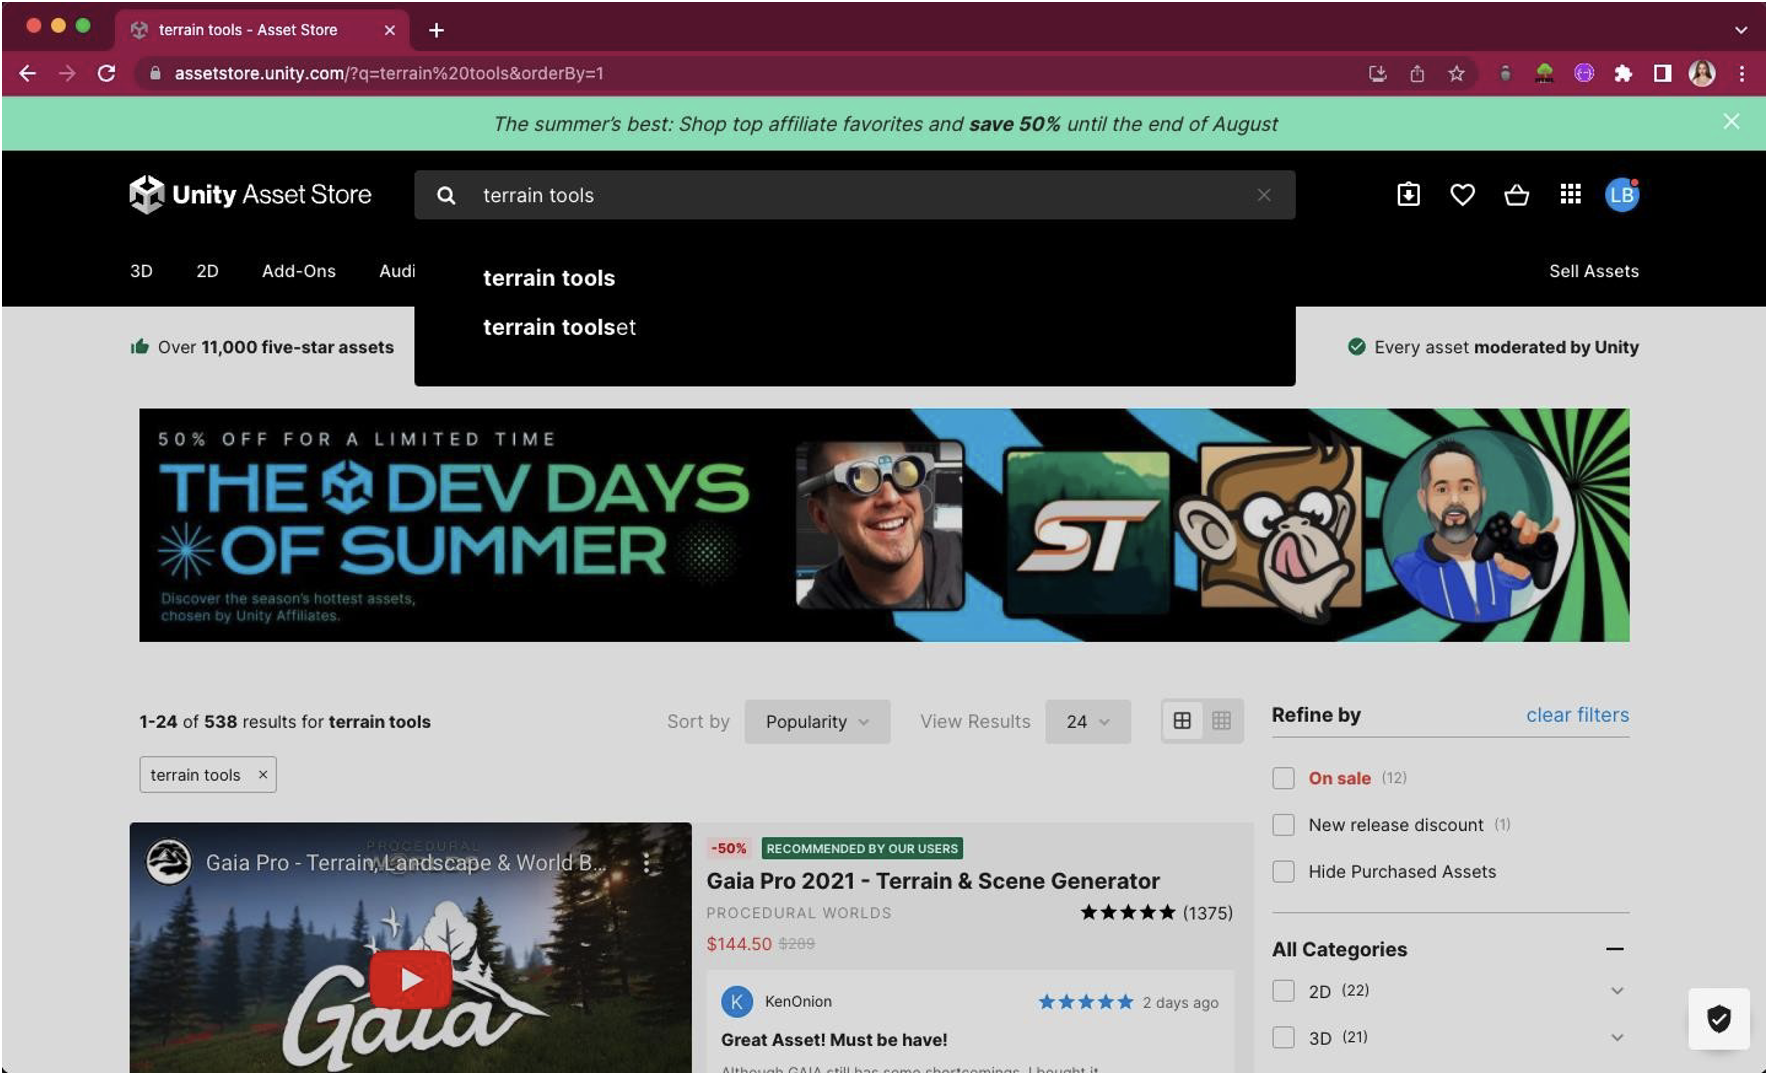
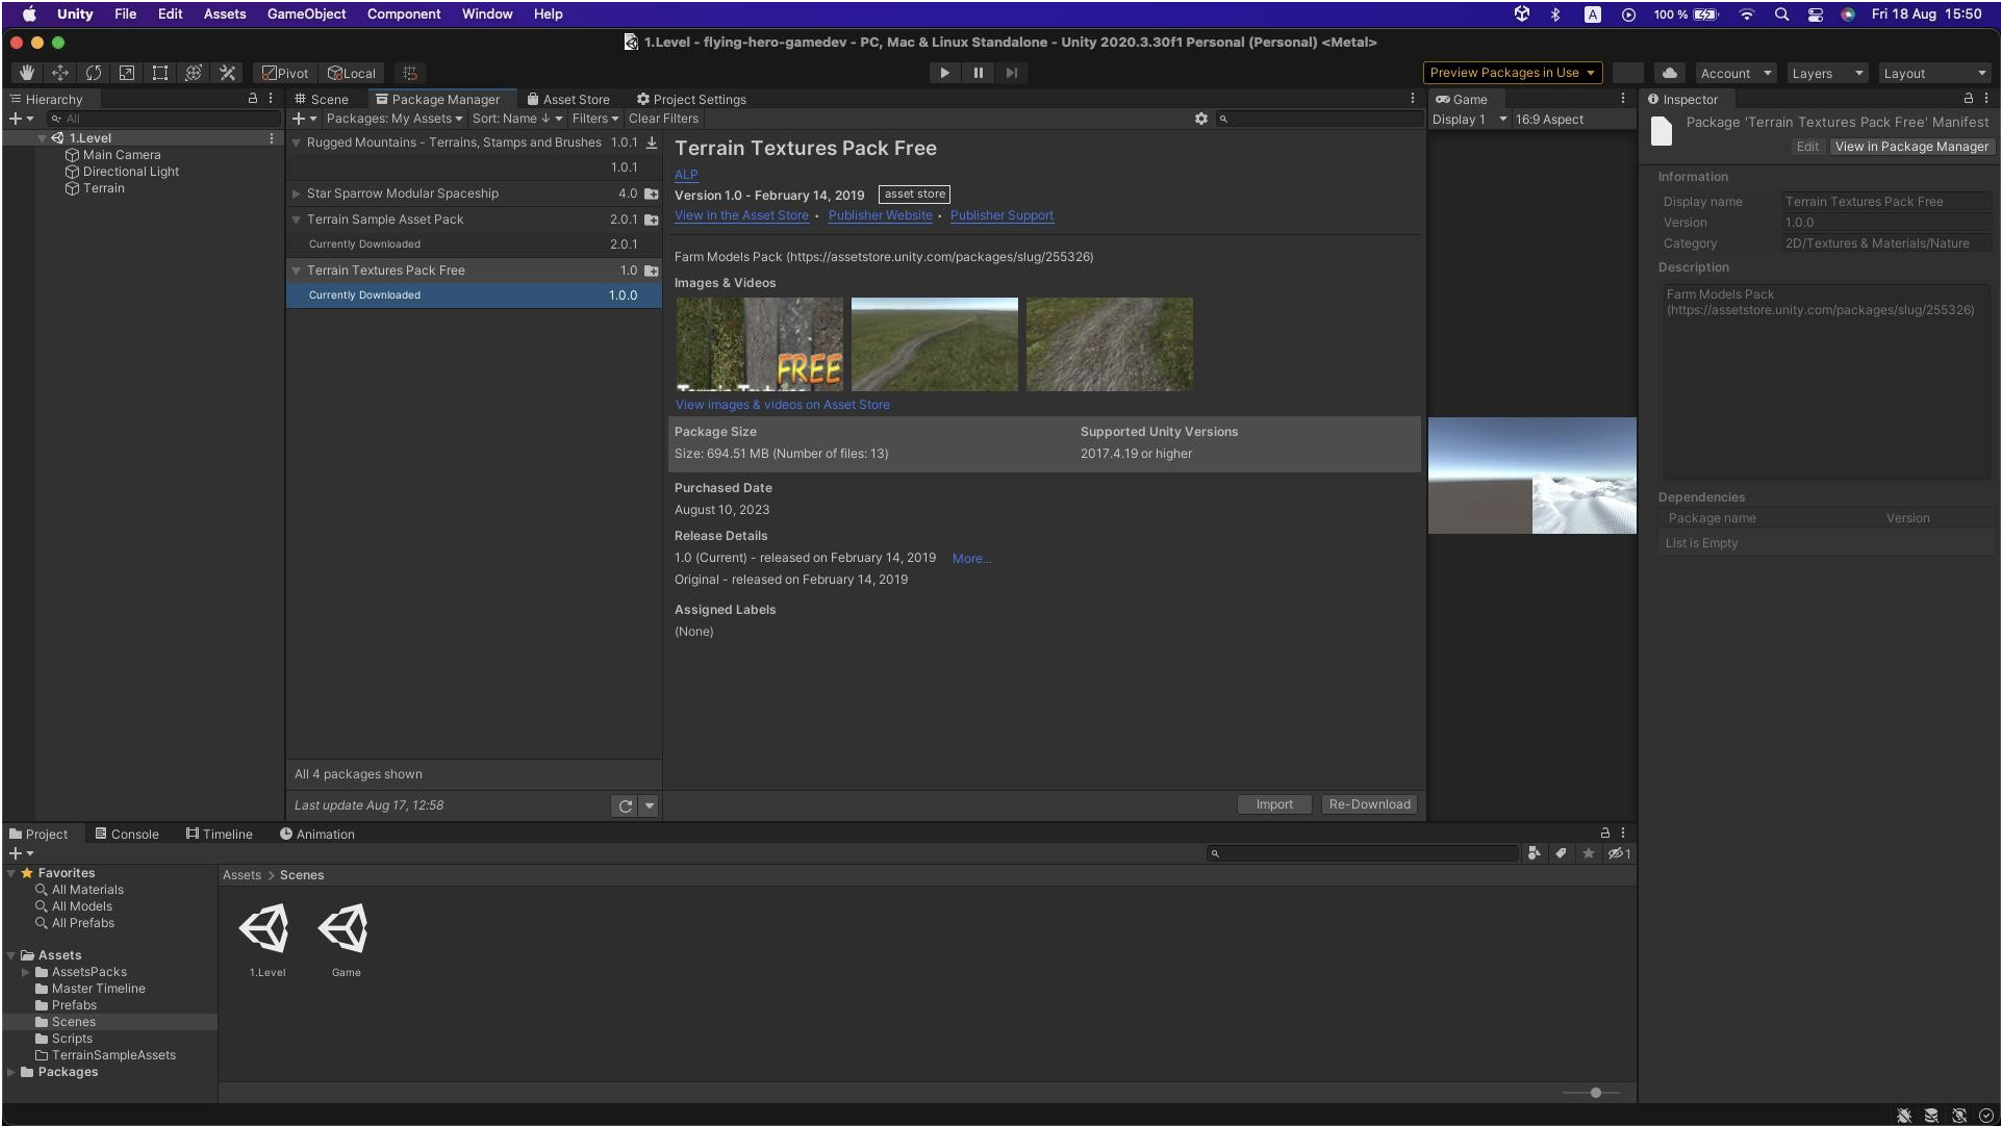
On the page, find the assets you need and download them. After downloading, you can view them under My Assets in the Package Manager. Click Download, and after it finishes, import them into the project using the top-right button.
You can also download assets from these links:
- Nature Terrain Textures Pack (Free)
- Terrain Sample Asset Pack
- Terrain Sample Asset Pack
- Star Sparrow Modular Spaceship
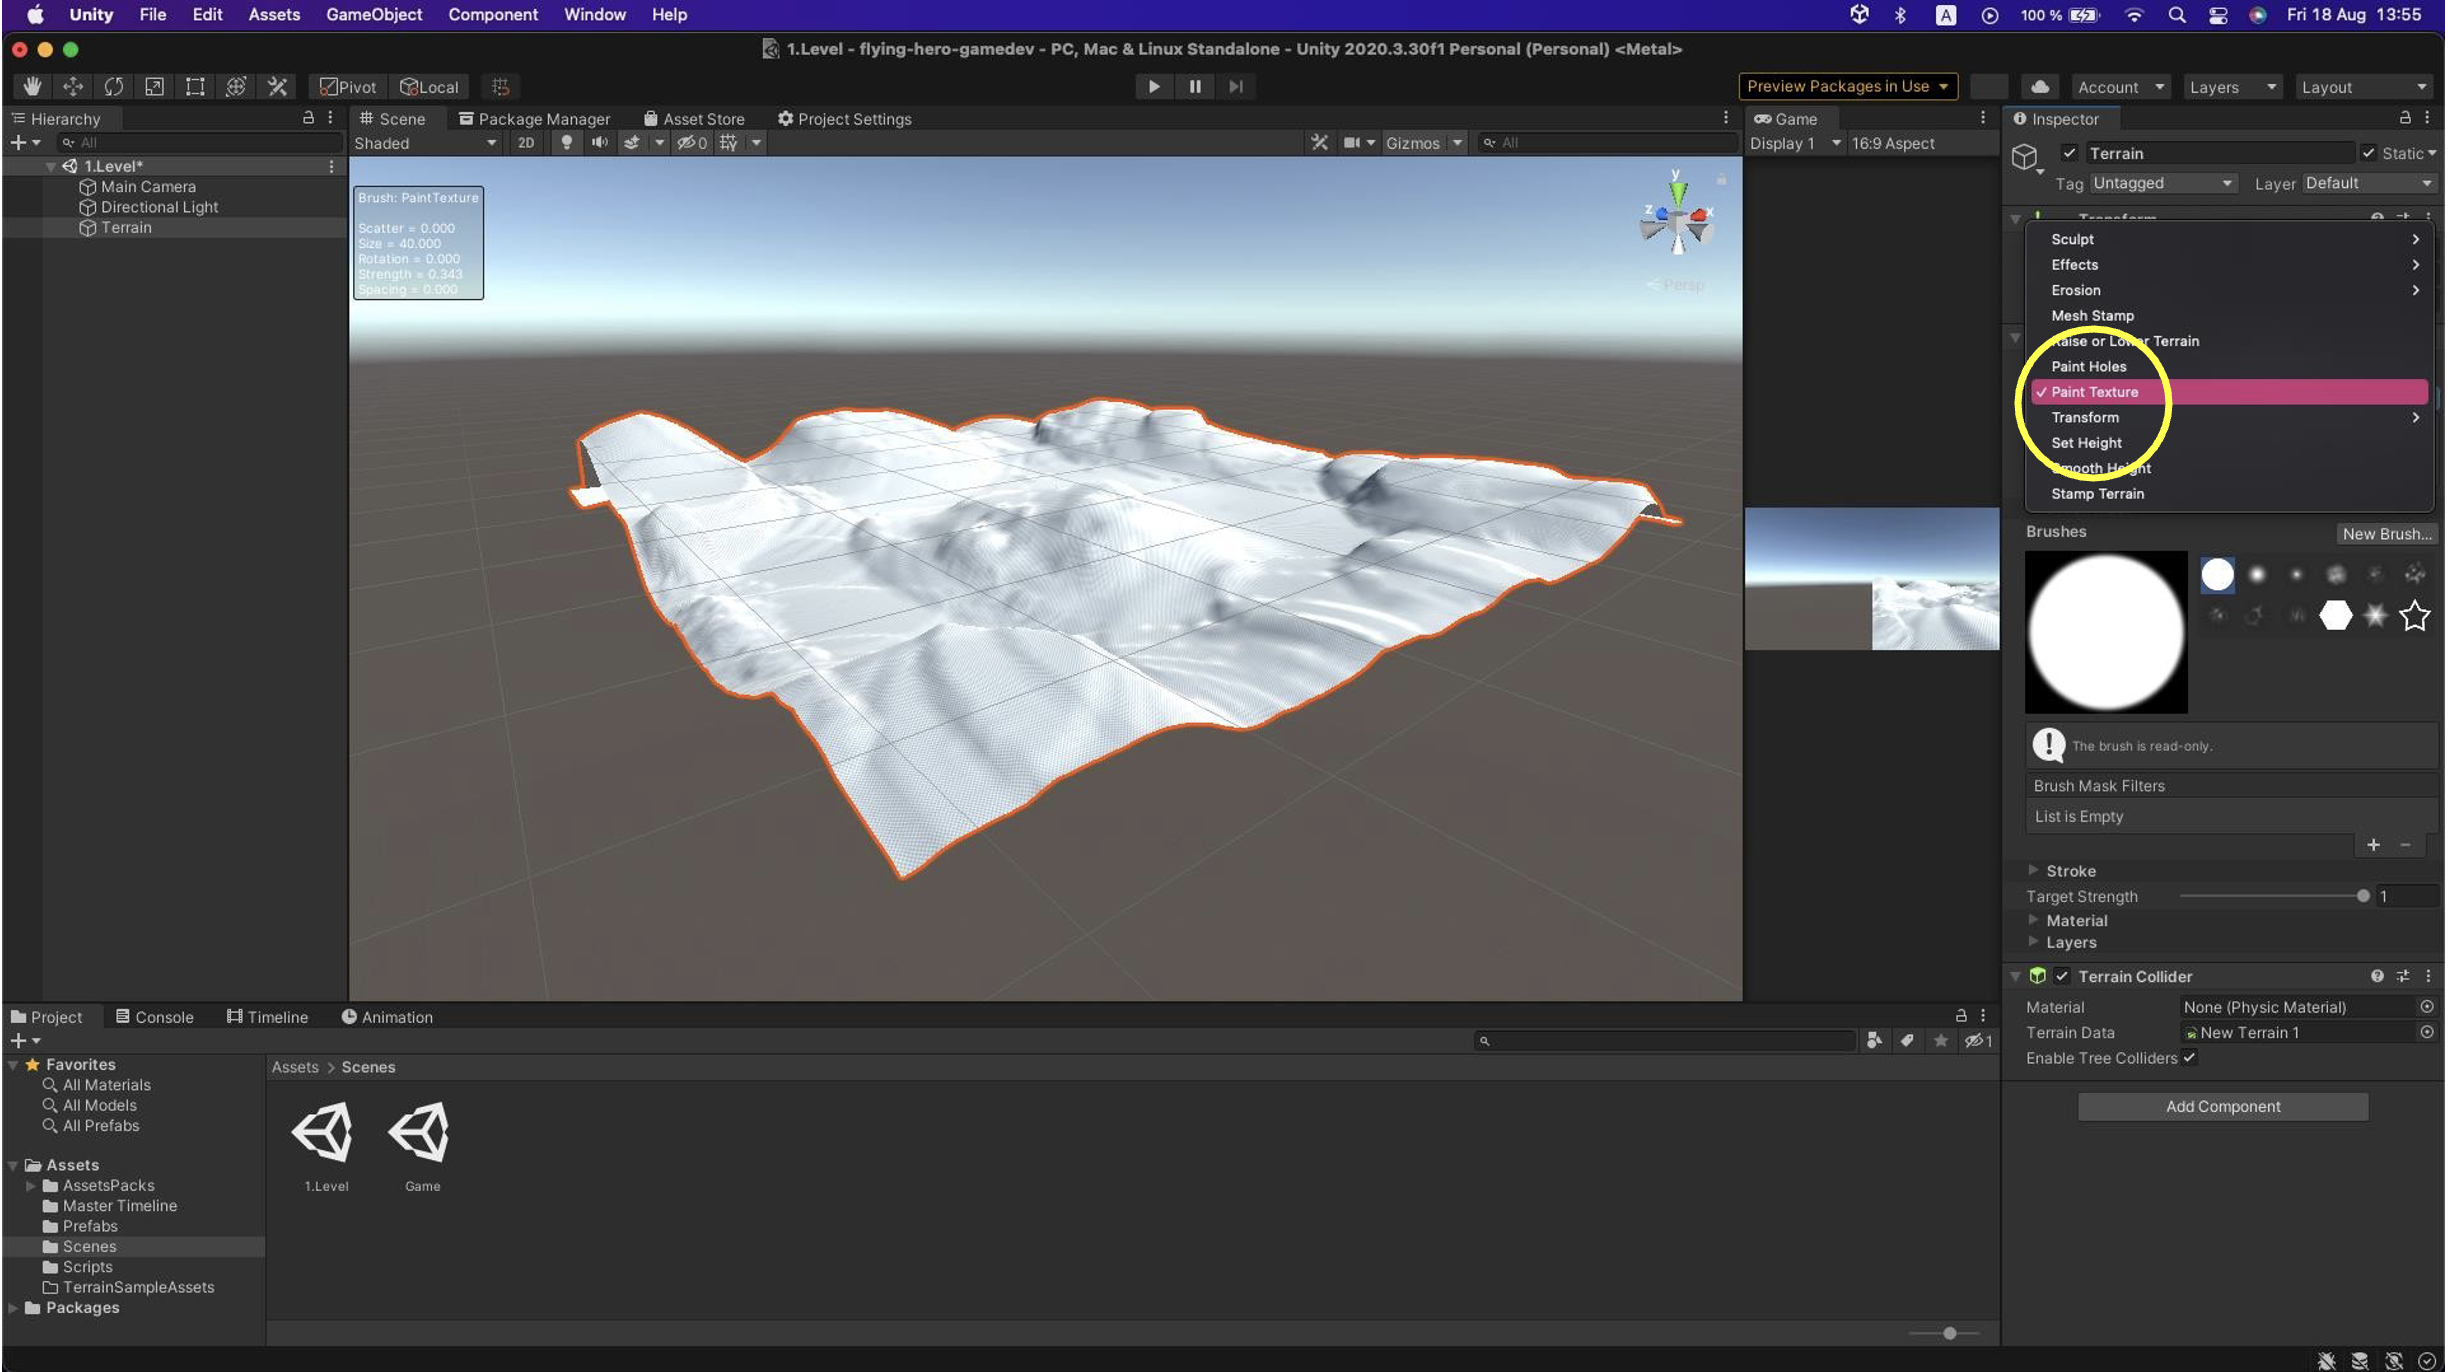
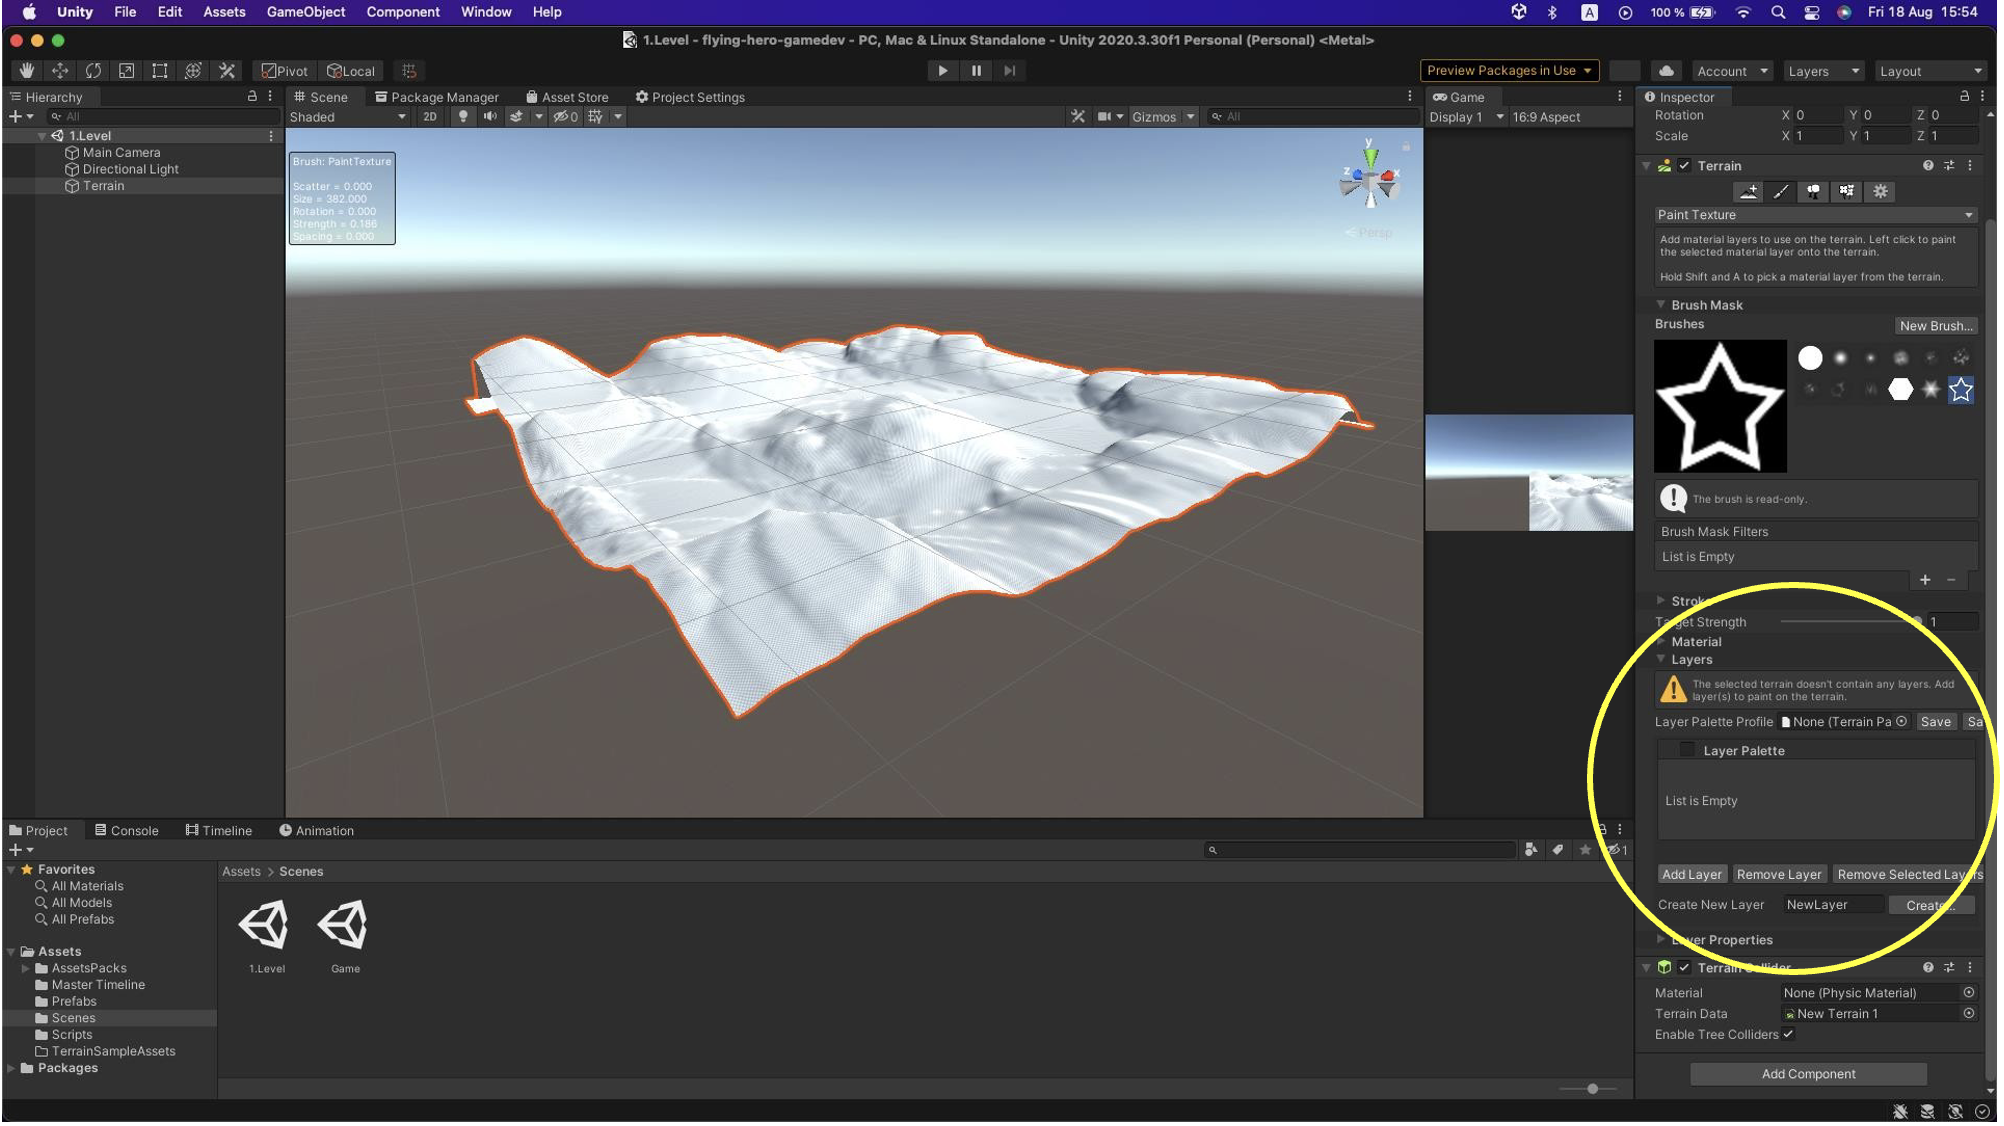
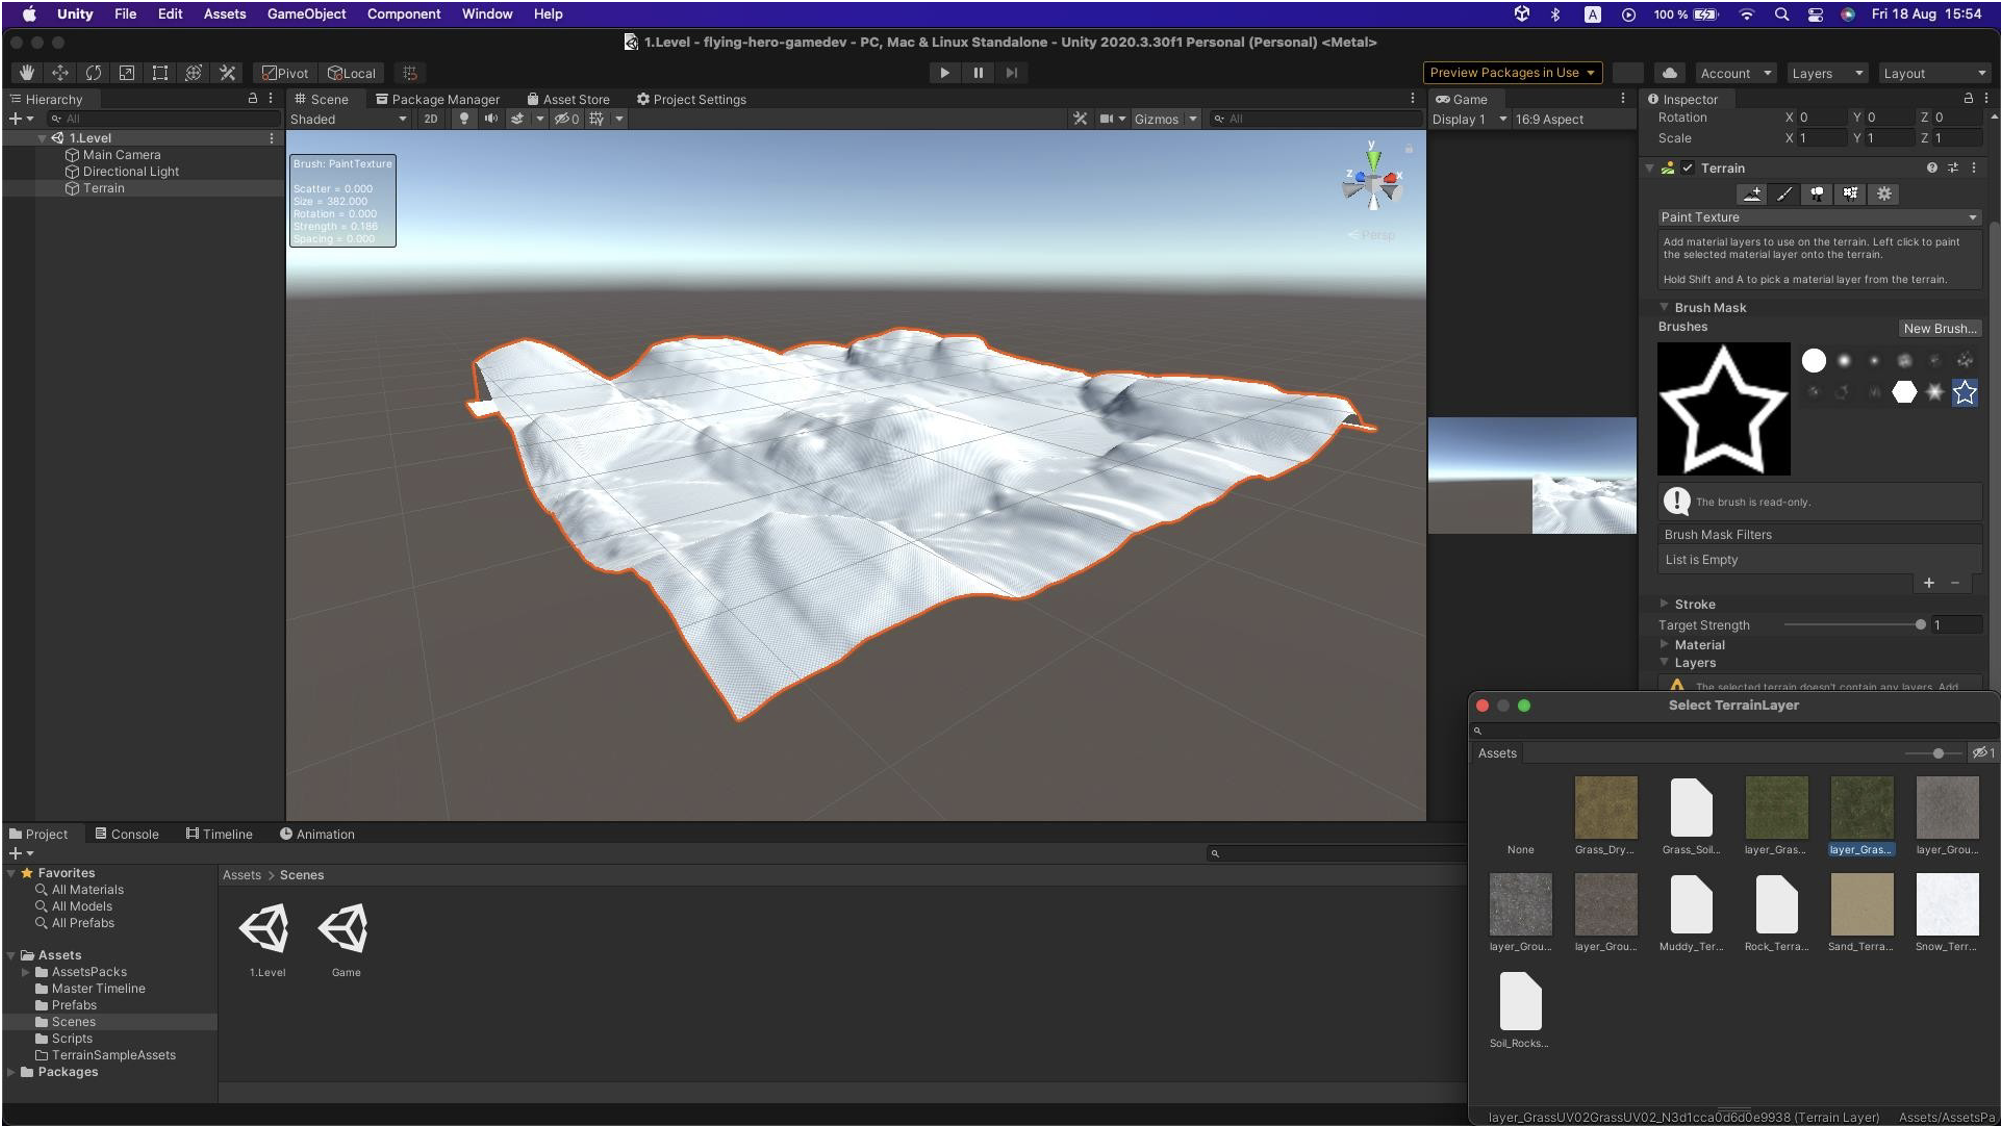
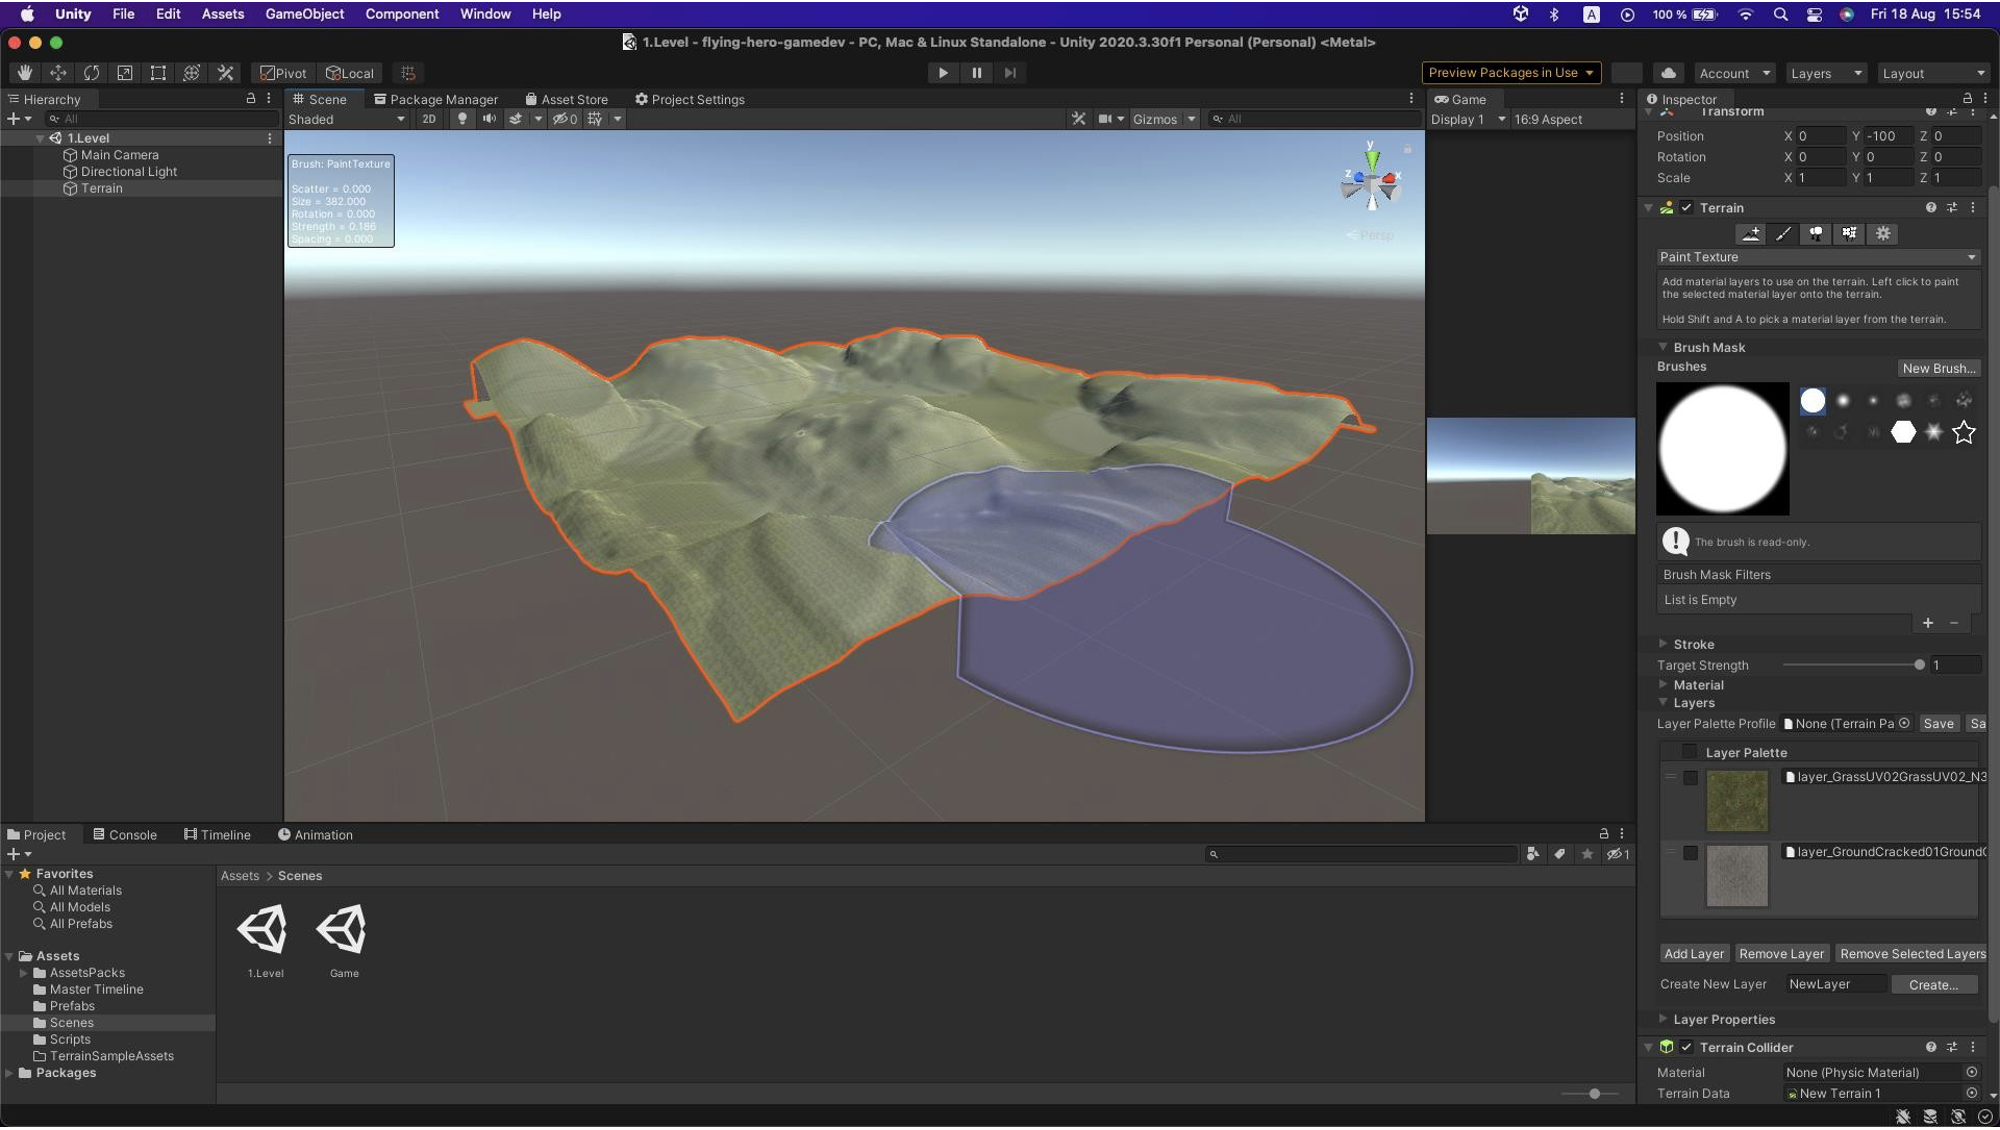
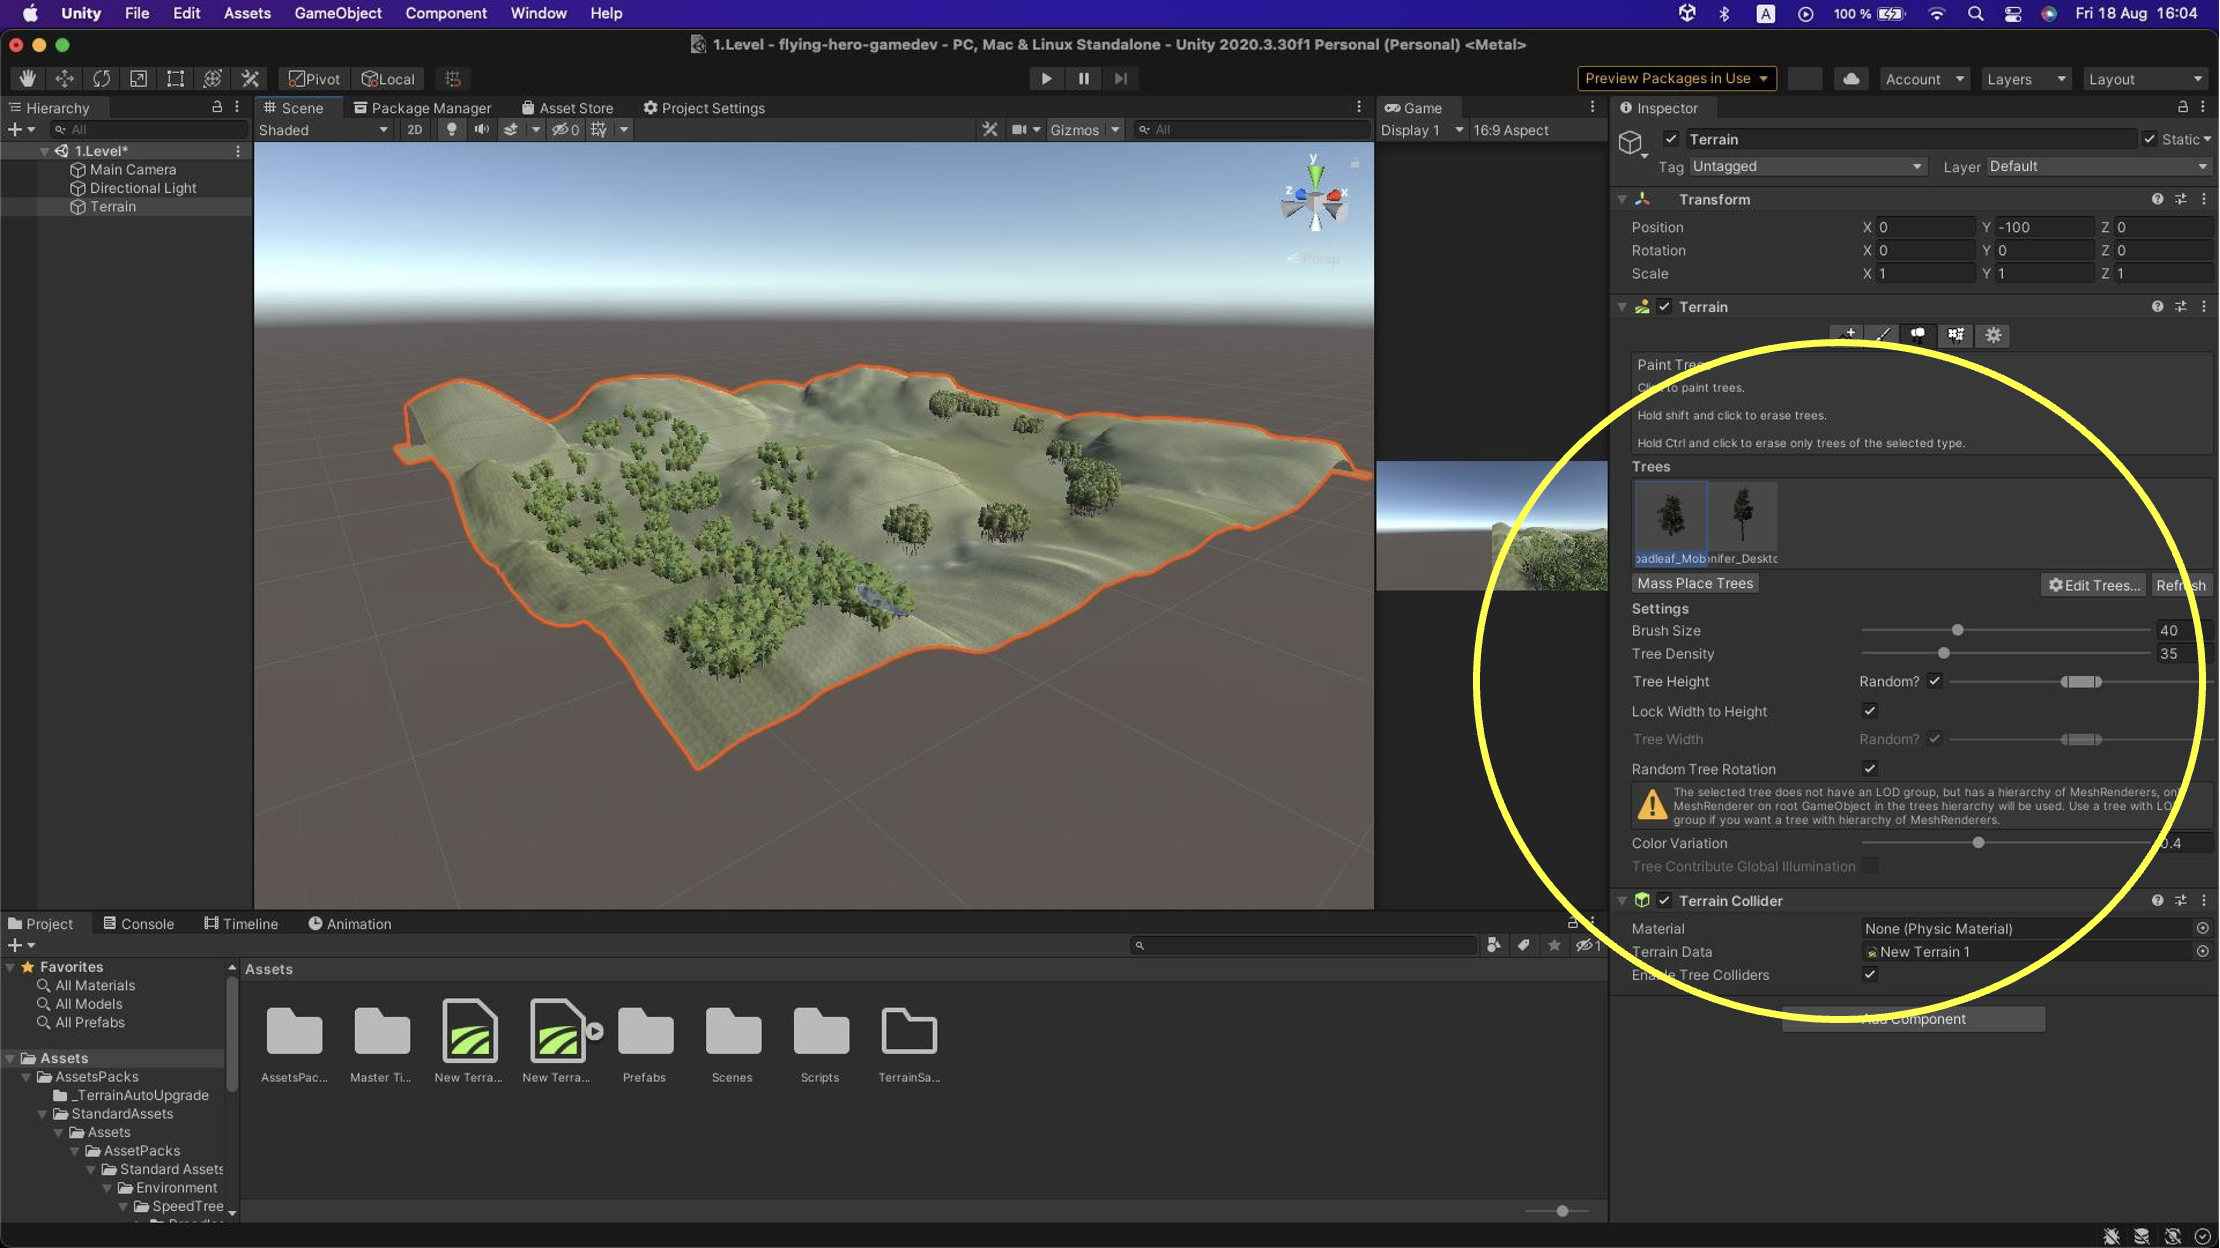
Now we can start painting our Terrain. In the Inspector, select Paint Texture, go to the Layers section, and add a layer using Add Layer.
Thanks to the assets you imported, various textures should appear. You can add them individually and then paint your terrain as needed.
Our terrain now only needs details, such as trees. You can find them using the Asset Store. In the Inspector, select Paint Trees.
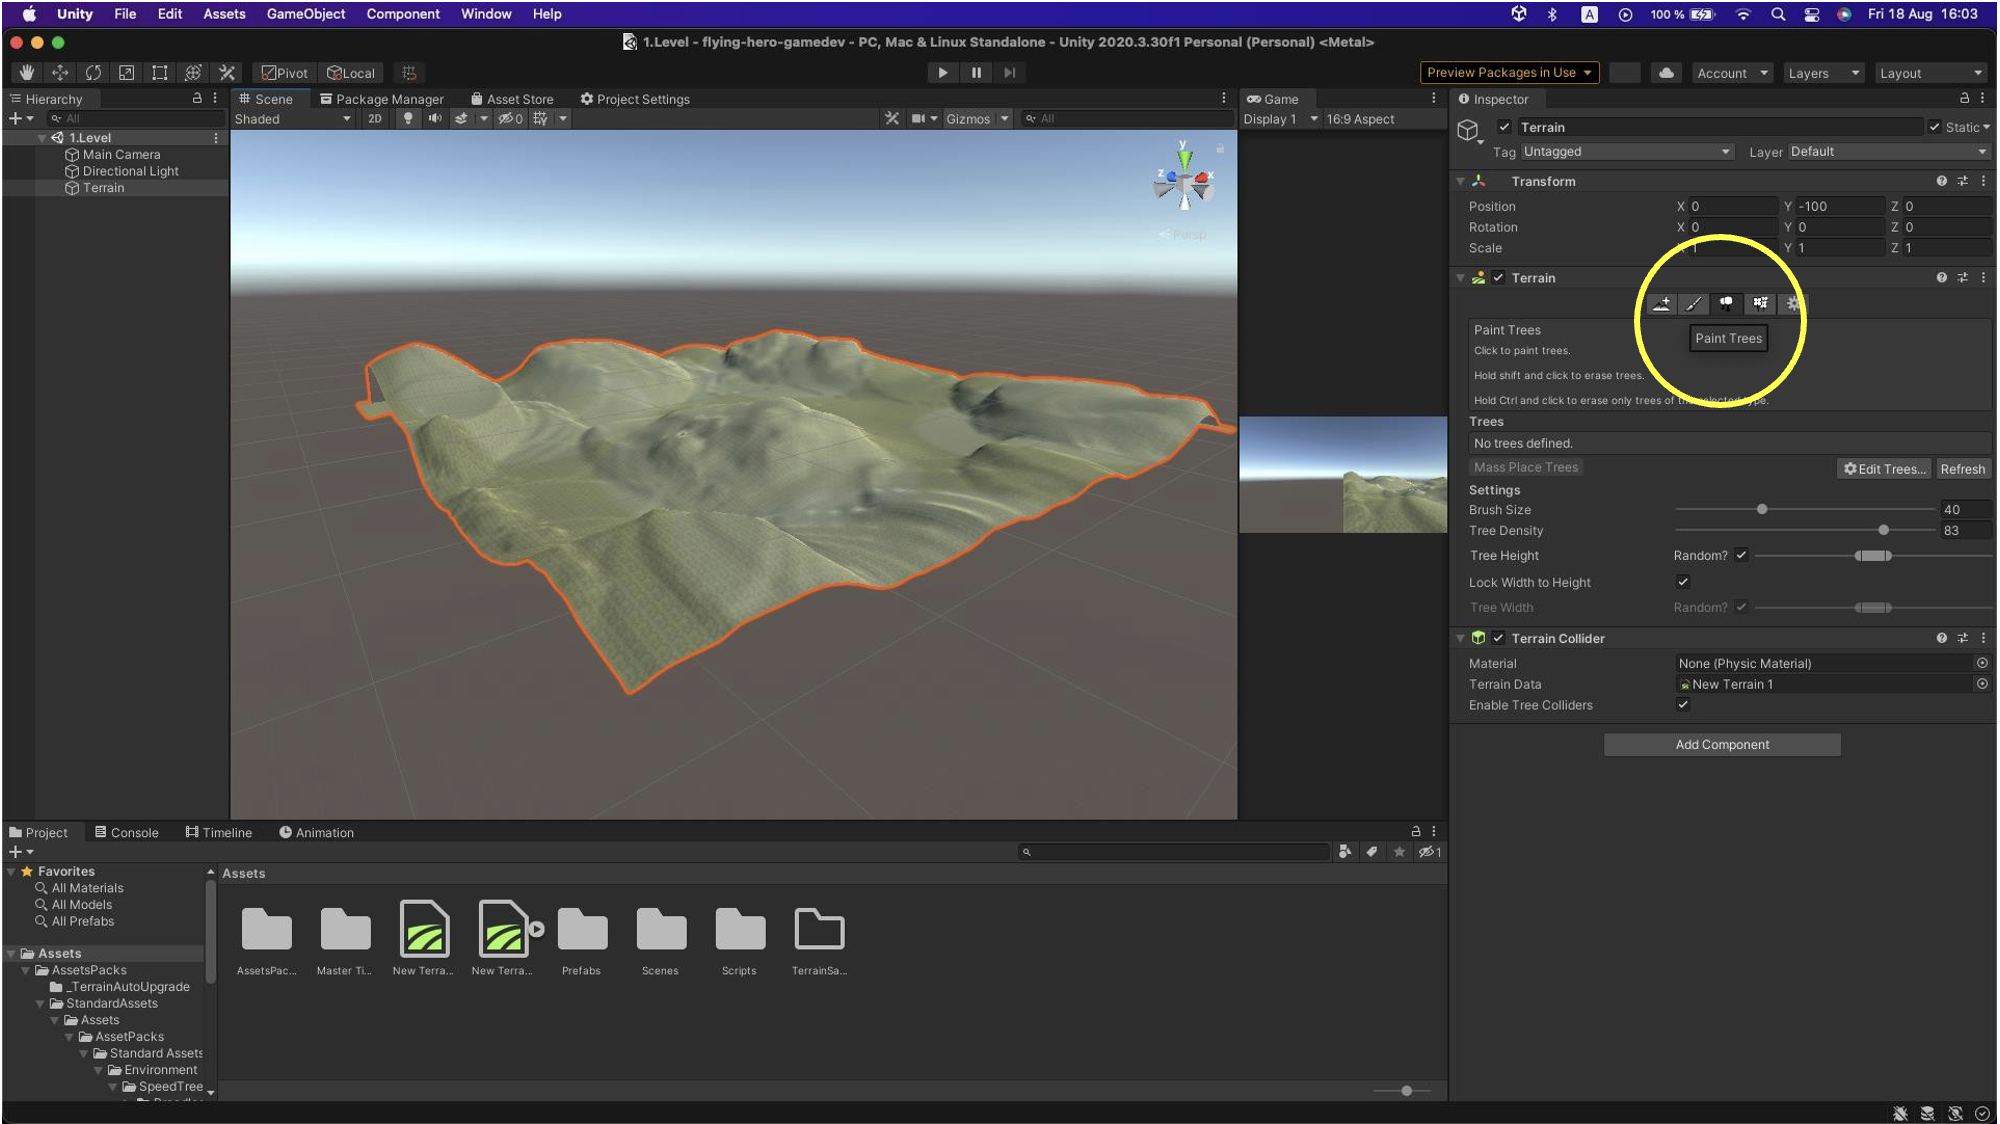
Then choose Edit Trees, and select Add Tree.
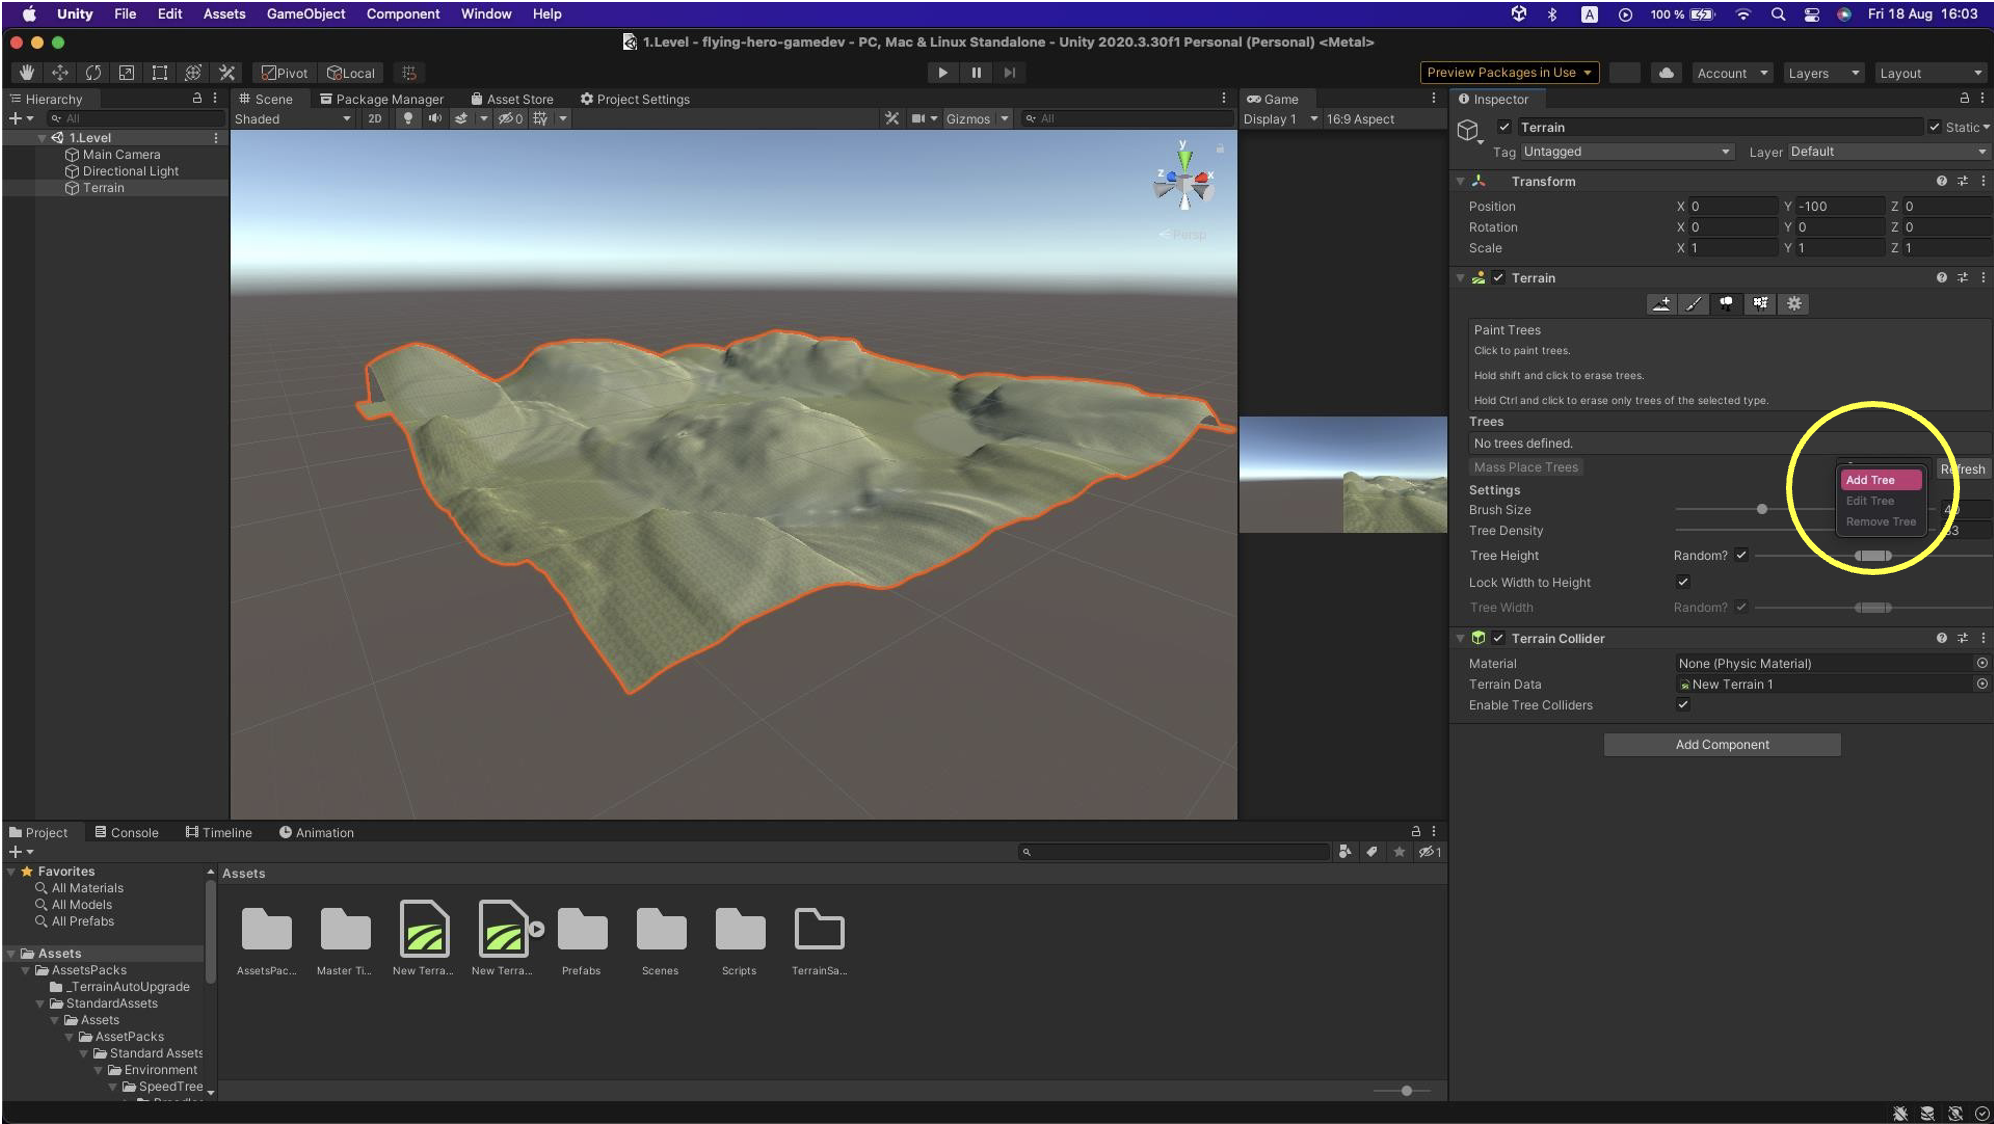
After clicking, the Add Tree menu appears, showing the options already added to the project.
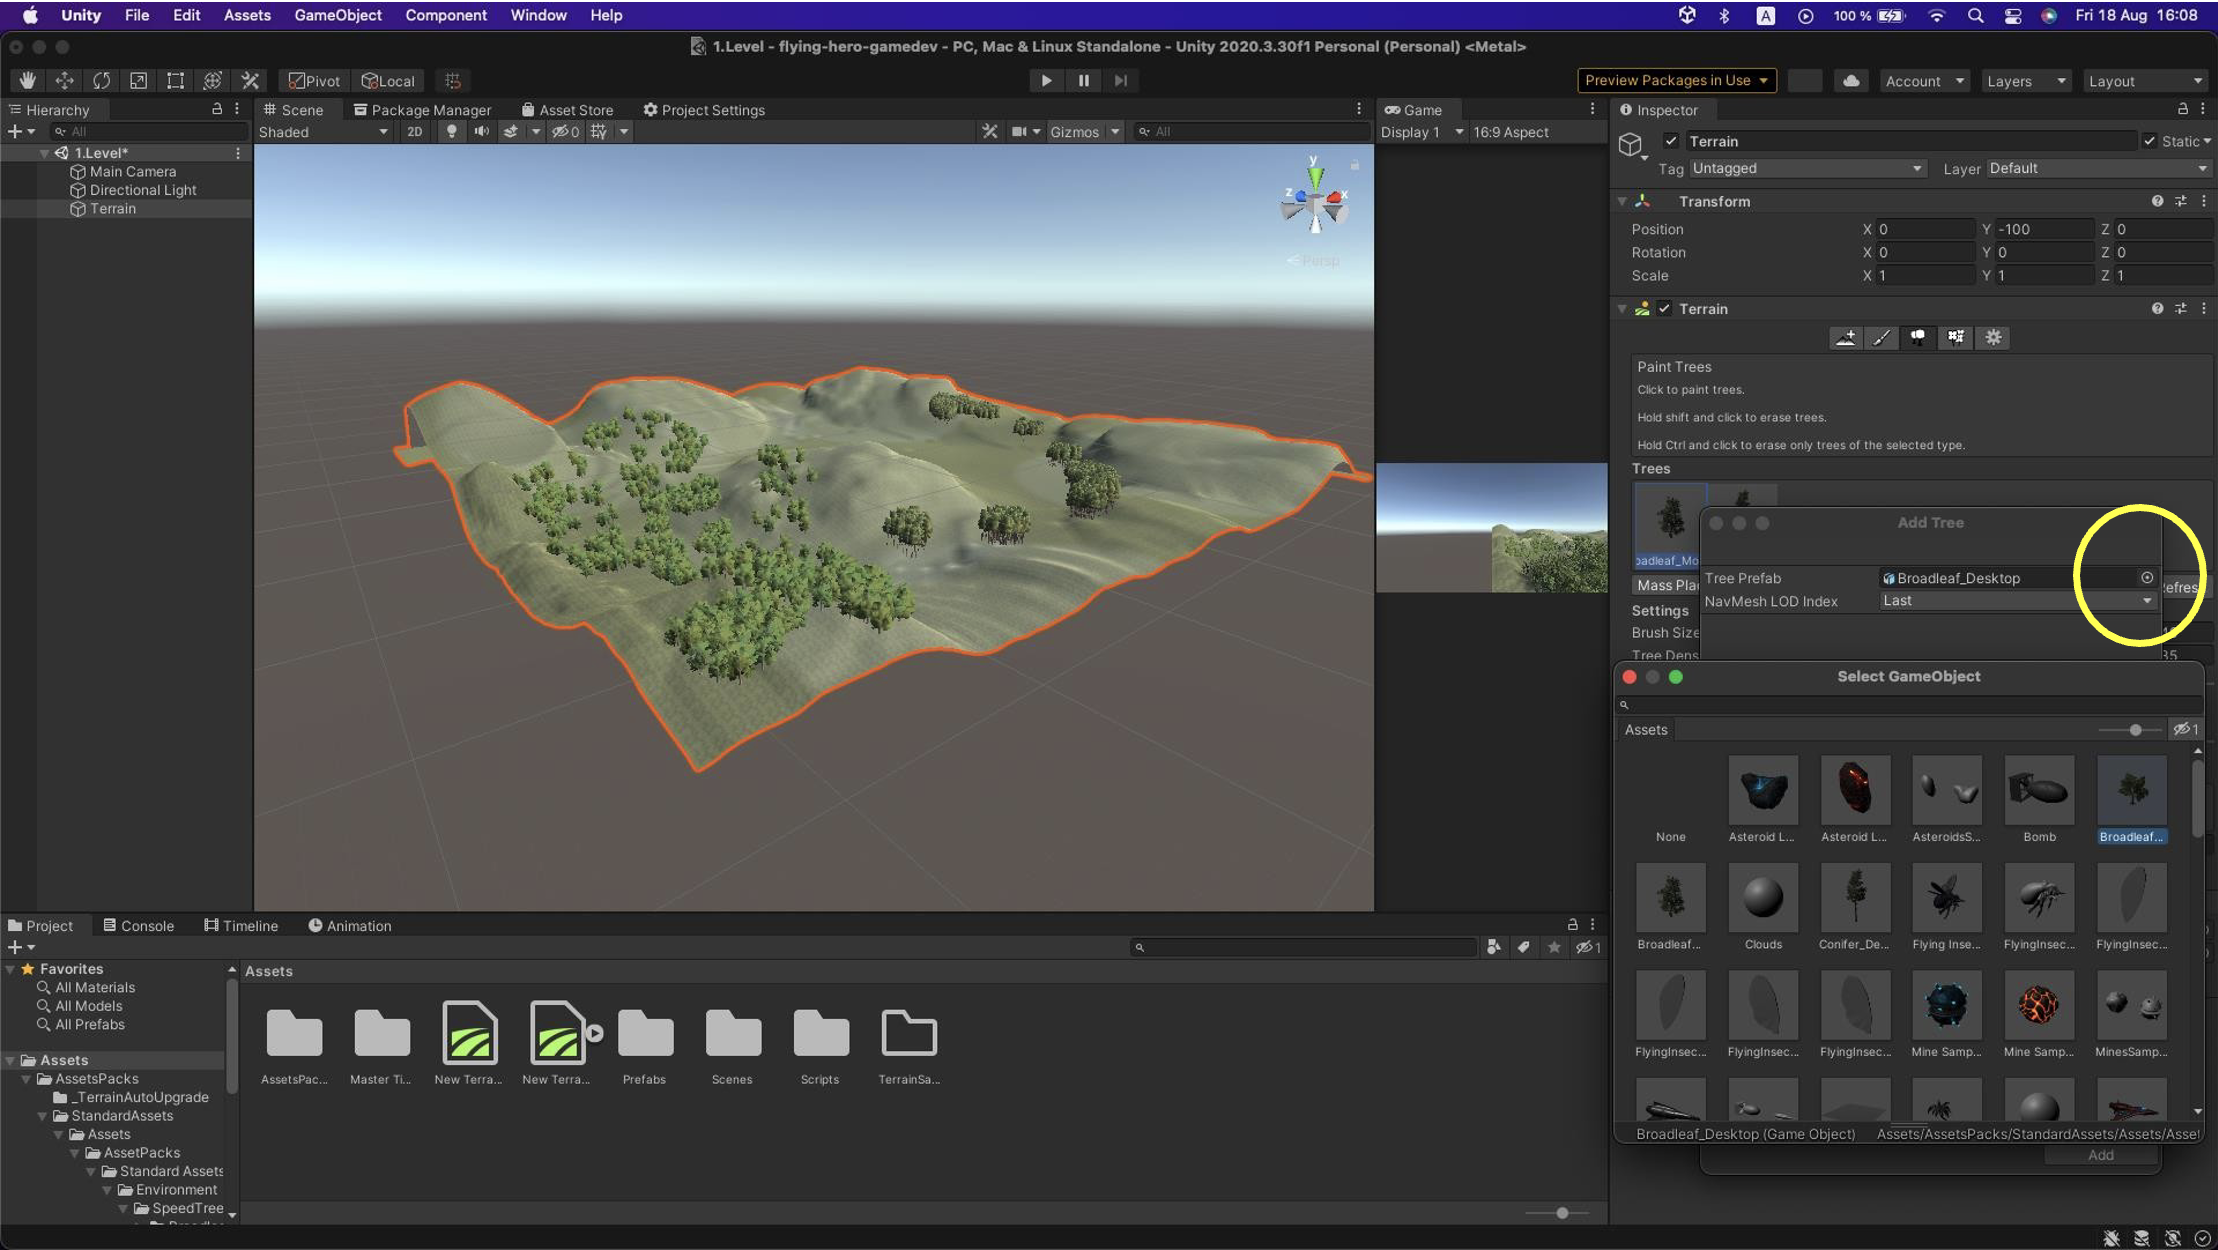
Clicking will display the trees you can paint onto the terrain. When selecting a tree, notice brush size and density options. Plan how you distribute trees on your game terrain. A handy option is Mass Place Trees.
Task 1.2
Create a suitable world for your game using terrain modifications and trees.
BONUS: Enhance your game with new assets from the Asset Store or create your own.
Player
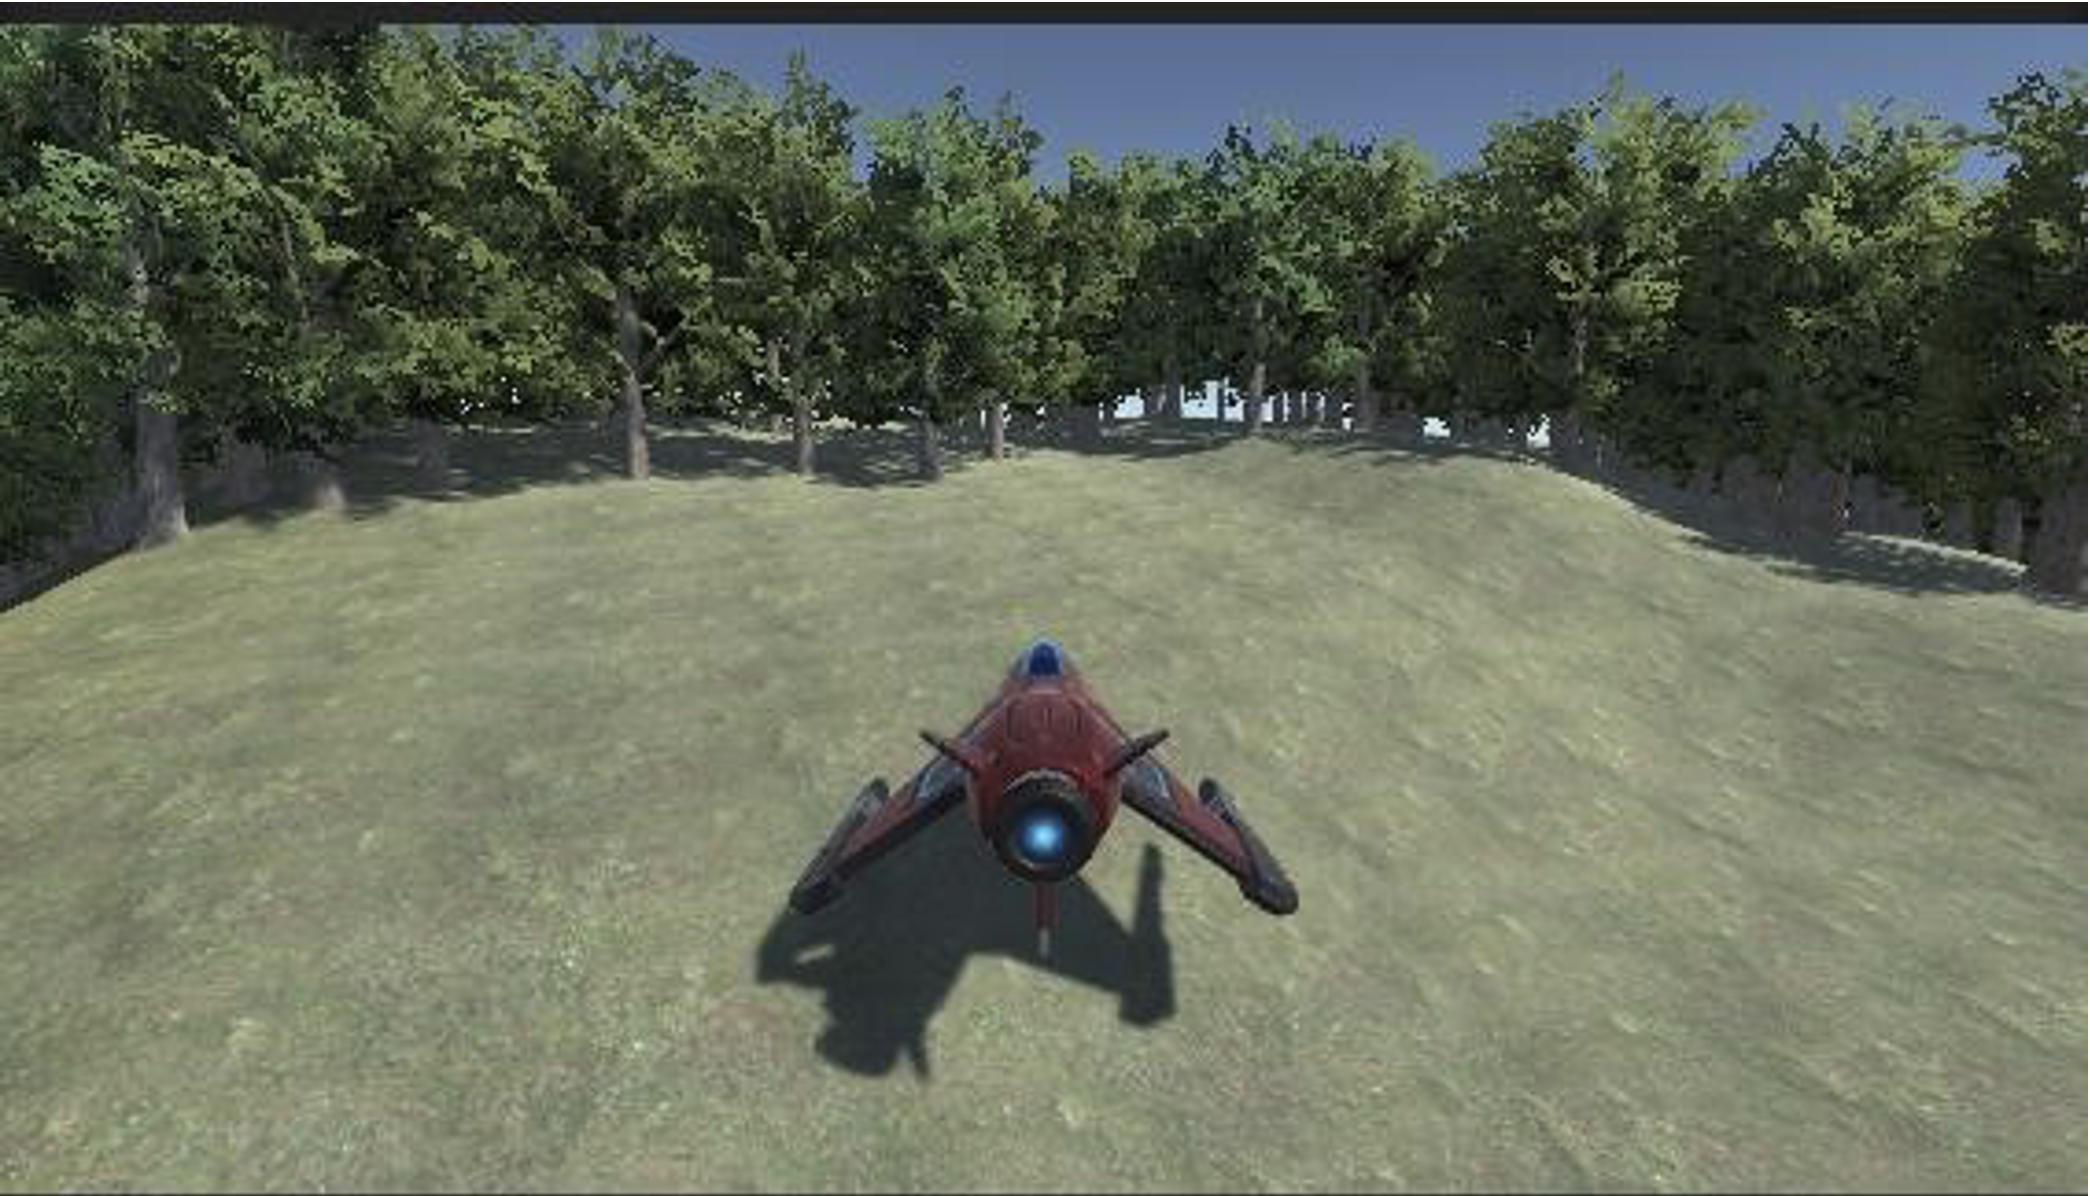
Our game wouldn’t be interesting if we only had trees and hills. That’s why now we move to an exciting part — adding a player to our game.
Create an empty object and name it Player Rig. Inside it, create a Cube object and name it Player.
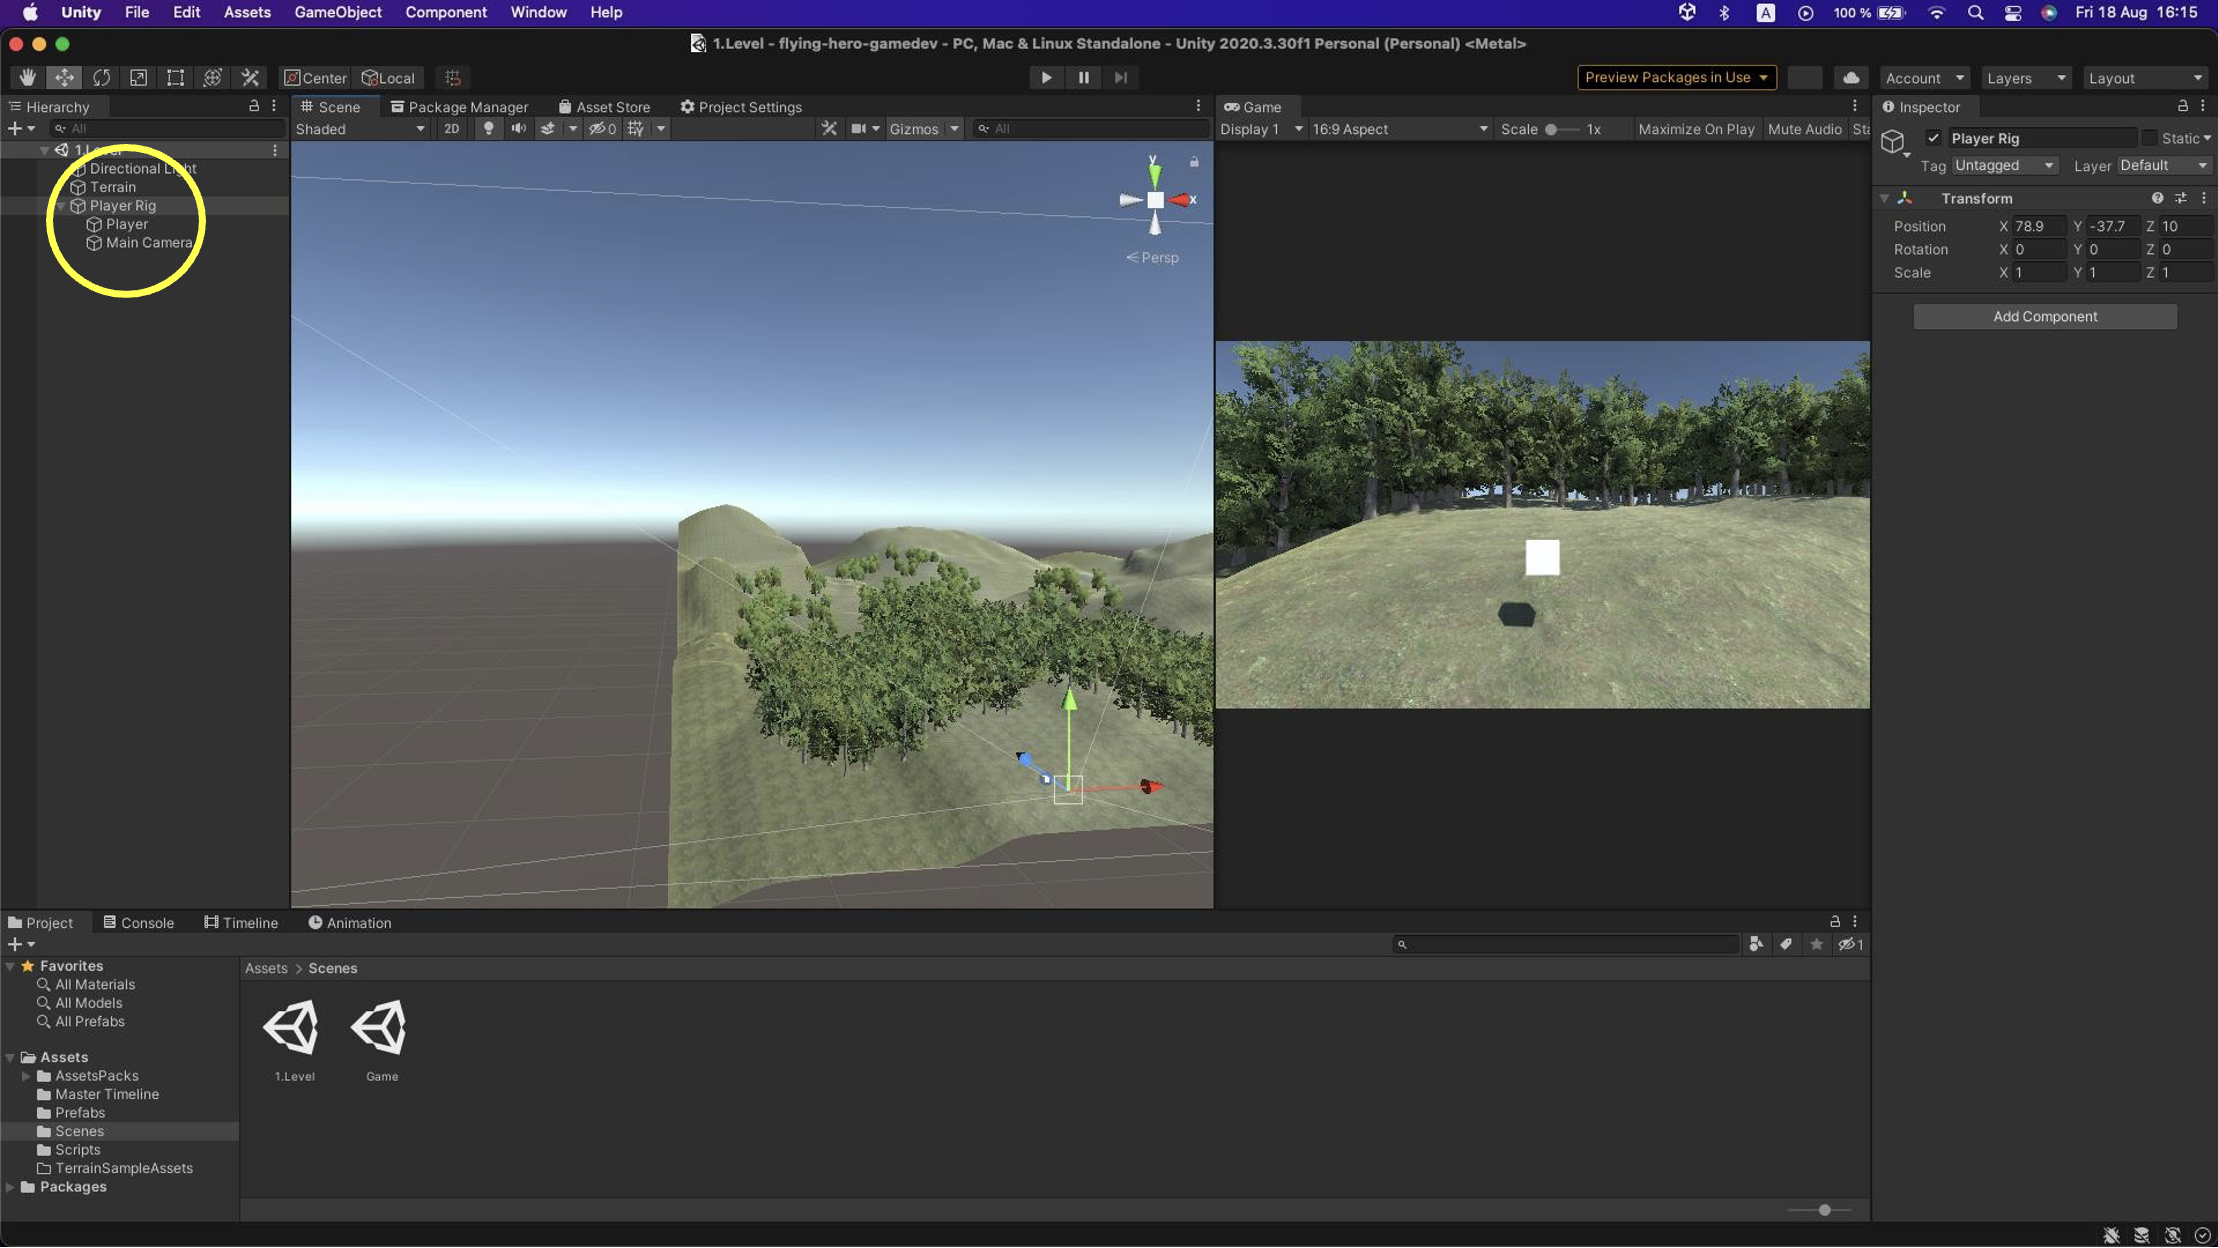
This object will represent our player, and at the same time the camera. This ensures that when the player moves across the terrain, the camera moves along. If you want a static camera for your game, this step is not necessary.
As a child of the Player object, move the Main Camera to the player.
Next, you can search for suitable assets in the Asset Store. Choose an asset to represent the player, drag it into the Player Rig, and position it at the location of the white cube, which you can then delete.

Clicking on Main Camera, you can adjust its angles to find the best position to follow the player across the terrain.
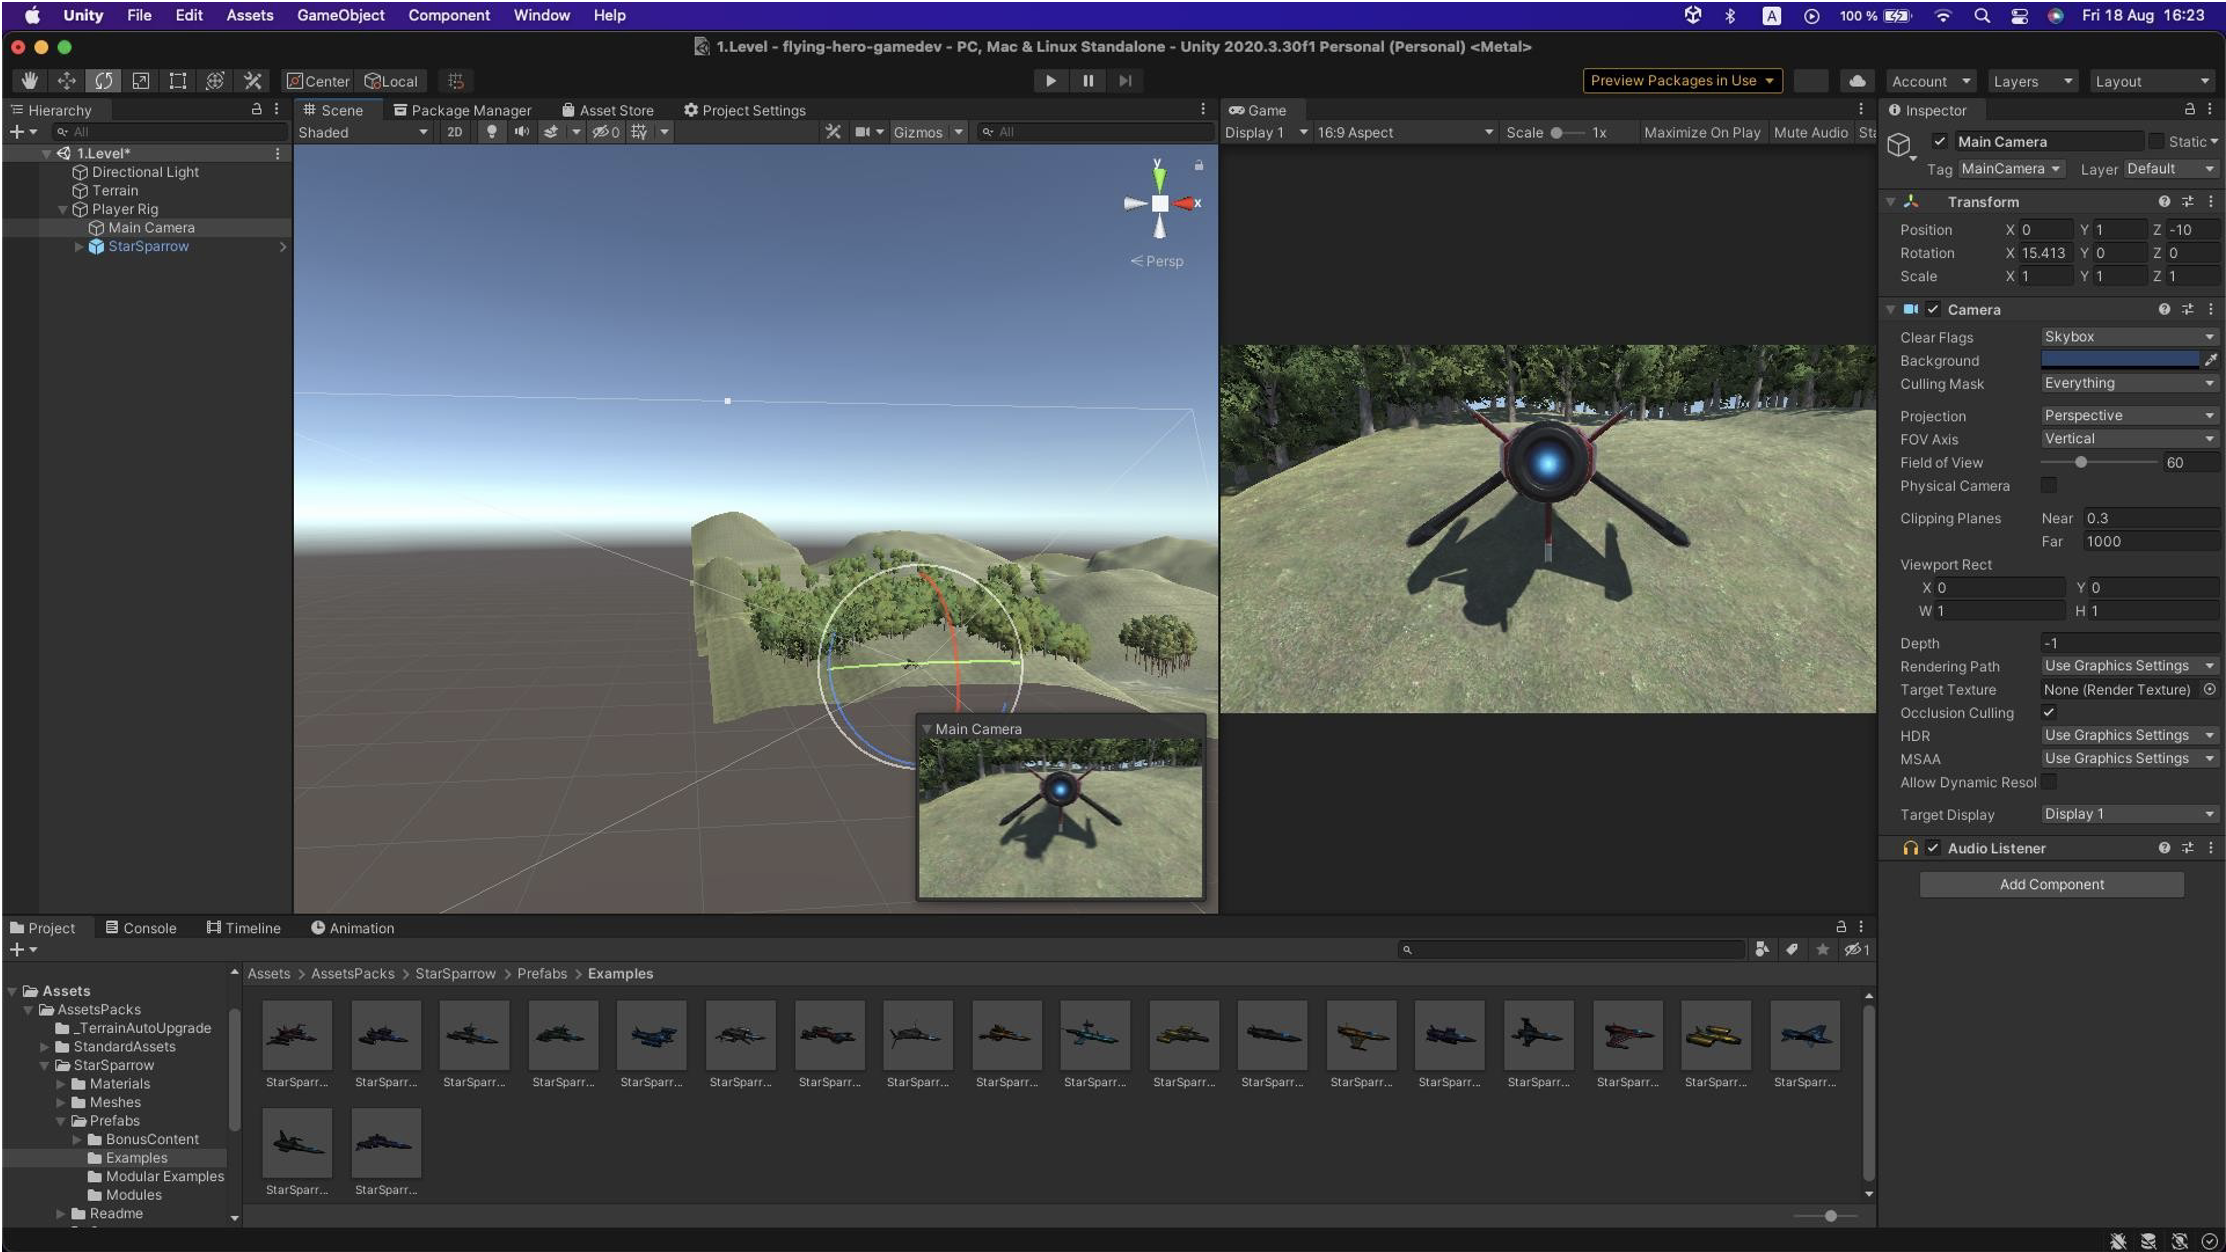
The result may look like this:
Comment
When moving the player, always select the Player Rig so the camera moves with it. This prevents potential issues ☺.
Task 1.3
Add a player to your game and set its appearance.
BONUS: Find your own prefab from the Asset Store or create your own.
Rigidbody
What is Rigidbody?
Rigidbody is a physics component in Unity that allows an object to respond to physics (e.g., gravity, collisions, and forces).
To make an object move realistically and interact with the environment, it must have a Rigidbody component.
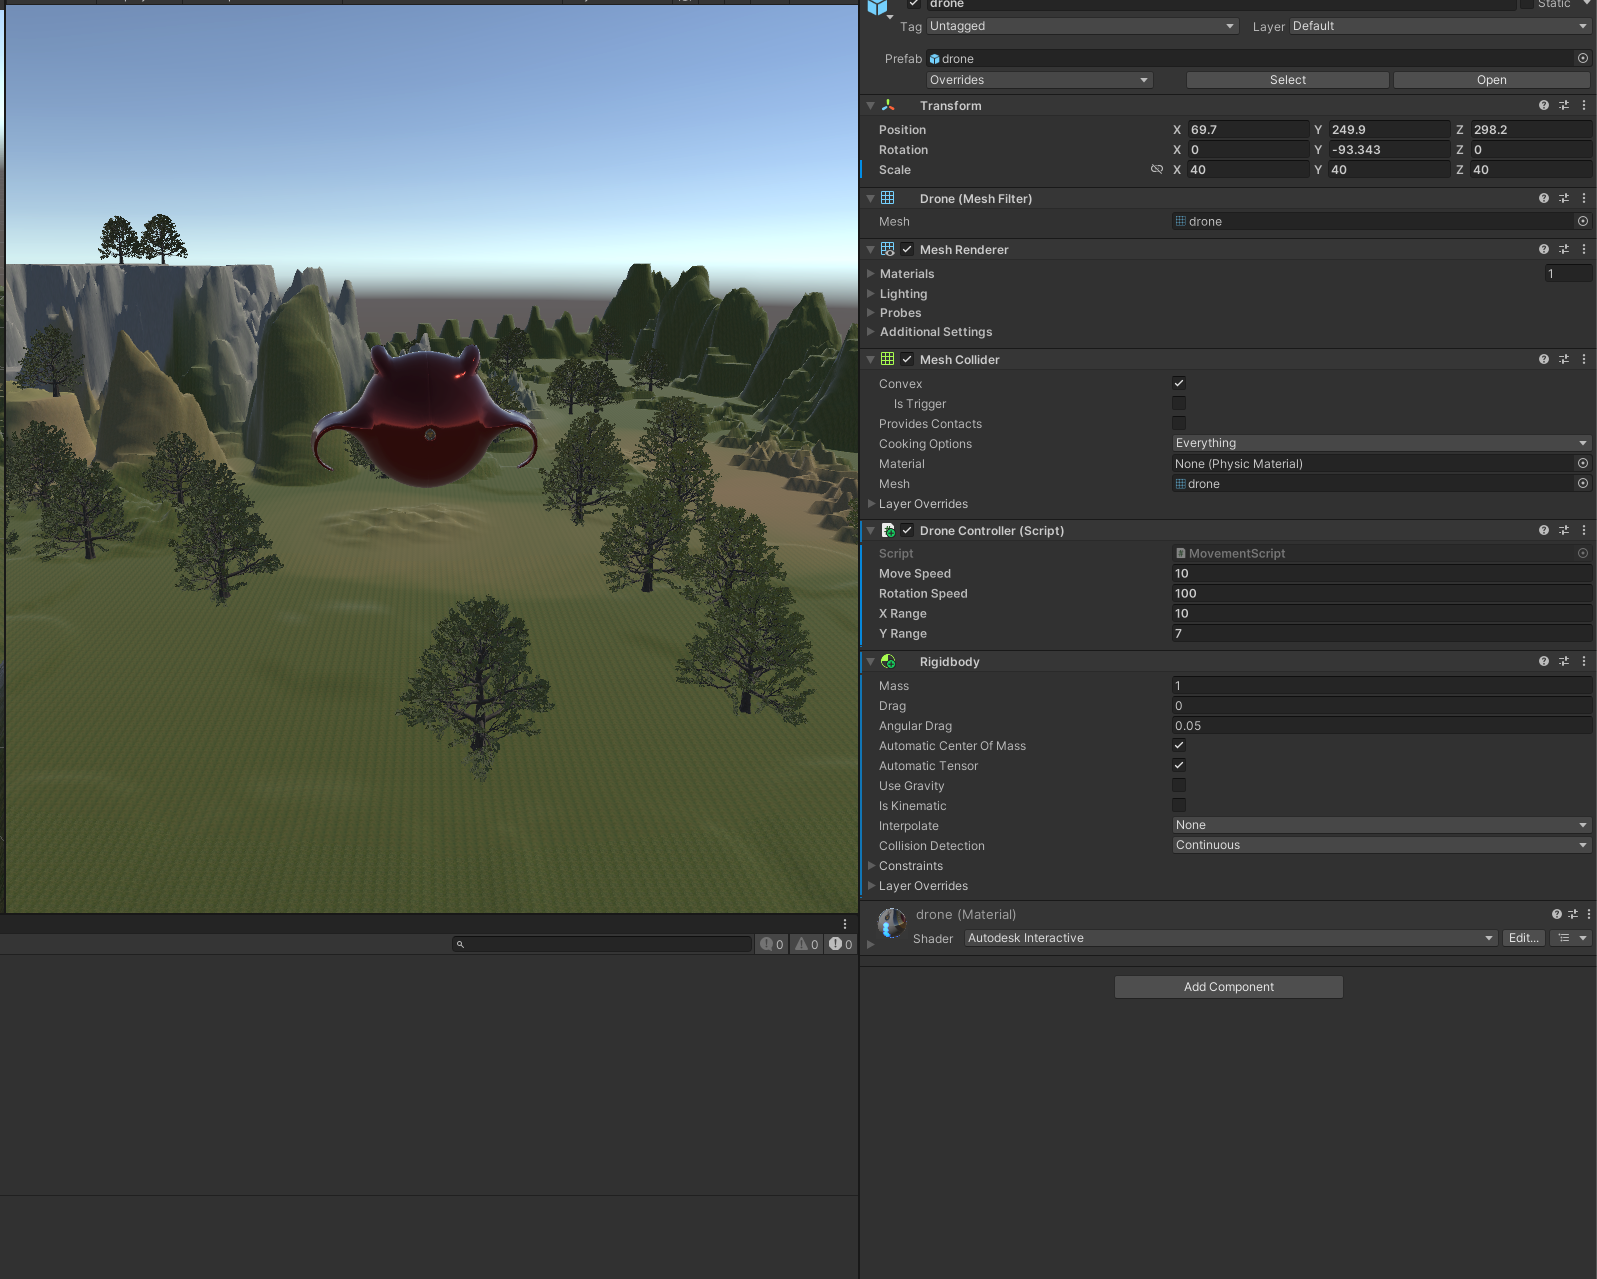
To allow the drone to move and interact correctly with Unity’s physics environment, we need to add a Rigidbody component:
In the hierarchy, select the drone object and in the Inspector click Add Component.
Search for Rigidbody. In the Inspector, set Use Gravity to off, since we don’t want the drone to fall (in other games where the player walks on the ground, leave gravity enabled).
Leave Is Kinematic unchecked, so it can respond to physics and collisions.
Set Collision Detection to Continuous for better detection of collisions at high speed.
In our script DroneController, we will use Rigidbody to move the drone through Unity’s physics system. Instead of directly changing transform.position, we will use Rigidbody.velocity for smoother movement and accurate collision detection.
Scripts
Our game wouldn’t be a game if the player could only watch. That’s why we now add our first script.
What is a script?
Scripts in Unity are files containing code written in C#. They define behaviors and functions used to control and manage games and applications.
Scripts can include logic for character movement, object interactions, animations, sound control, and more.
They are an essential part of game and application development in Unity, allowing developers to create custom functionality and control object behavior.
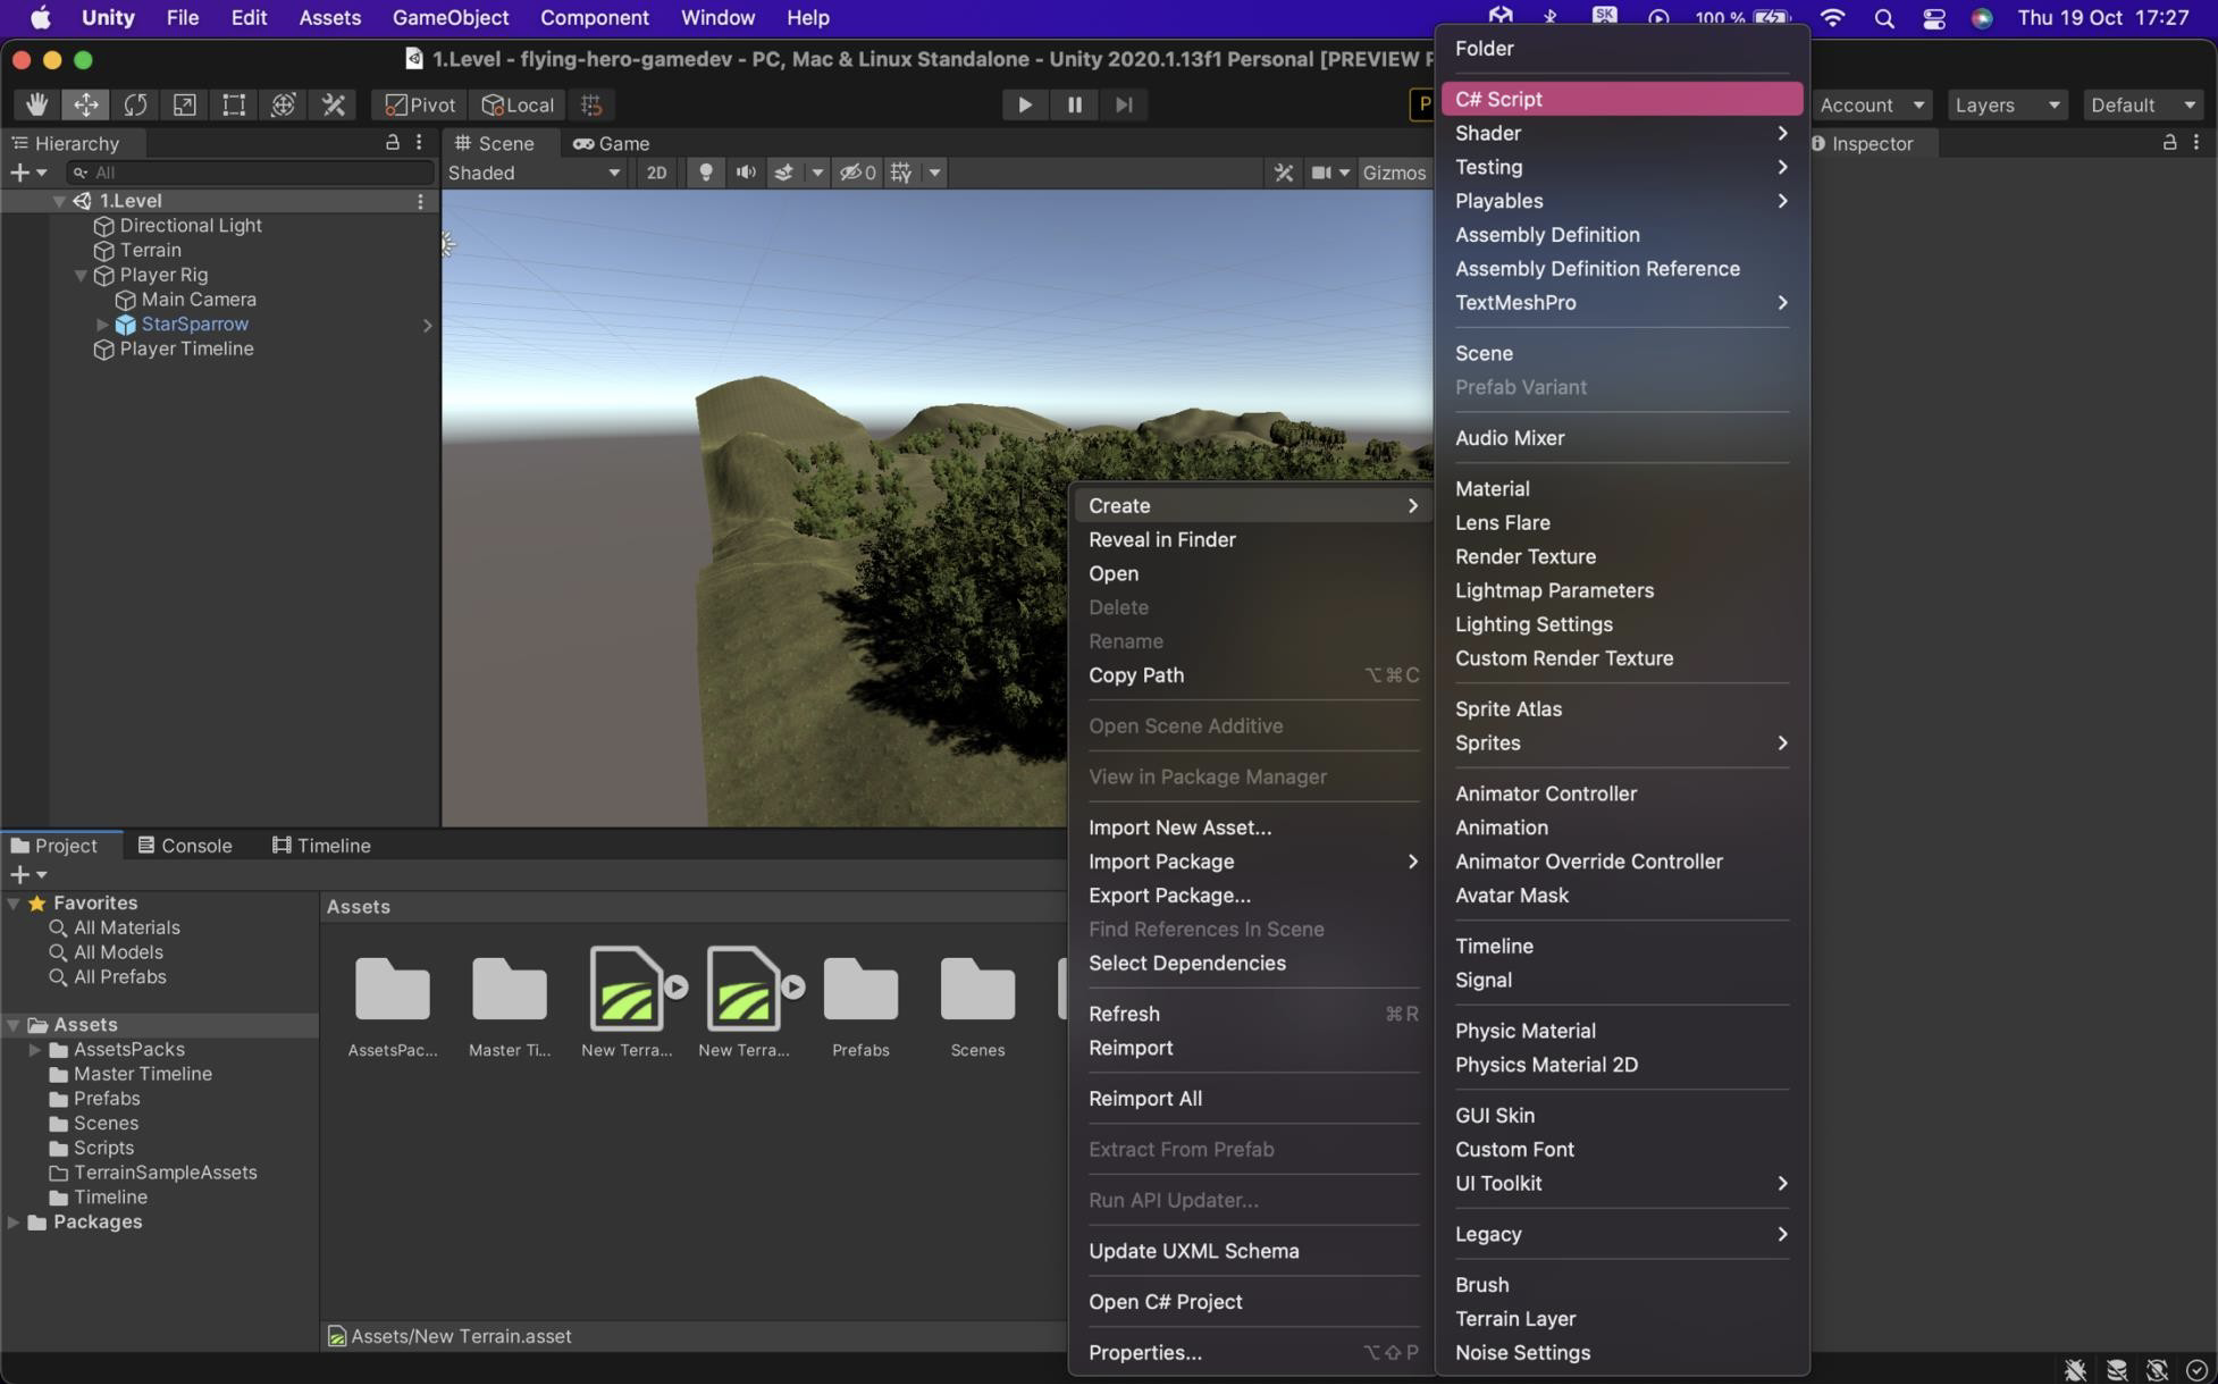
Right-click in the Project window, choose C# Script, and rename it immediately to MovementScript. Open it in your development environment (e.g., Visual Studio Code) by clicking on it.
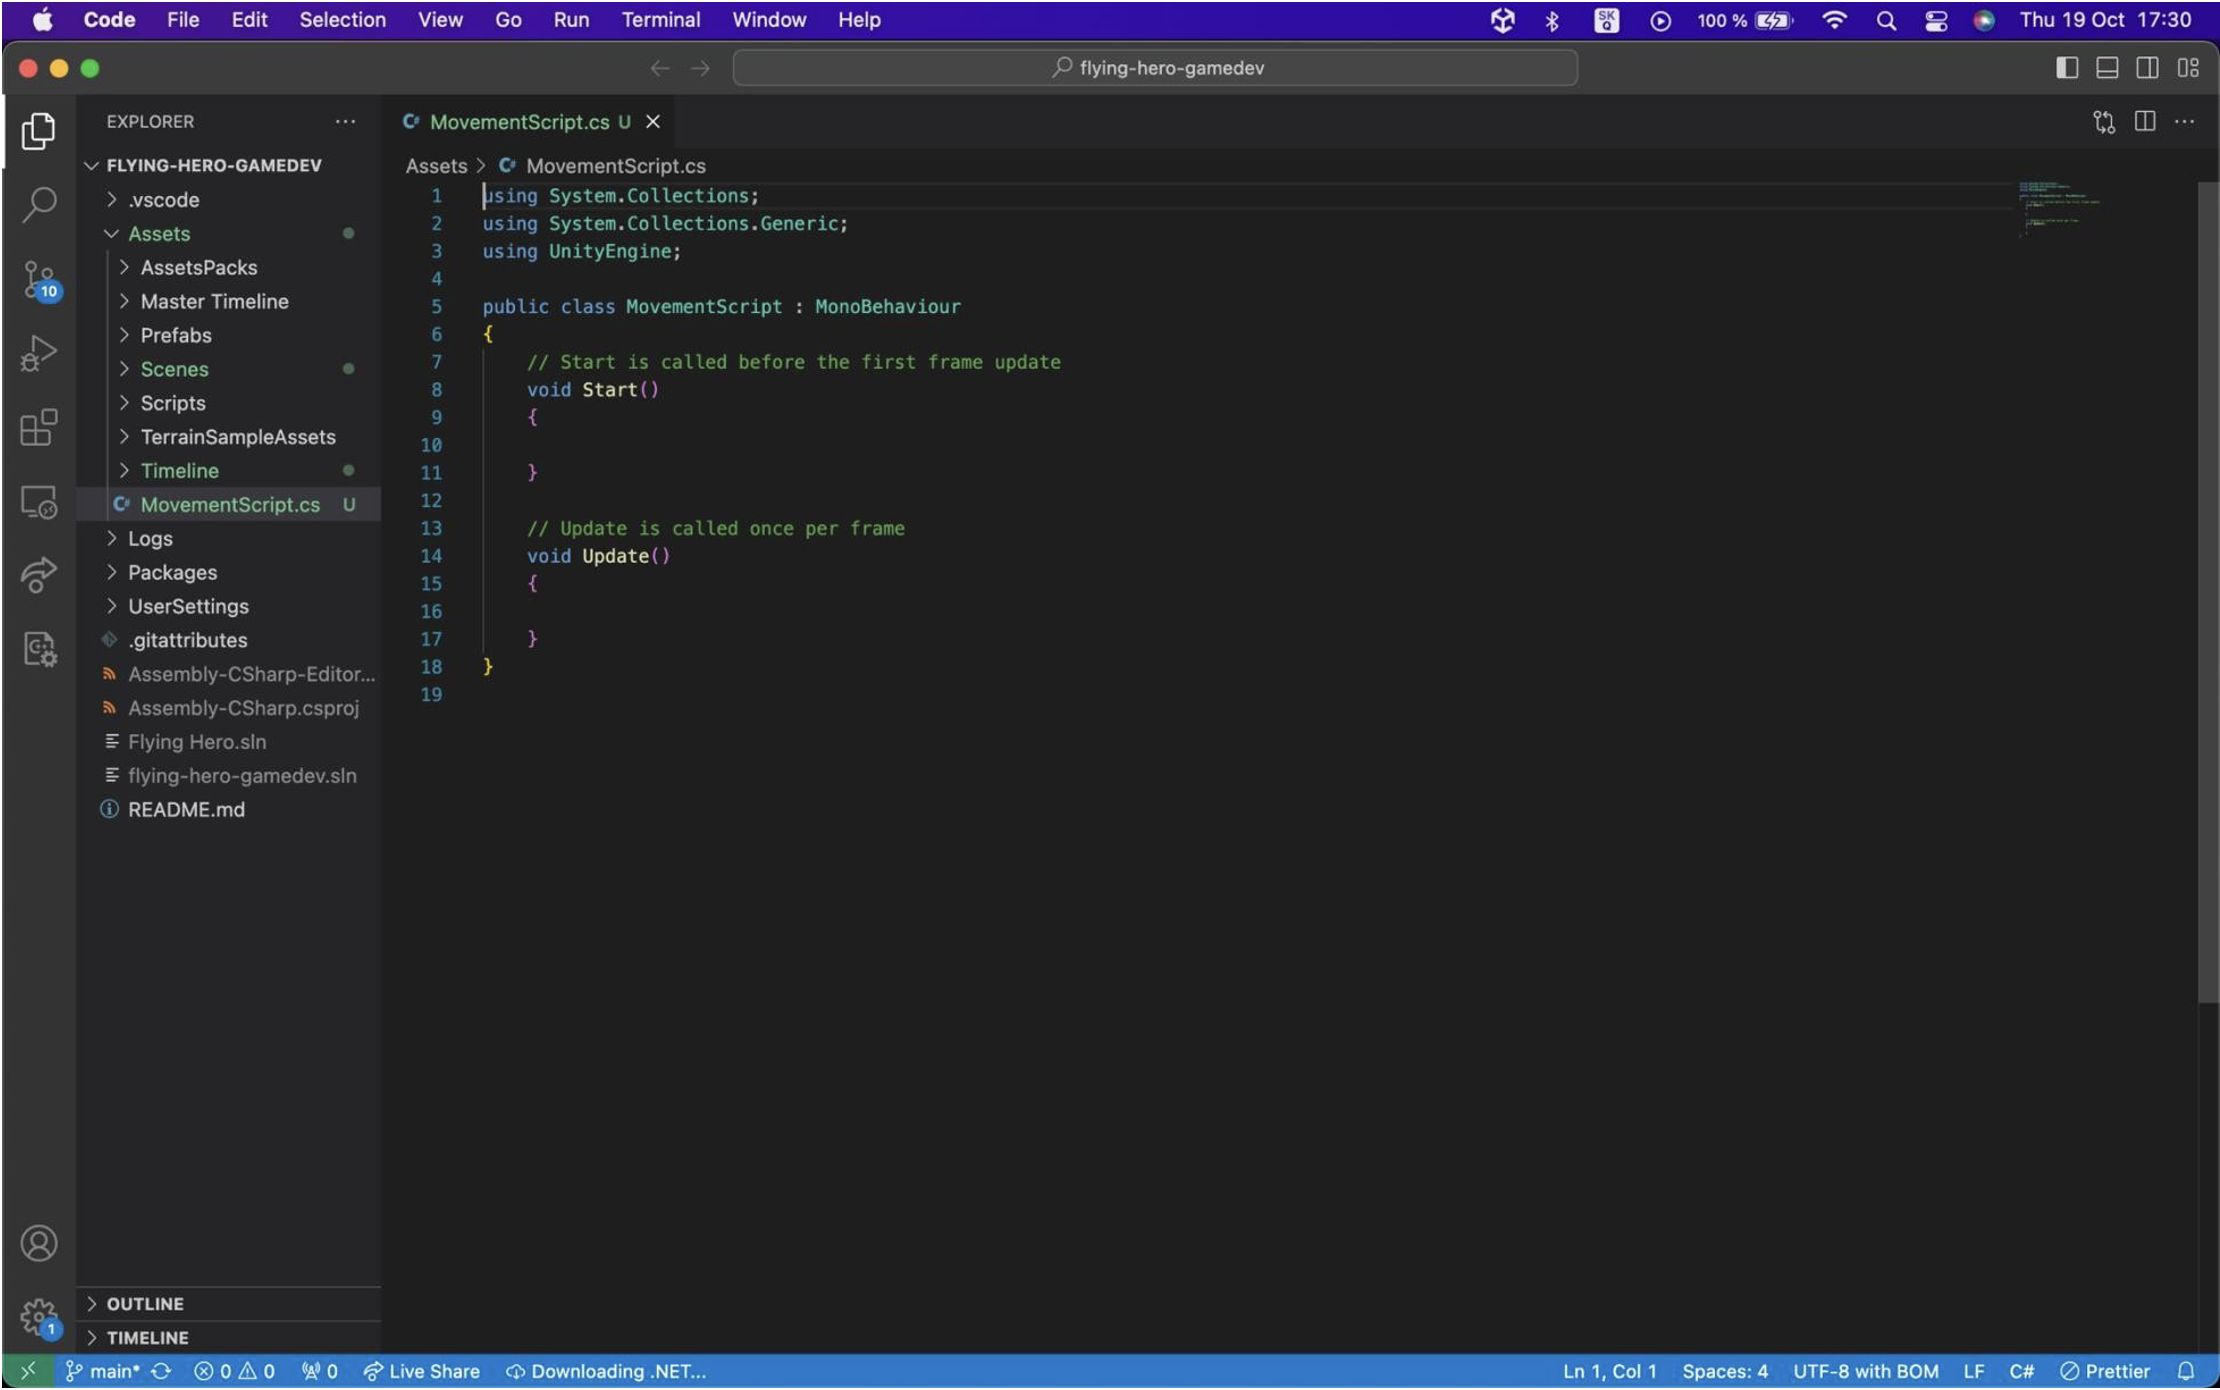
Start Method:
- The Start method is called once when a game object is created or the scene is loaded. It is often used to initialize variables, prepare game components, or set initial values.
- For example, you can initialize the player’s movement speed at the beginning of the game in the Start method.
Update Method:
- The Update method is called every frame (typically 60 times per second). It processes game events, interactions, and updates the game state.
- Typical use includes moving objects, checking player input, collisions, etc.
public class DroneController : MonoBehaviour
{
    [SerializeField] private float moveSpeed = 10f;  // Movement speed
    [SerializeField] private float rotationSpeed = 100f;  // Rotation speed
    [SerializeField] private float xRange = 10f;
    [SerializeField] private float yRange = 7f;


    void Update()
    {
        // Move up/down + forward/backward
        float moveForward = Input.GetAxis("Vertical"); // Up/Down
        float moveSideways = Input.GetAxis("Horizontal"); // Sideways (A/D)

        // Rotation
        float rotation = Input.GetAxis("Horizontal") * rotationSpeed * Time.deltaTime;

        // Create movement vector
        Vector3 moveDirection = transform.forward * moveForward * moveSpeed; // Forward/back
        Vector3 strafeDirection = transform.right * moveSideways * moveSpeed; // Sideways (A/D)

        // Apply movement
        rb.velocity = moveDirection + strafeDirection;

        // Rotate around Y-axis
        rb.angularVelocity = new Vector3(0, rotation, 0);
    }
}
Attach this script to the player easily: select PlayerRig, choose the object representing the player (in this case, drone), click Add Component in the Inspector, and search for the script. It will appear in the Inspector as shown:
Now you can experiment with these values and test what works best for your drone.
Tip: If the movements don’t work or are unresponsive, check your Input Manager and ensure the keys are set correctly. The same applies if you want to use different keys for controls.