Motivation
In today's exercise, you will become familiar with the course organization and receive your assignment — a game that will represent a component of the GameStudio web application. At the same time, you will refresh the basics of Java and practice working with the IntelliJ IDEA development environment, which you have already used in the course Object-Oriented Programming.
Objectives
- Get familiar with the organization of the course Component-oriented programming.
- Get familiar with the integrated development environment IntelliJ IDEA .
- Practice effective work with the development environment.
- Refresh the Java basics and debugging by solving simple programming tasks.
Instructions
Step 1
Task 1.1
Get familiar with the organization of the course Component-oriented programming and the conditions for granting the credit.
Step 2
Task 2.1
Install or update the IntelliJ IDEA development environment in the Ultimate edition.
You can request the Ultimate edition license for free for study purposes through the form on the JetBrains website, where you register using your university email address.
Task 2.2
Refresh the basics of working with the IntelliJ IDEA development environment.
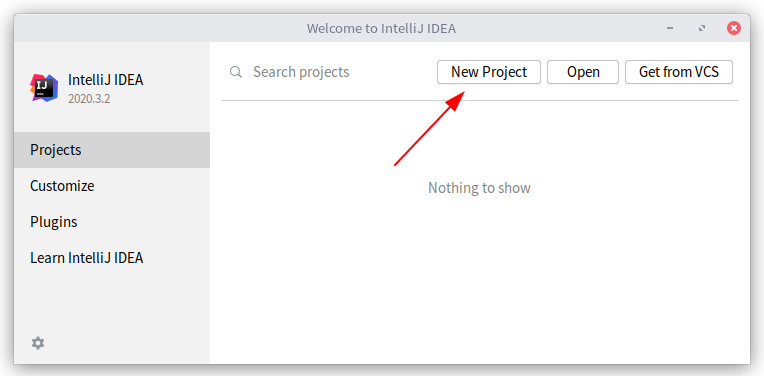
Create a new project in IntelliJ IDEA by clicking the Create New Project button (Fig. 1).
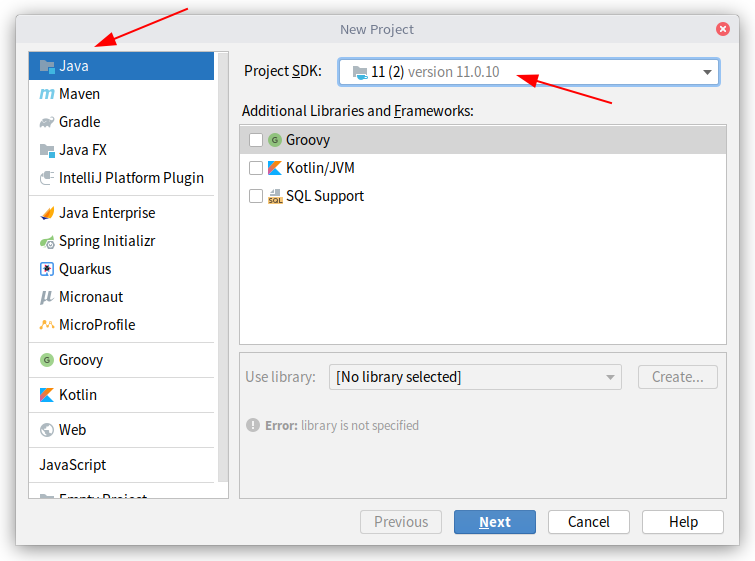
Select the Java project type, the current JDK version, and click the Next button (Fig. 2).
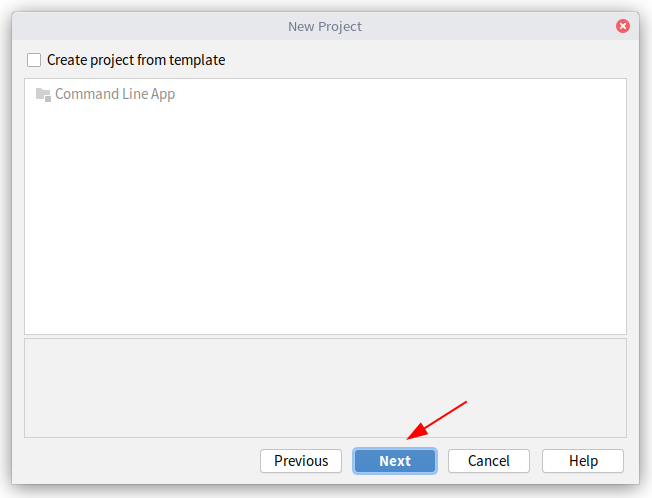
You can create the project from a template or as an empty project. This time, do not select any template and click Next (Fig. 3).
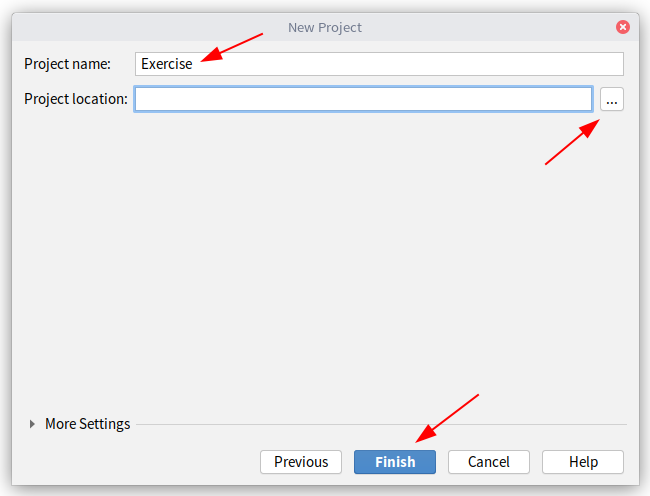
Enter the project name (Project name), for example Exercise, and the project location (Project location). Click Finish (Fig. 4). The basic project files will be created in the project directory.
Step 3
Task 3.1
Add a new HelloWorld class to the created project.
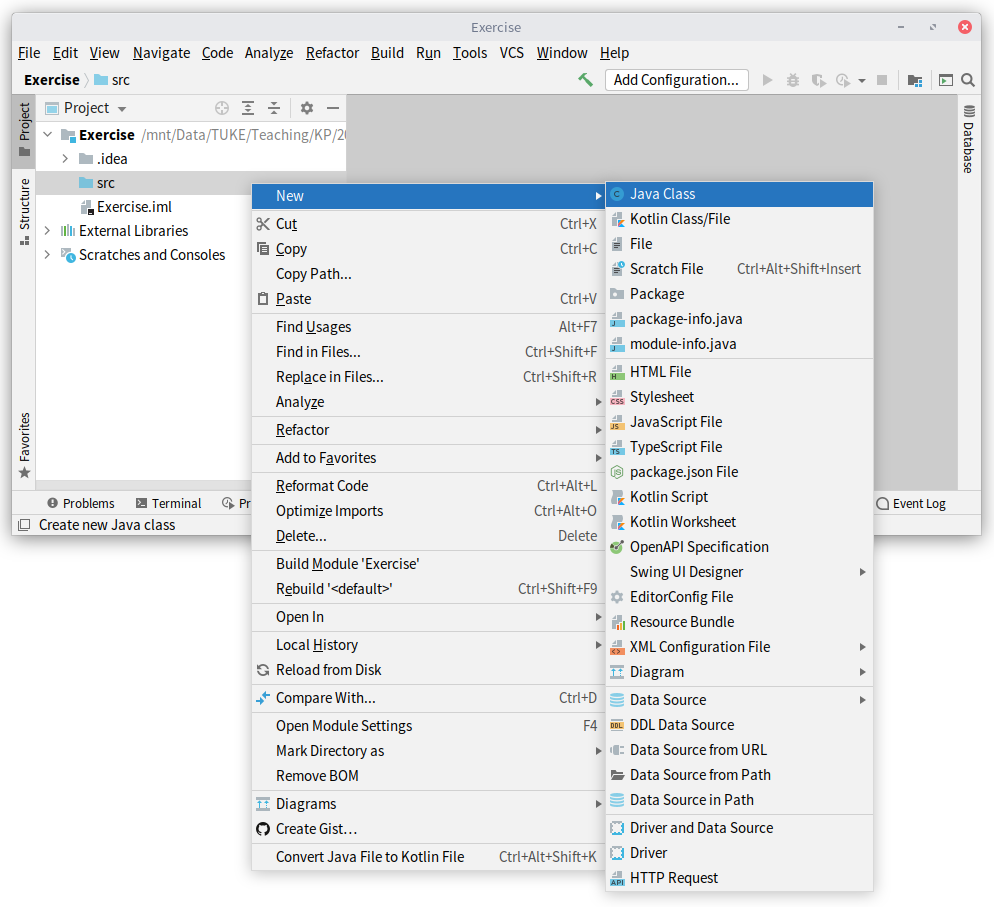
In the left panel, expand the project structure, right-click the src directory, and choose New -> Java Class from the context menu (Fig. 5).
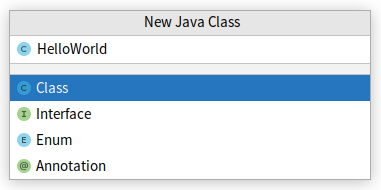
Enter the file name (for example HelloWorld) and select the file type Class, then confirm with OK (Fig. 6).
Comment
The dialog for creating a new file or package can also be opened from the main menu at the top of the window: File -> New -> Java Class.
Step 4
Remember the layout of the project environment (Fig. 7).

Task 4.1
Create the main() method in the HelloWorld class by typing the shortcut psvm and pressing the Tab key on your keyboard.
Step 5
Refresh useful keyboard shortcuts that will make your work in the development environment easier.
Task 5.1
Write code that will print the text "Hello world!" to the console.
When writing source code, IntelliJ IDEA automatically displays context suggestions (Fig. 8), similarly to other development environments.
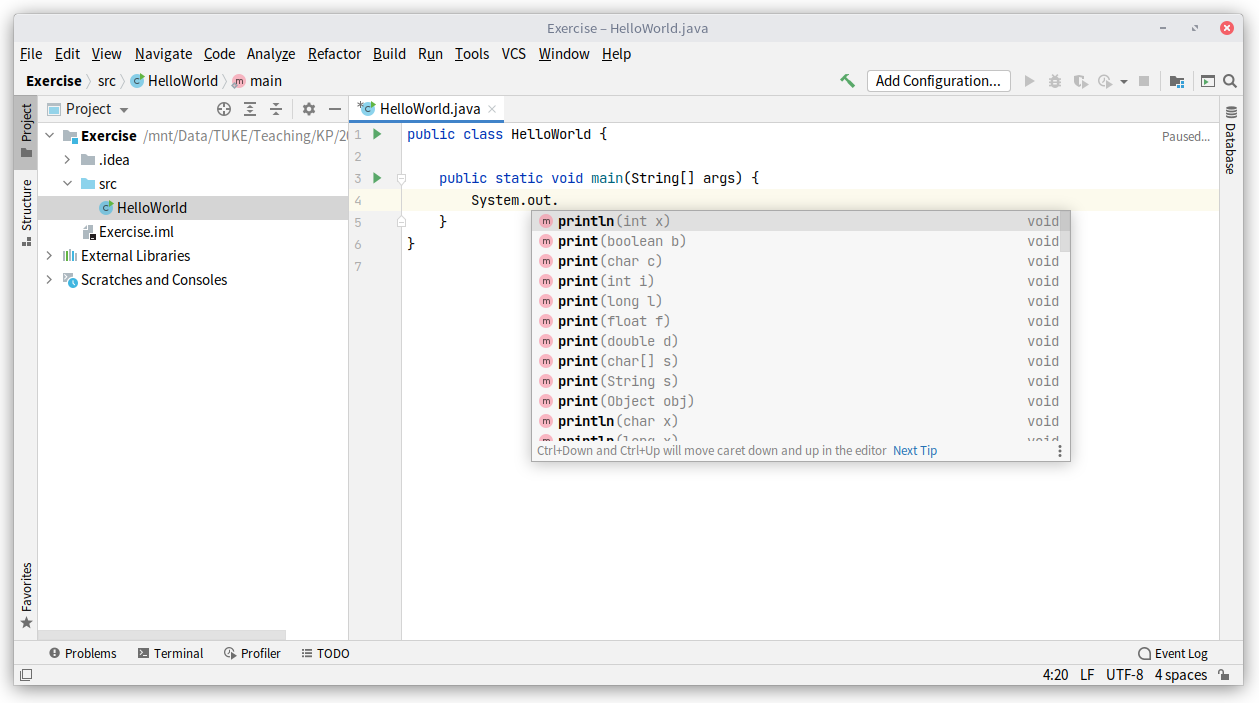
Comment
The keyboard shortcut for invoking context suggestions is Ctrl+Space.
Task 5.2
Run the created program from the class containing the main() method.
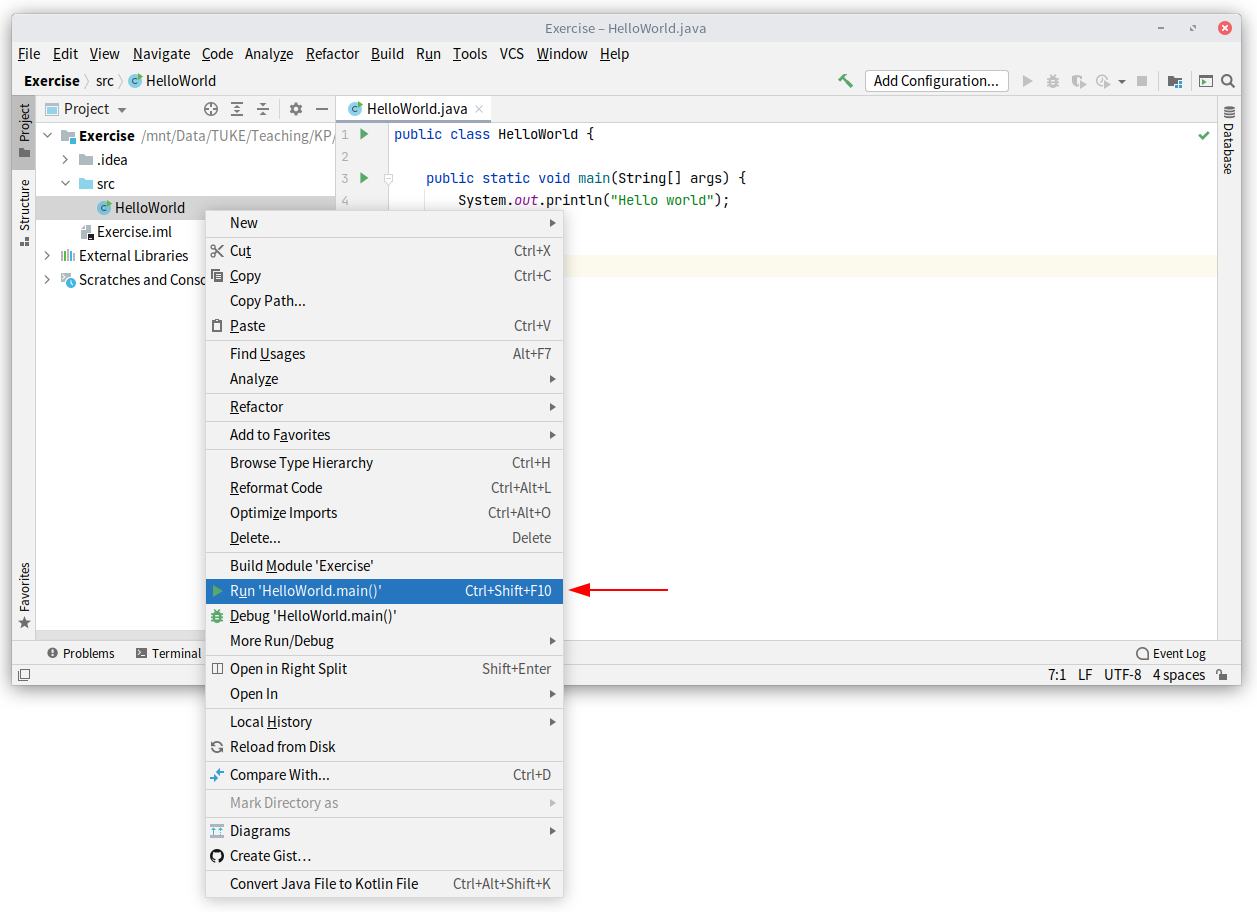
You can run the program either by using the green arrow on the left margin of the source editor, or by right-clicking the class name in the project panel and selecting Run 'HelloWorld.main()' from the context menu (Fig. 9).
Task 5.3
Rename the main class using refactoring.
Use the keyboard shortcut Shift+F6 or the context menu Refactor -> Rename.
Comment
Refactoring allows you to automatically rename classes, methods, private or local variables, and method parameters. The refactoring process changes the name everywhere it is used, including in other classes or packages in the project.
Task 5.4
Place the caret on the name of the println() method and press the keyboard shortcut Ctrl+Q to display the Javadoc documentation.
Step 6
Task 6.1
Add the file PrintTriangle.java to your project and find and fix the mistakes in the program according to the instructions in the source code.
Step 7
Task 7.1
Add the file NumberToText.java to your project. It generates a textual representation of numbers. Find the mistakes and fix the program.
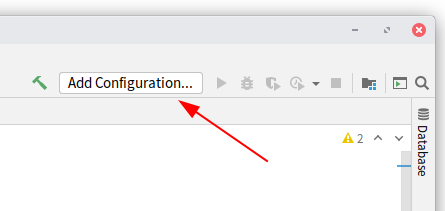
For testing the NumberToText.java example, enter the program input argument (the tested input number) in the run configuration settings of the project. You can create the configuration by selecting Edit configurations in the dropdown menu next to the project run button (Fig. 10).
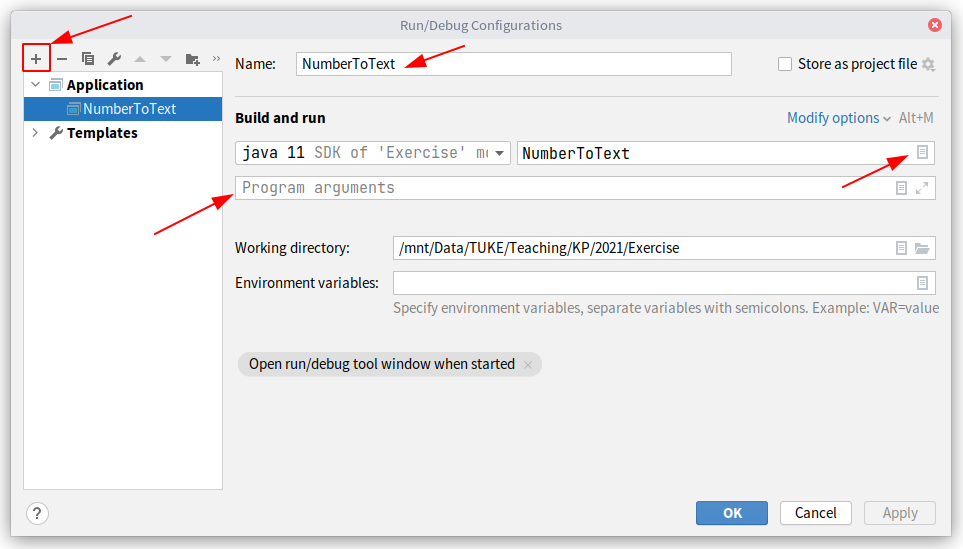
In the dialog window, enter the input argument value into the Program arguments field (Fig. 11) according to the instructions in the source code.
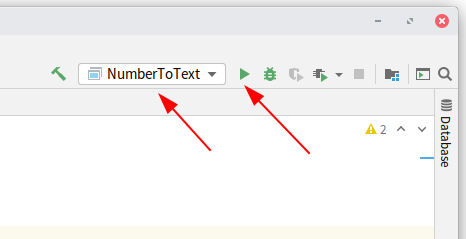
After this step, you can run the project using the top menu, where the most recently used run configuration is automatically selected (Fig. 12).
Task 7.2
If you managed to fix all mistakes, modify the program so that it supports larger numbers as well - over ten thousand, over one hundred thousand.
Additional Tasks
Task A.1
Get familiar with the assigned game and its logic so that you can start designing it next week.
Resources
- List of games for the assignment
- You can request a school license for JetBrains products on the JetBrains website. Use your school email address for registration. This allows you to use the full Ultimate version of IntelliJ IDEA on your computer. Be sure to follow the license terms - the school license is intended for study purposes only.
- Java Standard Edition tutorial for review: https://docs.oracle.com/javase/tutorial/