Objectives
- Familiarize with the integrated development environment IntelliJ Idea https://www.jetbrains.com/idea/.
- Learn how to work work effectively with development environment.
- Repeat the Java basics and debugging by solving simple programming tasks.
Introduction
-
On today's exercise you'll familiarize with the organization of the subject,
learn how to work with the development environment and
get an assignment - a game and a service component.
At the same time, you'll repeat the Java basics on simple programming examples.
Instructions
-
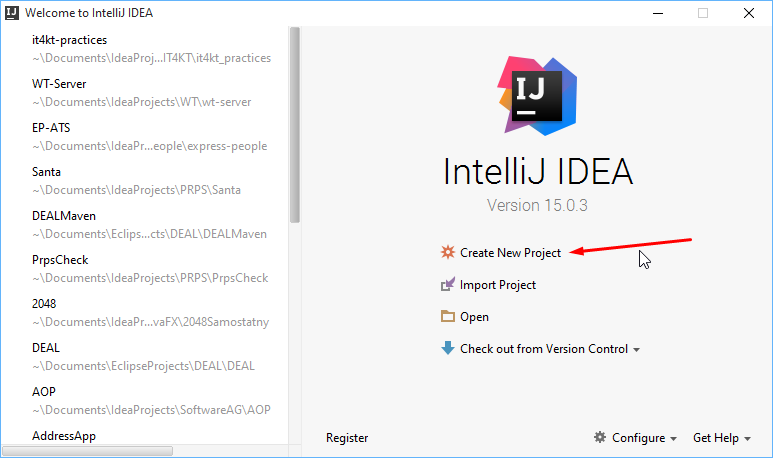
Create a new project in IntelliJ Idea by clicking on the "Create New Project" button.Select "Java" as project type, JDK version 1.8 and click the "Next" button.
 It is possible to create the project from a template or an empty project. This time don't select any template and click "Next".
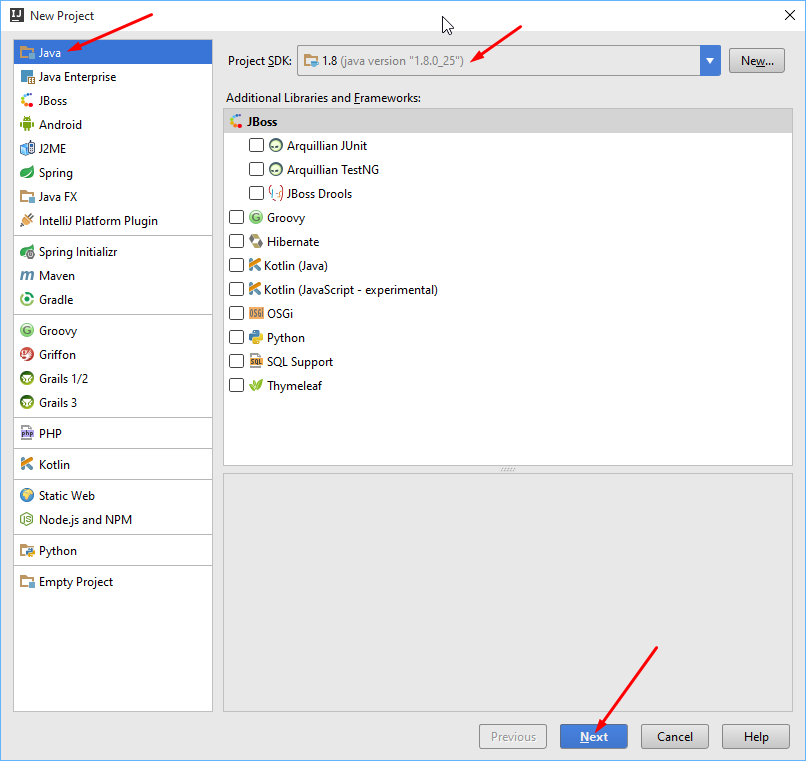 Input "Project name", e.g.
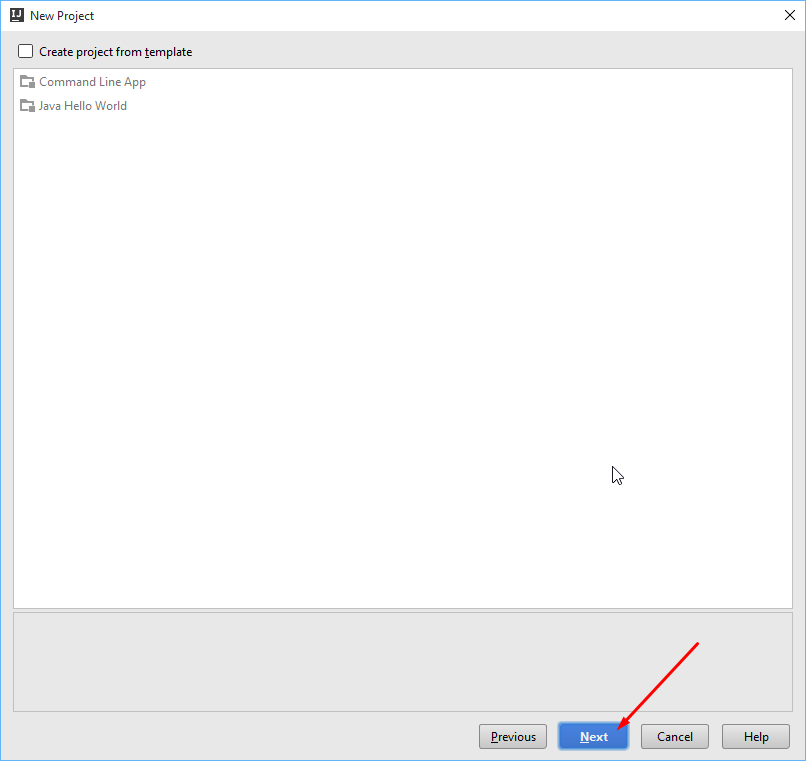
HelloWorldand "Project location". Click "Finish". A directory with the same name as the project name will be created in the file system.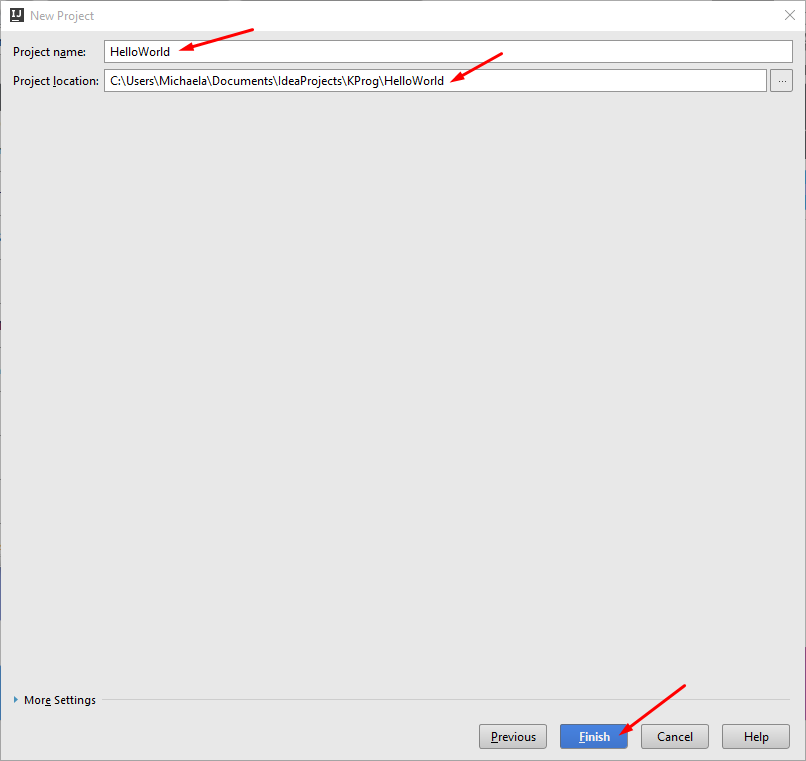 Note: It is possile to open Help for working with the IntelliJ Idea development environment also by selecting „Help > Help Topics” in the main menu.
 -
In this step you will add a new Java file into the project. Unpack the HelloWorld project, select the "src" directory, select „File > New...” in the main menu and in the small context menu select „Java class”.Write the file name (e.g.

HelloWorld) into the „Name” textfield and click „OK”.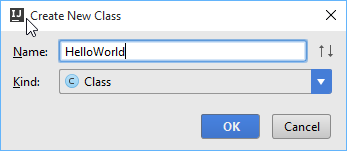 Note: The dialog for creating a new file or directory can be opened also from the context menu (right click) under the project structure directories.
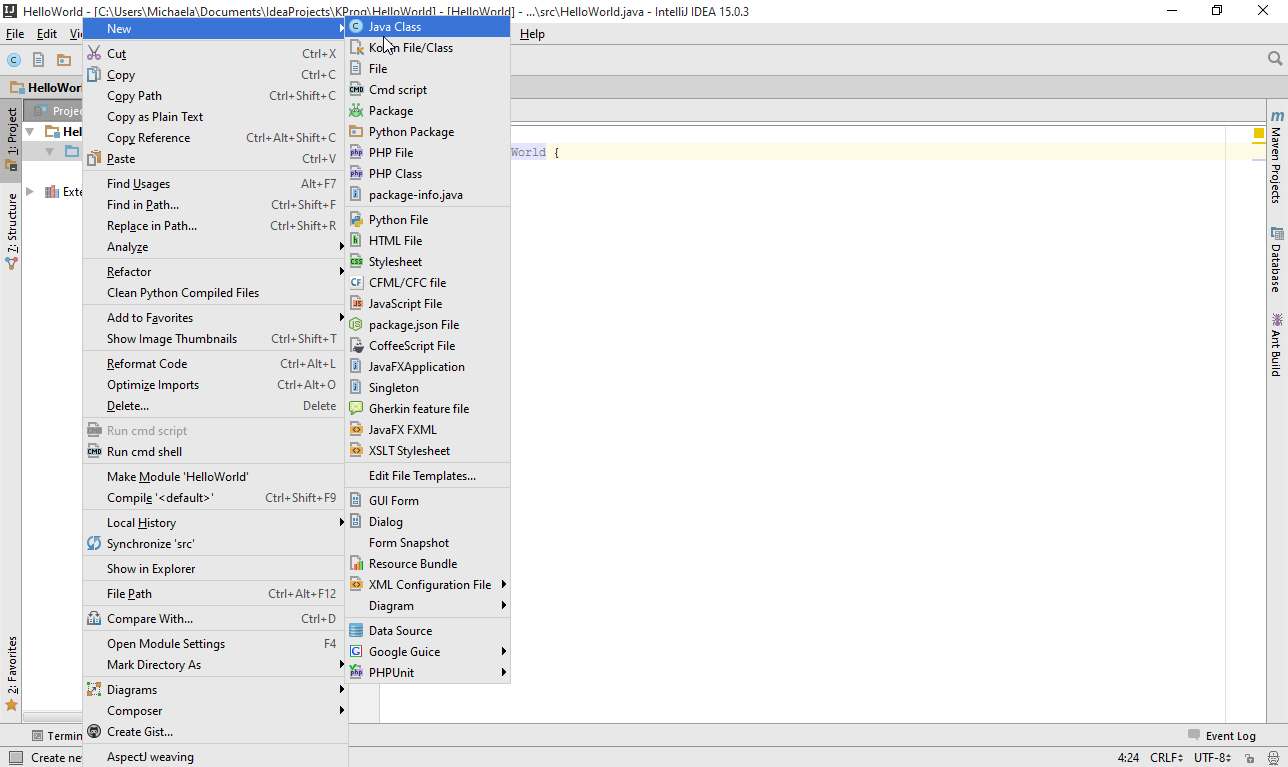
-
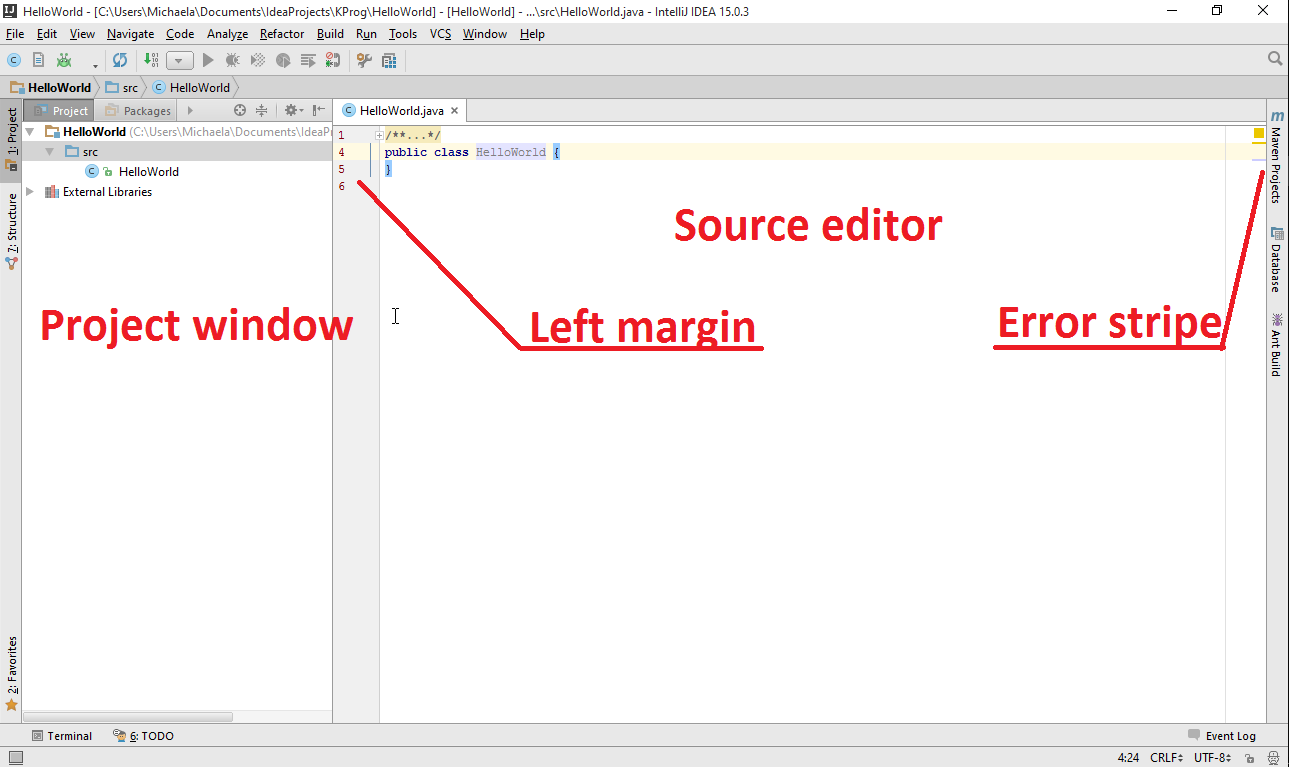
Familiarize with the project environment.
 Task: Create a main method of the
HelloWorldclass by writing the shortcutpsvmand pressing theEnterkey. -
Task: Write "Hello world!" into the console.When wiriting code, IntelliJ Idea automatically displays context help similarly to other development environments.
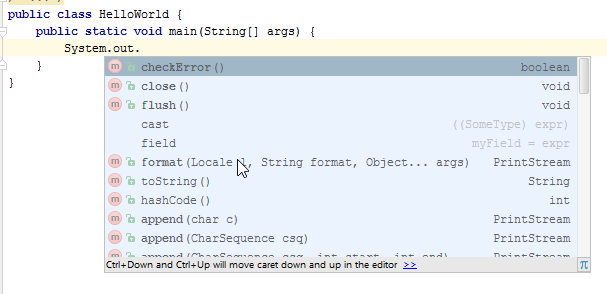 Note: The key shortcut for calling the context help is the same as in other development environments: Ctrl+space.Task: Run the created class (right click, "Run 'HelloWorld.main()'" in the context menu).
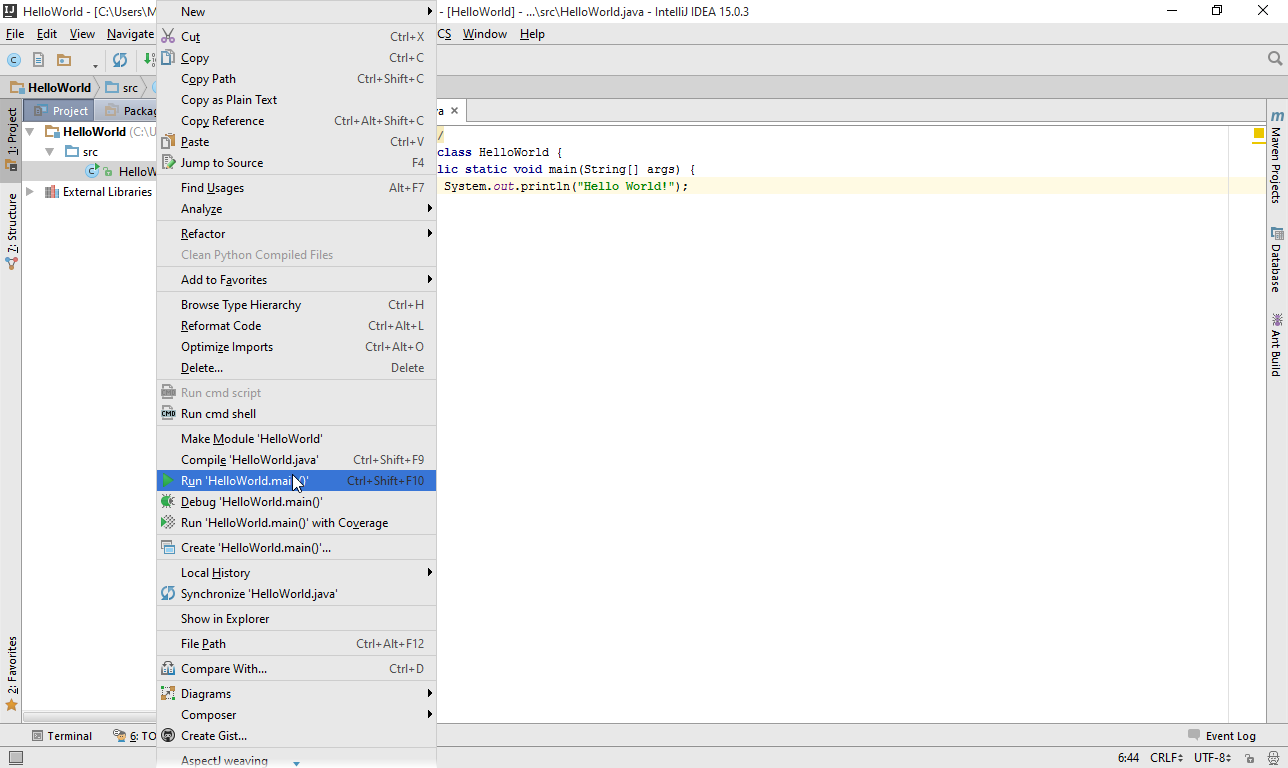 Task: Rename the main class using the refactorization (key shortcut
Shift+F6or "Refactor" -> "Rename..." in the context menu).Note: By refactoring you can automatically rename class names, method names or parameters, field names and local variable names. The refactoring process will change the name everywhere it's used, also in other classes or packages.Task: Move the cursor to the title of theprintlnmethod and press the key shortcut Ctrl+Q. Javadoc documentation will be displayed. -
Add the file PrintTriangle.java to your project.Task: Find two mistakes in the program according to the instructions in the source code PrintTriangle.java.
-
Add the program NumberToText.java into the project.Task: Find and correct two mistakes in the program NumberToText.java, which serves as a converter of numbers to their words representation.To test the
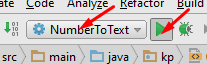
NumberToText.javaexample enter the input argument of this class (tested input number) in the dialog, which can be displayed by selecting the NumberToText.java file and then selecting „Edit configurations” in the RUN dropdown menu.In the dialog window input the input argument value into the „Program arguments” input according to the instuctions in the source code.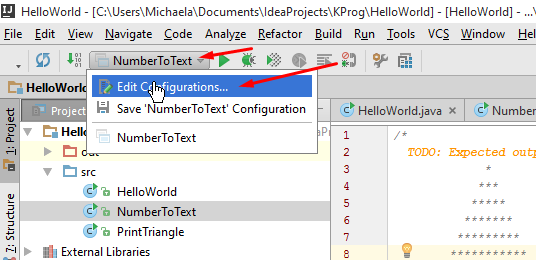 After this step run the project only via the upper dropdown menu.
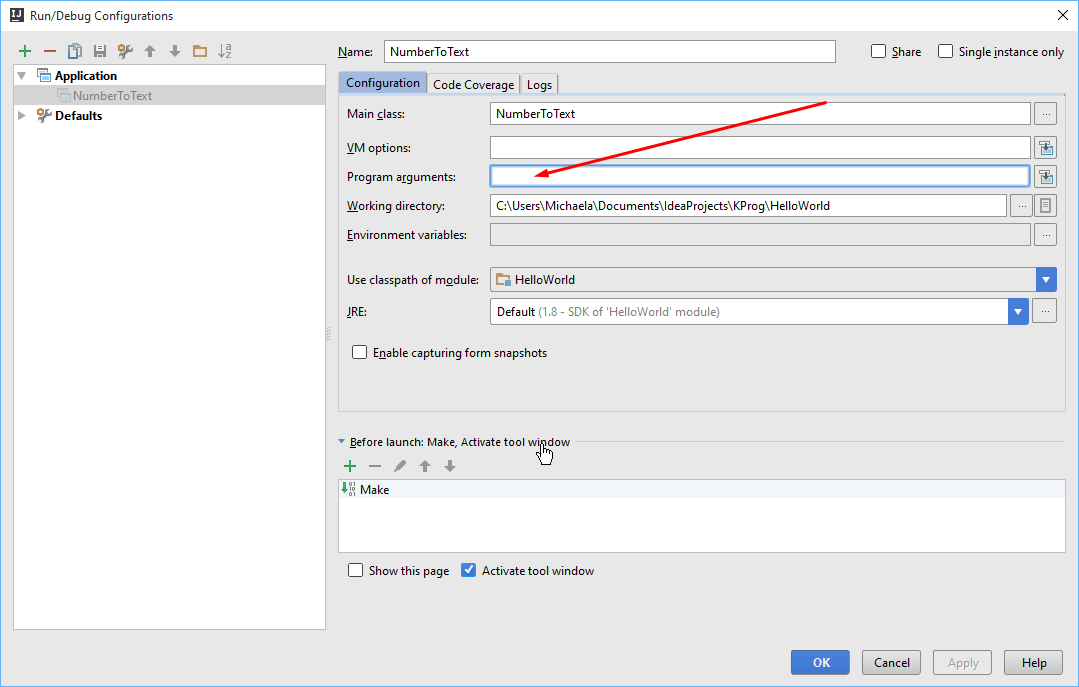
 Task: If you succeeded to correct all mistakes, modify the program so it would support numbers up to 100 000.
Resources
- School licence for JetBrains products can be applied on https://www.jetbrains.com/shop/eform/students. During the registration use the school email address. Then you can use the full Ultimate version of the IntelliJ Idea environment on your computer.
- Java Standard Edition tutorial to repeat: https://docs.oracle.com/javase/tutorial/