Motivation
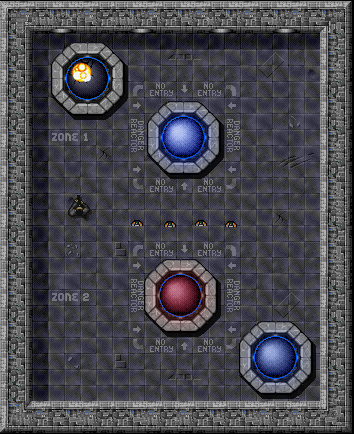
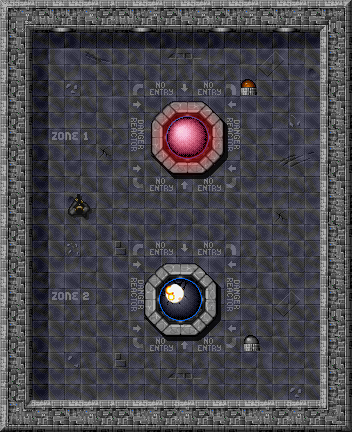
Welcome on a briefing of next mission, cadet! The introductory warm-up round is successfully behind you and together with our tactical and strategic team we expect you are quite well warmed-up by controlling reactor.
However, several skills which you obtain during today's training will come in handy when fulfilling various missions in the field. It concerns especially a skill of using reference data types as methods parameters. This unostentatious ability saved life of multitude of object-oriented programmers, so do not underestimate it!
Good luck with achieving goals of today's mission! From the operation center greets Manager.
Objectives
- Learning to use keyword
thisin your code. - Learning to create parametrized constructors.
- Understanding usage of reference as a method parameter.
Instructions
Step 1: First tools
As you may have noticed, working with nuclear reactor is no joke, especially when it starts overheating and there is no way to repair it... Perhaps some tools could be helpful.
Hammer and AbstractActor.Task 1.1
In package sk.tuke.kpi.oop.game create class Hammer which will represent a hammer.
Animation representing hammer on the game map is stored in file hammer. Similarly as the file representing reactor's animation, the file for hammer's animation is also available in your project. Hammer will have an instance variable (field) for number of its uses which you initialize through constructor to value 1. Properly set visibility of the variable and provide access to it with respective get method.

hammer.png (sprite dimensions: 16x16)
Comment
If the sprite image you use to create an animation contains only one animation frame (as is the case for the hammer sprite), you can use single-parameter Animation constructor:
new Animation("sprites/hammer.png");
Animation dimensions will be in such case set according to the dimensions of the used image.
Task 1.2
In class Hammer add method use() which will represent hammer's usage.
Each usage of a hammer should update the amount of remaining usages. When it reaches 0 remove the hammer from game's scene (the hammer broke).
Comment
Each actor displayed in the game is part of active game scene, to which actor has a reference. Scene can add actors and also remove them. Use functionalities of development environment, or look at the Actor interface documentation, and find a way for obtaining reference to game scene and use it for removing broken hammer from the game.
Step 2: If all you have is a hammer, everything looks like a nail
In this step we will try to repair damaged reactor with just the right tool: a hammer.
Reactor and Hammer.Task 2.1
In class Reactor create method repairWith() which will enable repairing the reactor.
The method will return no value and will have one parameter of type Hammer. Its behaviour should be implemented as follows:
- The method will work only if its parameter is a valid reference to instance of class
Hammer(it is notnull) and value of reactor's damage is above 0% but reactor is not yet completely broken. - Using the hammer will decrease reactor's damage by 50 percentage points, but resulting value of damage cannot drop below 0. Therefore, if reactor's damage is, let's say, 92%, after using a hammer the value of damage will decrease to value 42%. If reactor's damage is 35% it will be completely repaired after using a hammer (damage will be 0%).
Comment
Since damage grows linearly with increasing temperature, it's also necessary to correspondingly decrease temperature after decreasing damage. You will return to this part of the task later in additional tasks.
Comment
When implementing the functionality, keep in mind that besides updating temperature and damage you need to update the animation that graphically represents state of reactor as well. Beware of code duplication!
Task 2.2
Verify correctness of your implementation.
Create instance of reactor and several hammers in the game map. Next, overheat the reactor so that it damages (but does not completely break) and try to repair it by using hammer.
Step 3: Shutting Down Reactor
Splendid! Now we can manage to repair reactor even when it overheats (too bad a hammer will not do the work in real life). Now it would be great to find means by which reactor could be deactivated, or contrariwise, started up.
Task 3.1
In the Reactor class create methods turnOn() and turnOff() which will allow to start and shutdown the reactor.
The fact that a reactor can be either on or off means we need to include this information in its state. You should be familiar with how to represent an object state from the previous lesson.
Naturally, the reactor should work only if it's turned on. When it's off, it should not be possible to increase or decrease its temperature (the methods should have no effect). Also ensure that a newly created instance of a reactor is turned off by default. When reactor breaks, ensure that it turns off. Adjust your implementation so that it conforms with these conditions.
Task 3.2
To represent reactor in its off state, use image reactor for animation. In case reactor turns off due to breaking, ensure that its animation stays represented by image reactor_broken.
Prepare the required object of animation beforehand in reactor's constructor and properly adjust method for updating current animation and methods turnOn() and turnOff().
Task 3.3
In class Reactor create method isRunning() which will find out whether reactor is on (returns value true) or off (returns value false).
Step 4: Gaining Control
Managing overheated rector can be really dangerous business. That is why we will now try to create a remote controller that should allow us to turn reactor on or off without direct physical contact with it.
Reactor and Controller.Task 4.1
Create class Controller which will represent a controller for particular reactor.
Image of controller is in file switch. The class will have only one instance variable named reactor which will hold reference to controlled reactor. Initialise its value in constructor which will obtain the reference to reactor through parameter.

switch.png (sprite dimensions: 16x16)
Task 4.2
In controller's class create method toggle() which will turn on or off the controlled reactor.
Controller that is turned on will be turned by calling this method, and vice versa.
Task 4.3
Verify correctness of your implementation.
By using Inspector tool create several instances of reactor and connect each of them with one controller. Verify functionality of controllers.

Step 5: Powering Light
Reactor which you implemented last week and improved today creates electric energy. In this step you will create an electric appliance which will be connected to reactor. Naturally, it will work only if reactor produces electricity.
Light, Reactor and AbstractActor.Task 5.1
Based on the class diagram above, in package sk.tuke.kpi.oop.game create class Light which will represent light and test your implementation.
The class will have two methods:
toggle()- Method will change light's state from on to off and vice-versa. However, light will actually shine (its animation will be light_on) only when also powered with electricity.setElectricityFlow()- Method will have one parameter of typebooleanwhich will specify whether electricity is provided to light or not.
For animation of light on use file light_on and for animation of light off use file light_off.

light_on.png (sprite dimensions: 16x16).

light_off.png (sprite dimensions: 16x16).
Comment
Do not forget that the light should start shining also when its state is on and we just connect it to electricity source!
Task 5.2
In reactor's class create methods addLight() and removeLight() with which you will be able to connect/disconnect light to/from reactor.
Current model of reactor will be able to power only one electric appliance at the same time - in our case it is just one light. Obtain reference to light as parameter in method addLight().
Do not forget that when calling methods addLight() and removeLight() you need to update state of the electric appliance according to the state of a reactor - if the reactor is turned on and it's not broken then it produces electricity. Also, do not forget to adjust all other methods that are involved in the change of reactor's state.
Task 5.3
Verify correctness of your implementation by creating two instances of reactor and two instances of light. Connect lights to reactors and try to use their functionalities.
To verify your functionality you can use the following truth table which illustrates behaviour of light:
| isOn | isPowered | light' state |
|---|---|---|
| true | true | shining |
| true | false | not shining |
| false | true | not shining |
| false | false | not shining |

Step 6: Repository
Task 6.1
Upload (commit and push) your source code to your GitLab repository. You should do it before the following exercise. Also, prepare questions that you want to discuss on the following exercise.
Upload your implementation even if it's not yet complete. We recommend to comment out parts of the code that could cause compilation errors.
Additional Tasks
Task A.1
As part of repairing reactor with hammer in method repairWith() properly update also reactor's temperature.
Go back to task 4.1 from last week's scenario and notice the graph of dependence of damage from temperature. When we invert the graph of this relationship to get dependence of temperature from damage, its behaviour in the area of 0% damage is ambiguous for calculation of temperature (it's not a function). Therefore adjust the calculation of temperature when repairing reactor as follows:
- first, determine dependence of temperature from damage based on the area of graph where their relationship is linear (formulate an equation),
- define a helper local variable for new value of damage (initial value before the repair decreased by 50) regardless of whether the result will be positive or negative number,
- use value of the helper variable in formulated equation and set the resulting temperature as new value of temperature after the repair, but only if this new temperature is lower than before the repair.
Task A.2
Create class for Thor's hammer called Mjolnir, derived from class Hammer.
Mjolnir will last 4 usages (complete repair of two reactors) after which it will, as the original hammer, also break.
Task A.3
Create class FireExtinguisher for fire extinguisher which will allow to extinguish burning broken reactor.
This class will be a subclass of class AbstractActor and will have instance variable for number of usages, visibility of which should be properly specified, together with respective get method. The class should also have method use() for counting down the remaining amount of usages. When fire extinguisher is used up it should disappear from game scene. Animation representing fire extinguisher should be produced with image extinguisher.
To extinguish a reactor, in class Reactor implement a method named extinguishWith() which will obtain a reference to object of type FireExtinguisher in its parameter. Fire extinguisher will last one usage with which reactor's temperature will decrease to 4000 degrees and reactor's animation will change to image reactor_extinguished. Damage of reactor should remain unchanged after extinguishing.
Additional links
- Java Tutorial: What Is an Object?
- Java Tutorial: What Is a Class?
- Java Tutorial: What Is Inheritance?